The Fresh Loaf

A Community of Amateur Bakers and Artisan Bread Enthusiasts.

Most bookmarked

bmeilinger's picture
bmeilinger

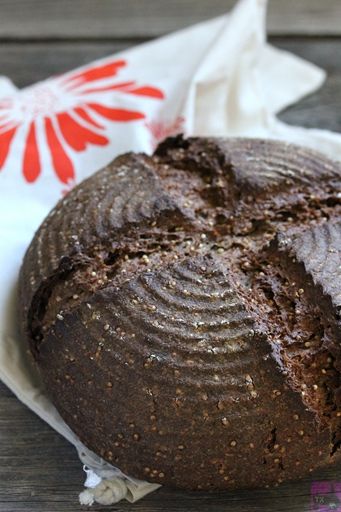
Deep Rye

This bread is a riff on Josey Baker's "Dark Mountain Rye" - I omit some of the seeds he uses (sesame), and incorporated lots of sprouted rye in its place. It is incredibly popular at the Cafe I bake for. Shoutout to JB for the inspiration and letting me hang out and get my hands on the dough while I was in San Francisco.

Keep in mind that that formula below is for 2 9x4.5" loaves.


Item

Weight

Percent

Rye flour, whole grain

780g

80%

Bread flour, T85

200

20

Water

660

67

Leaven

250

26

Salt

30

3

Rye berries, sprouted

250

26

Sunflower seeds, raw or toasted

85

9

Flax seeds, raw

80

8

Cornmeal

80

8

Water

460

47

As you can see, this is a very well hydrated loaf, with total water coming in at 114%. The process goes like this: make leaven with regular sourdough starter, rye flour, and water. I use 25/280/265 or so. Scale up or down as needed. The leaven ferments for 12 hours, and the final dough is retarded in the refrigerator for about 16. The "soaker" is just the mix of the sprouted rye, seeds, cornmeal, and water. This sits along with the leaven to allow all the water to be soaked in, particularly by the flax. 


Step

Time

Preferment

9:00am

Soaker

9:00am

Mix

9:00pm

Retard

10:00

Divide

2:30pm

Proof

3:00

Bake

4:30


Loaves are divided at about 1.1kg each, dusted with cornmeal, proofed until slightly risen and cracks can be seen in the cornmeal coating (1-4 hours). To score, I push into the loaf quickly with a plastic dough scraper at 5 places to give a diagonal pattern and prevent flying roof. The loaves are then baked at 450 for a half hour, rotated, and finished at 400 for about another hour. The loaves are done when they pull slightly from the pans and are colored to your preference. I like mine quite dark. The flavor of these is deep rye with a good amount of sweetness from the sprouted grain. After fighting through the dark, crisp crust, your reward is an intensely moist crumb with bursts of sweet, crunch, seed, and malt.

Here is a picture of a bunch of loaves baked for the lunch service. 

Happy baking,

Bradley

breadforfun's picture
breadforfun

Pane di Altamura: a trip there and back

It began innocently enough, as these things often do.  Ever since I started baking in earnest several years ago I have been intrigued with Pane di Altamura.  Not that I knew exactly what it was, mind you, but the name appeared in many breads that had the golden glow of rich butter in the crumb from the durum wheat.  I was able to buy loaves from several local bakers, most notably Acme Bread, to sample.  These are good breads!  I started experimenting with various formulae and making my own.  Il Fornaio, Peter Reinhart’s Bread Baker’s Apprentice, Amy’s Breads, Dan Leader’s Local Bread, Maggie Glezer’s Artisan Bread all had versions and I made and enjoyed each of them. I even shared them with friends, who all left with smiles after eating them. Some of them may have been smiling after drinking that 20 year old Barolo, but they liked the bread, too.  

My wife and I spent the last two weeks of October in Southern Italy.  Needless to say, we had to make the pilgrimage to the town of Altamura - after all, it was only 15 minutes away from where we stayed in Matera, a city continuously occupied since prehistoric times that’s worthy of a post of its own.

Before we left on the trip I learned about twice milling the durum flour to achieve a flour texture suitable for making breads.  Semolina, the coarser grind of durum wheat has sharp edges that tended to cut the gluten network and therefore reduce the ultimate height of the loaf.  The double milling is supposed to reduce these spikes.  In the U.S. it’s called Extra Fancy or Extra Fine Durum, and in Italy it’s called Rimacinata (re-milled). I've used the Extra Fancy Durum before but I never knew exactly what it meant.

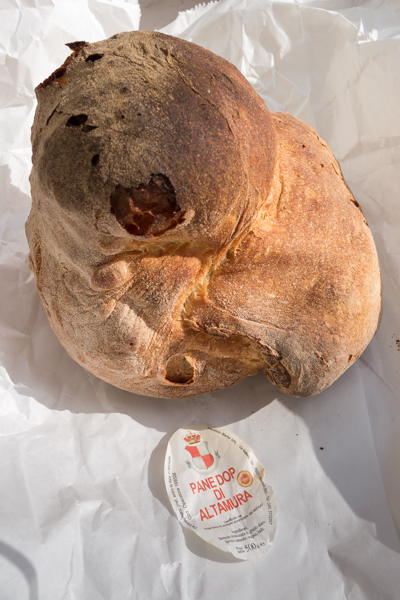
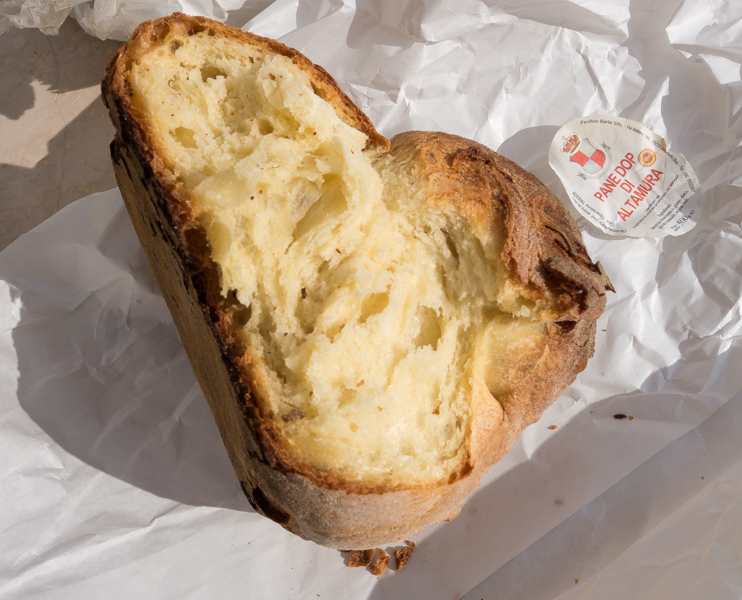
Pane di Altamura is, I believe, the only bread that has a Denominazione d'Origine Protetta, or D.O.P., an E.U. designation that specifies a product and protects the name from being co-opted and used to promote an inferior product. We bought a loaf from a local Paneficio in the city center, and another loaf from a D.O.P. certified bakery on the way out of town. This last loaf was a complete eye (and mouth) opener!  It was nothing like any bread I had ever tasted. The loaf had a honey-colored crispy crust that begged to be torn into.  The crumb was very yellow, slightly moist and chewy and, at the same time, fluffy and very aerated.  There was an ever-so-slight sourness with a rich, a little nutty, earthy flavor.   The DOP regulations say (among other things) that the crust must be at least 3 mm thick.

If you are interested in the regs you can download them here (the link doesn’t always work - not sure why)


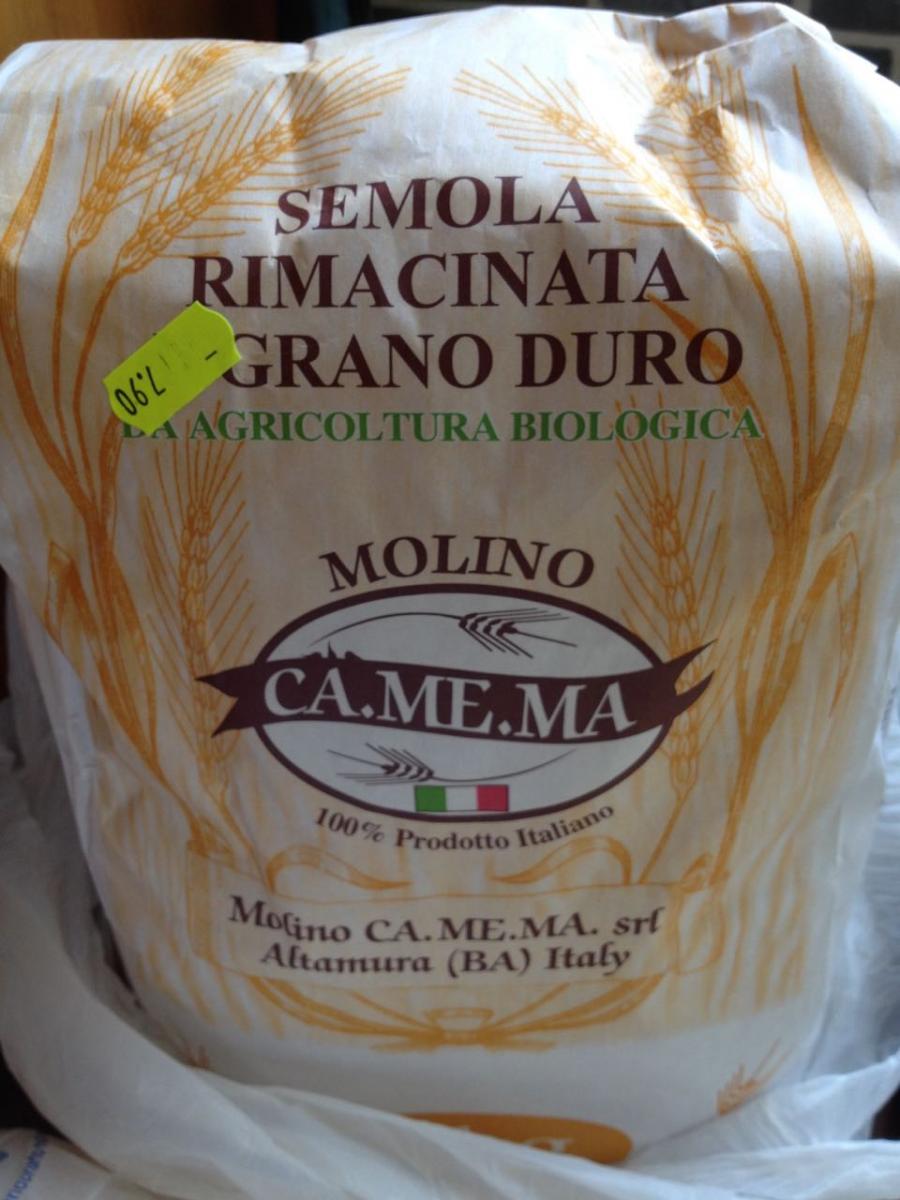
When we returned home I set out to reproduce the bread as best I could.  The quest started by my dragging home a 5 kg bag of the local flour, Semola Rimacinata Grano Duro, in my checked luggage. 

Although it wasn’t that expensive there (€8 or roughly $10.50 at the time, less than $8.50 at this weeks exchange rate) for 11 pounds of flour, my supply was obviously very limited, so I wanted to practice on something more available in case the imported version was truly different.  I had some Extra Fancy Durum flour from Central Milling (in California) that seemed to be as fine as the Italian version so I decided to use this to develop a bread formula before trying my import.  

But where to start?  At first I was unsuccessful tracking down any authentic Italian recipes (more about this later), so I took parts from Il Fornaio’s Altamura and Amy’s Breads Golden Italian Semolina for a couple of bakes.  These loaves were not worth spending much time on - flat, dense, nearly tasteless, certainly nowhere near the loaf in my minds eye.

On my third attempt working with the Extra Fancy Durum I opted for Leader’s version, which is 72% hydration and 18% pre-fermented flour from an 81%H all durum starter. I several some changes to the formula mostly because the flour seemed unusually thirsty, and ended up with about 77%H dough made with an 86%H starter.  Instead of following Leader’s shaping technique, I tried simply to fold the loaf in half trying to achieve that authentic look.  This resulting loaf looked OK, but the crumb was very tight.  Also, in the photo you can see some unincorporated flour due to the simplistic shaping. And it certainly wasn’t the same color as we had in Italy.


At this point I felt I had to try the flour I brought back to see how it behaved.  The first thing I noticed as I prepared the starter was the ease with which the flour hydrated.  The flour from Central Milling was very thirsty - building an 80%H starter felt as thick and dry as a 65-70%H whole wheat starter. Using the Grano Duro, the same 80%H more closely resembled an 85-90% WW starter and the flour hydrated as readily as sugar into water. The second major difference is the color.  The Grano Duro is a bright yellow compared to the creamy yellow of the CM. Clearly I would have to lower the hydration for this flour.  The initial results were unspectacular and disappointing, and it was back to the drawing board.

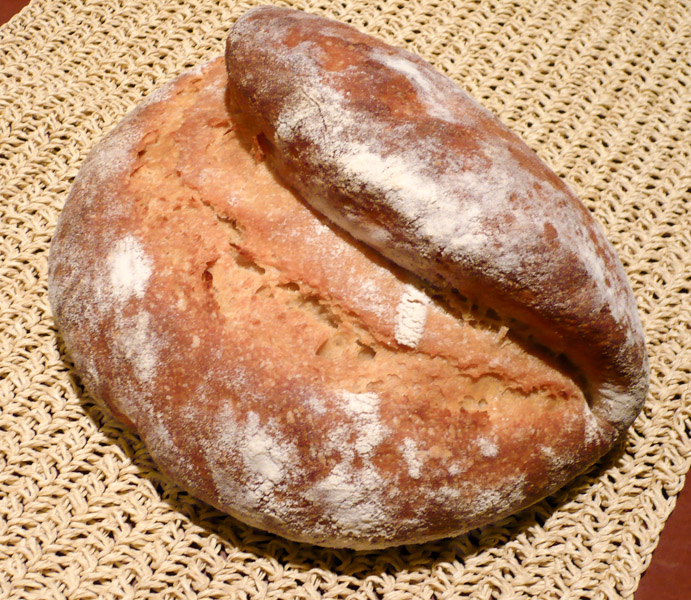
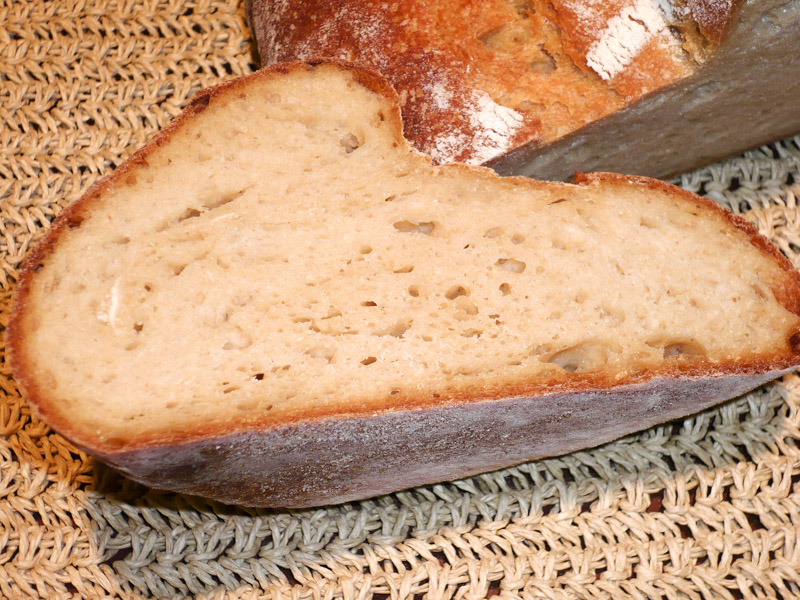
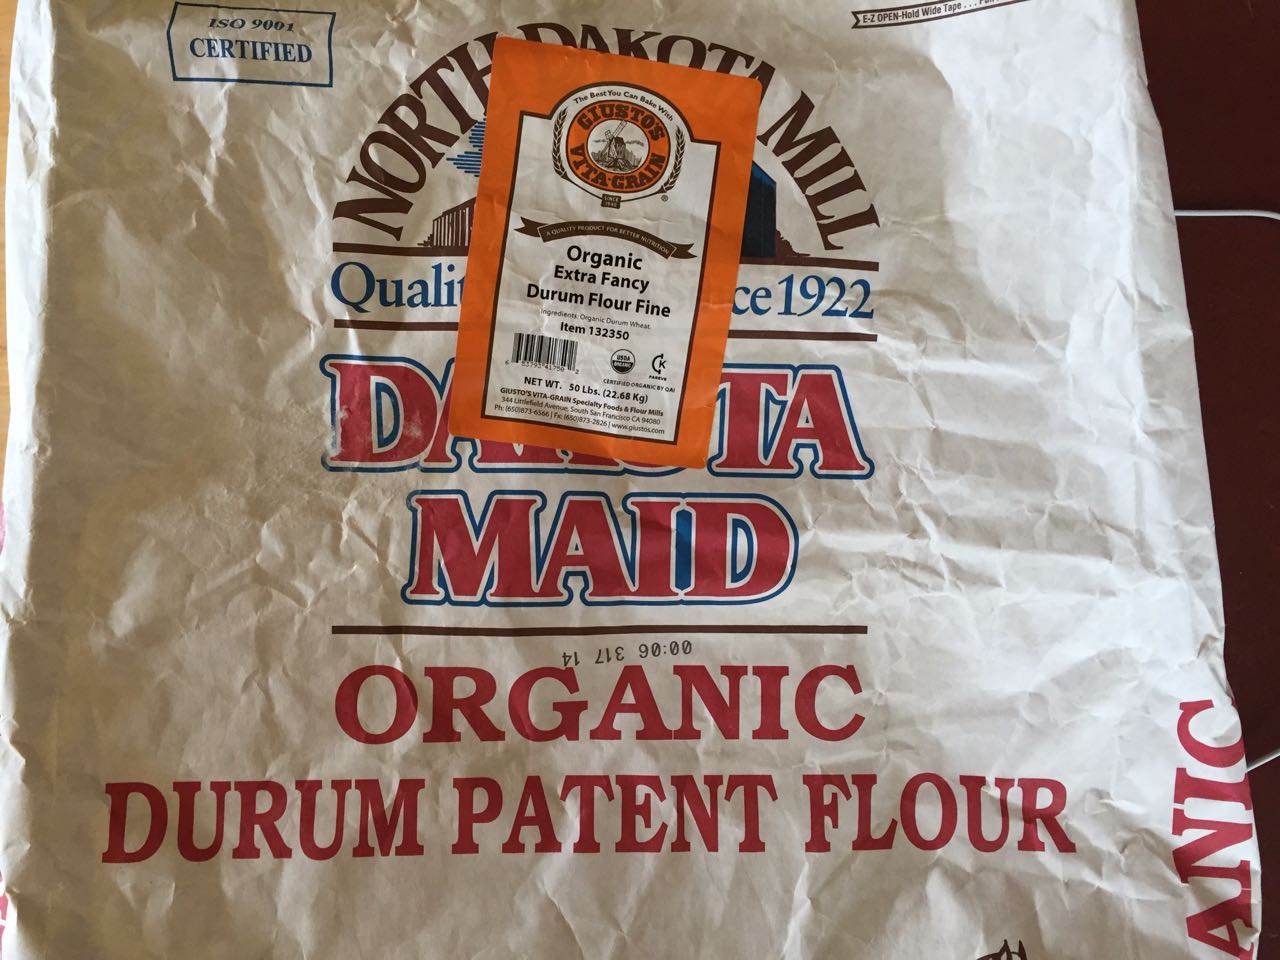
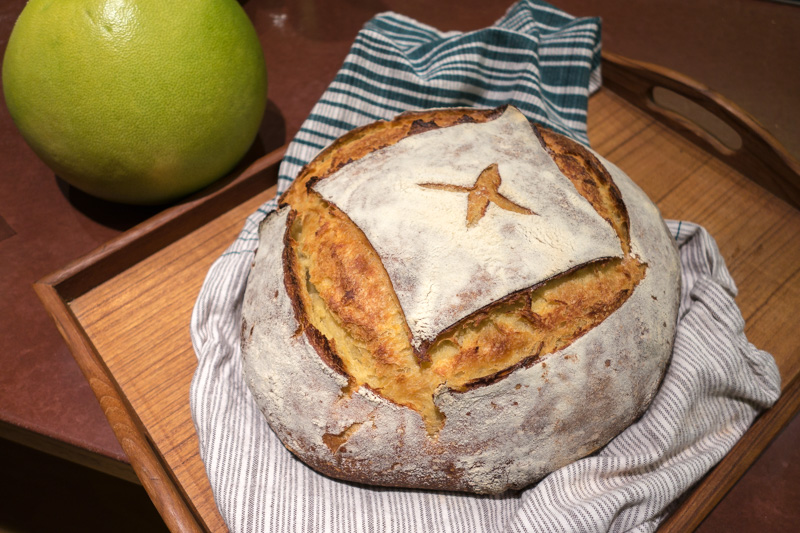
Since the first attempt with Leader’s formula have baked versions of Pane di Altamura a dozen more times.  I found another domestic flour from Giusto’s Vita Grain (sourced from North Dakota Mill) that behaved and appeared more like the Grano Duro. Rather than bore you with the details of each and every one, here are some representative photos of the results.


I also found this blog (translated by Google) that gives a pretty detailed formula, although she, too, uses the boule shape.  My results are not quite as open a crumb as hers, but pretty close.


My most recent bake was done at a slightly lower hydration.  It was a direct comparison between the Italian Grano Duro and the Giusto (North Dakota Mill) Patent durum flour.  I was also playing around with long refrigerated overnight bulk ferment rather than retard after shaping, as was the case with loaf shown above. 

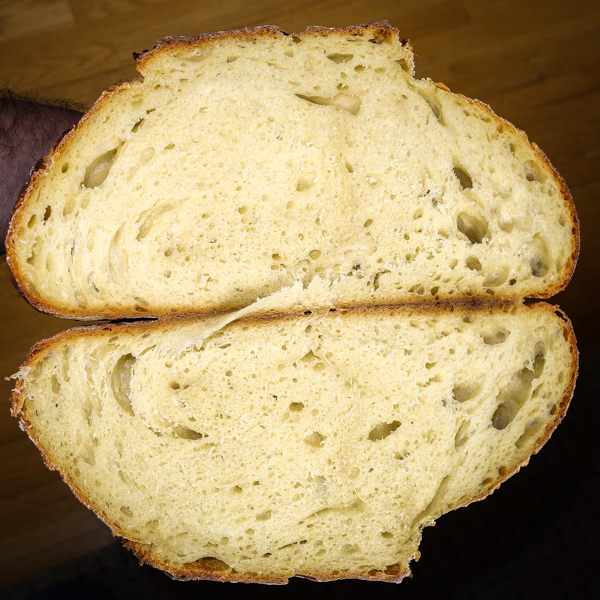
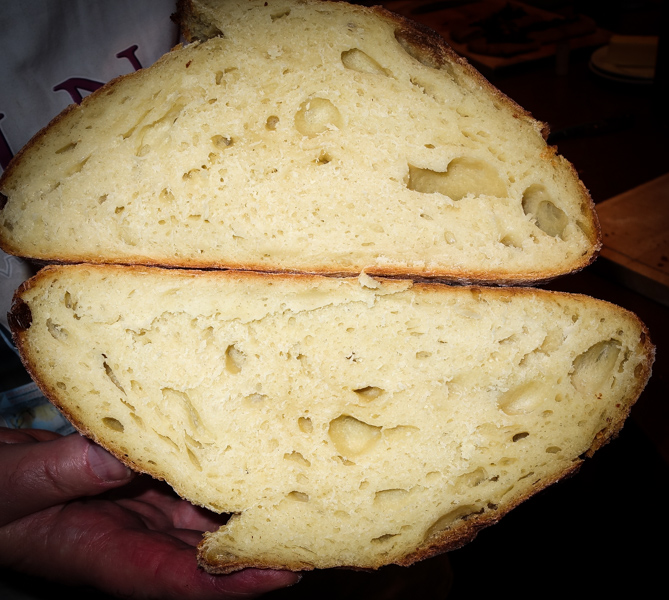
Comparison between Giusto Flour on the left and Grano Duro from Italy on the right.  The respective crumb shots are below.


In the interim and after some intensive web searches I found a few Italian videos that describe the shaping process. Unfortunately I don’t speak Italian, and there is a lot more dialog than action in these clips, but I began to get a sense of how the loaves are shaped.

In this video the various finished shapes are shown in the beginning.  You have to wait until around halfway through the video until you see the shaping techniques.

In another video you can advance to around the 10:00 mark to see about 10 seconds of shaping.


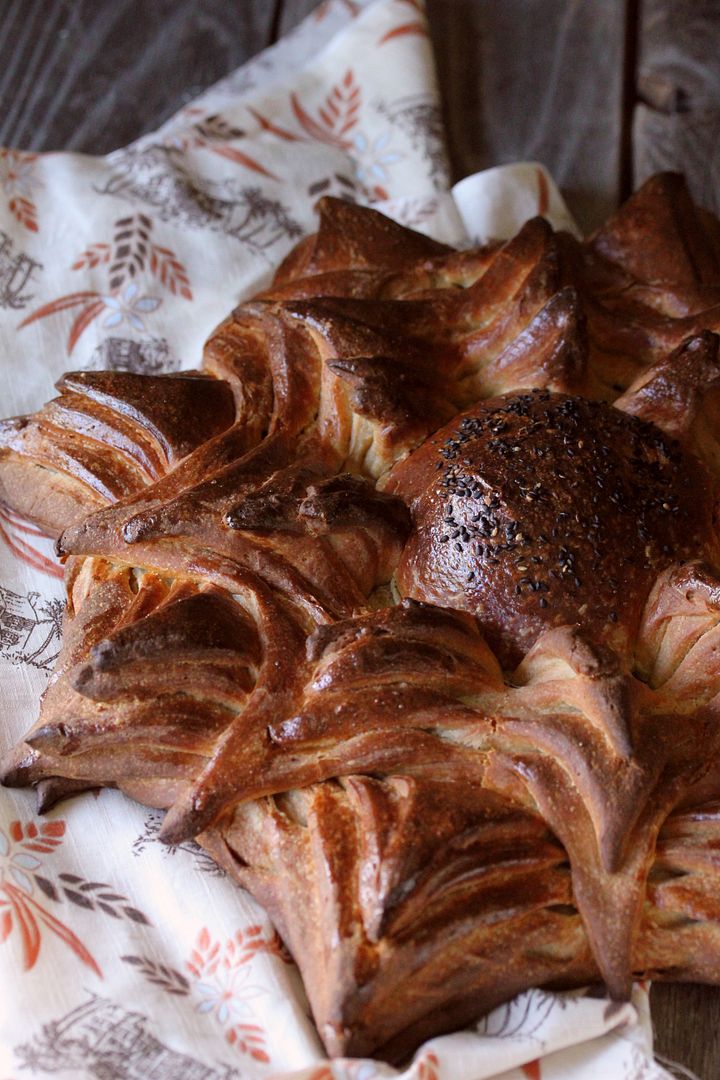
At this point, I am fairly happy with the breads when I make basic boules.  I think the results are not as good as they could be, and for whatever reason my gluten structure isn’t strong enough to hold up to shaping after long fermentation.  Presumably this is why I can’t shape as in the videos.  If there are any Italian speakers out there who can translate from the videos I’d be happy for any tidbits that may shed some light on what I am missing.  My goal is to be able to shape a loaf like the one at the top of this page.

If you have read this far, thanks for sticking with this long-winded post.  My version of Pane di Altamura is still a work in progress.  The lack of a wood-fired oven, though, will insure that I never can match the flavor of the original. That’s fine with me - it makes a perfect excuse to go back for more.

-Brad

Southern Grits & Honey Loaf

wjmartins's picture
wjmartins

Description

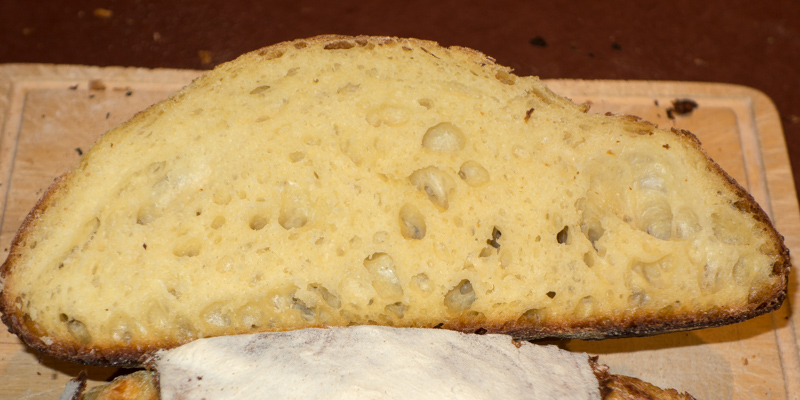
This one came out really good, the soft crumb surprised me. 

Summary

Yield
Servings
SourceOwn
Prep time3 hours
Cooking time40 minutes
Total time3 hours, 40 minutes

Ingredients

255 g
Cooked Grits (Use instructions on Grits packaging)
100 g
honey
32 g
Unsalted butter
10 g
instant yeast
225 g
water

Instructions

Cook the grits and wait for it to cool down.

Mix all the ingredients and use mixer with dough hook to knead for approximately 8 minutes

Remove from mixer and fold six times.

Place in covered bowl and let rise until past double, 1 1/2 to 2 hours.

Fold in shape for loaves and proof covered until double in volume.

Bake at 350 F for 40 minutes

dmsnyder's picture
dmsnyder

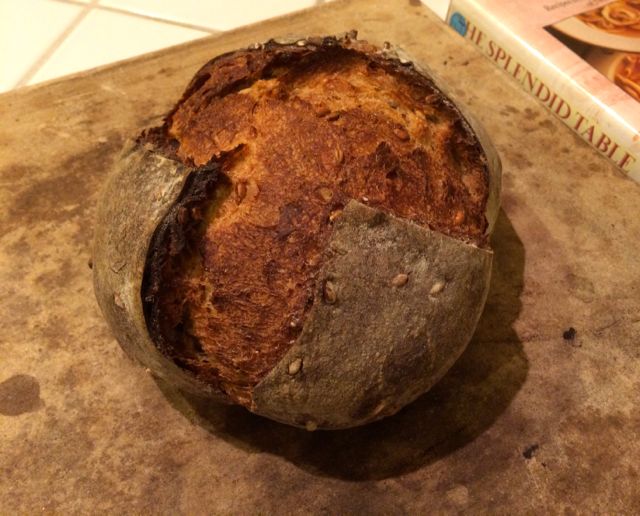
Pane Montanaro from "The Splendid Table"

Modena Mountain Bread

Pane Montanaro

from

The Splendid Table: Recipes from Emilia-Romagna, the Heartland of Northern Italian Food

by

Lynn Rossetto Kasper


The Splendid Table is a wonderful book for anyone who loves to prepare and eat Italian food, as I do. Others apparently agree, as it won both the James Beard Foundation Cookbook of the Year award and the IACP Cookbook of the Year award. The author's aim was to collect and preserve the culinary heritage of this region before it disappears due to the encroachment of modern industrial food production and the accelerated pace of modern life. The book has a chapter on breads of the region, which is very interesting. This recipe was the one that appealed to me. Most of the other breads she described have been included in other books I already have, such as Carol Field's The Italian Baker. And when she introduces the recipe by writing, “If I could make only one bread for the rest of my life, it would be this loaf.” How could I not make it, at least once?

Ms. Kasper reports that, until quite recently, most homemade breads in Emilia-Romagna were made with what we would call pâte fermentée (a piece of dough saved from the prior day's baking. The Italian term for this is pasta di riporto, or “dough that is carried over.”) However, all her bread recipes are made with a yeasted pre-ferment she calls a “sponge,” which is equivalent to a French poolish, actually.

After consideration of various approaches, I decided to make this bread with a biga naturale, figuring that would be closer to the original bread than Ms. Kasper's recipe. I kept the proportion of pre-fermented flour and the total dough hydration the same. I would assume that, in the past, a higher extraction flour or even whole wheat flour predominated. For this first bake, I kept to Ms. Kasper's formula. Pretty much. I did increase the percentage of whole wheat flour a bit. I have also modified her procedures somewhat. For example, I do an autolyse, specify a shorter mix and add a Stretch and Fold during bulk fermentation.

I converted the “English” weights Ms. Kasper provides to grams, calculated the bakers' percentages (after my slight modifications in proportions and switch in pre-ferments) and scaled the formula to make a one kilogram loaf.


Total Dough

Wt. (g)

Bakers %

All purpose flour

440

80

Whole wheat flour

110

20

Water

275

50

Red-skinned potatoes

110

20

Wheat berries

55

10

Salt

11

2

Total

1001

182

Pre-fermented flour = 27% of total flour


Biga Naturale

Wt. (g)

Bakers %

DMS Sourdough feeding mix*

175

100

Water (100ºF)

87

50

Firm (50% hydration) starter

35

20

Total

297

170

  1. Dissolve the firm starter in the water. Add the flours and mix thoroughly.

  2. Cover tightly and ferment at room temperature for 12-16 hours.

* My sourdough feeding mix is 70% AP, 20%WW and 10% Whole or medium rye flour.


Final Dough

Wt. (g)

All purpose flour

265

Whole wheat flour

110

Red-skinned potatoes

110

Wheat berries

55

Salt

11

Potato water

188

Biga naturale

262

Total

1001

Procedures

  1. Boil the unpeeled potatoes in water to cover until very tender. Cool and peel.

  2. Reserve 188g of the water in which the potatoes were boiled, cooled to room temperature, and purée the potatoes in it. (I mashed the potatoes with a fork, added the reserved water and stirred.) Reserve.

  3. Put the wheat berries in a sauce pan and cover well with water. Bring it to a boil and boil for 10 minutes, or until tender. Drain and cool. Use a blender, food processor or mortar and pestle to lightly crush the berries. Set aside at room temperature.

  4. In the bowl of a stand mixer fitted with the paddle attachment, combine the potato purée, whole wheat flour and the all purpose flour. Mix at low speed for a couple minutes to combine the ingredients well. Cover the bowl and let it stand for 20-60 minutes. (Autolyse)

  5. Switch to the dough hook. Add the salt and the biga and mix at Speed 2 to achieve good gluten development (about 6 minutes). The dough should clean the sides and the most of the bottom of the mixer bowl. It should be elastic but still soft and tacky.

  6. Add the wheat berries to the bowl and mix at Speed 1 for 1 to 2 minutes to distribute the berries evenly. If needed, transfer the dough to a lightly floured board and knead an additional minute or so to better distribute the berries.

  7. Transfer the dough to a lightly oiled bowl and cover tightly.

  8. Ferment at room temperature until the dough has increased to 2.5 to 3 times the original volume (2-3 hours). Do a Stretch and Fold at 1 hour. (It was 68ºF in my kitchen – a bit cool – and the fermentation was moving slowly, so, after an hour, I put the dough in my proofing box, with the temperature set at 76ºF.)

  9. Transfer the dough to a lightly floured board and pre-shape round. Cover the dough with a towel and let it rest for 15-20 minutes.

  10. Shape the dough as a boule and proof at room temperature on a peel coated with polenta, on a linen couche or in a lined banneton. Cover with a towel or place in a plastic bag. Proof fully (until doubled in volume). This should take about 90 minutes. Note: Kasper calls for proofing on the peel. The other options (couche or banneton) are my suggestions.

  11. 45-60 minutes before baking, pre-heat your oven to 480ºF with a baking stone and your steaming apparatus in place.

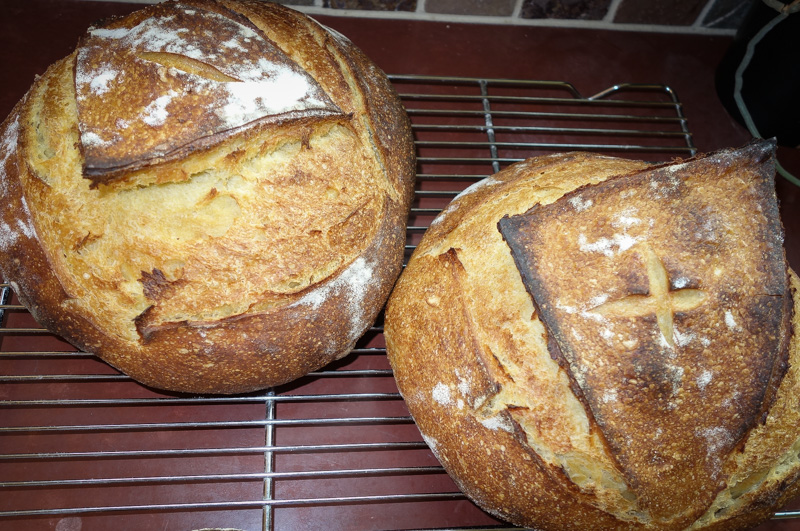
  12. Transfer the loaf to a peel. Turn down the oven to 400ºF. Steam the oven. Transfer the loaf to your baking stone. Note: Kasper does not mention scoring the loaf. With the very full proof, this may not be needed, as there will be less oven spring than in a less fully proofed loaf. (For this first bake, I proofed the loaf to the point that a finger poke resulted in the dough springing back very slowly. I chose to score the loaf with a simple cross, and got exuberant oven spring.)

  13. After 15 minutes, remove the steaming apparatus. Continue baking for another 45-60 minutes or until the loaf is fully baked. (The loaf sounds hollow when thumped on its bottom. The internal temperature is at least 205ºF.) Note: If you have a convection oven, after the first 15 minutes, you can switch to convection-bake and reduce the oven temperature setting 25ºF. This will result in a crisper crust and more even browning.

  14. Remove the loaf to a cooling rack and cool completely (90-120 minutes) before slicing.


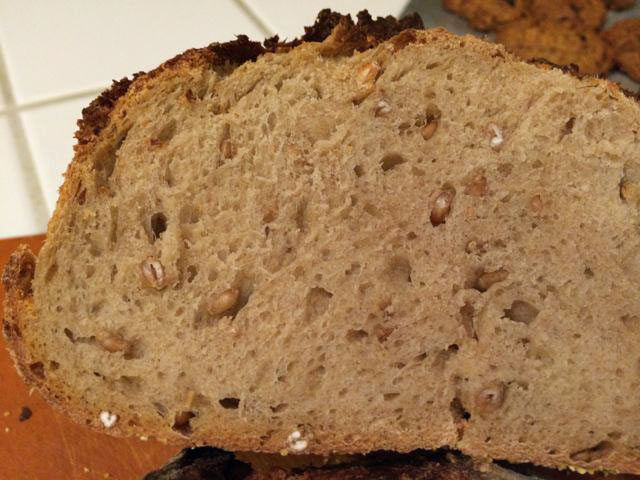
Note: My wife's persimmon cookies photobombed my crumb photo!

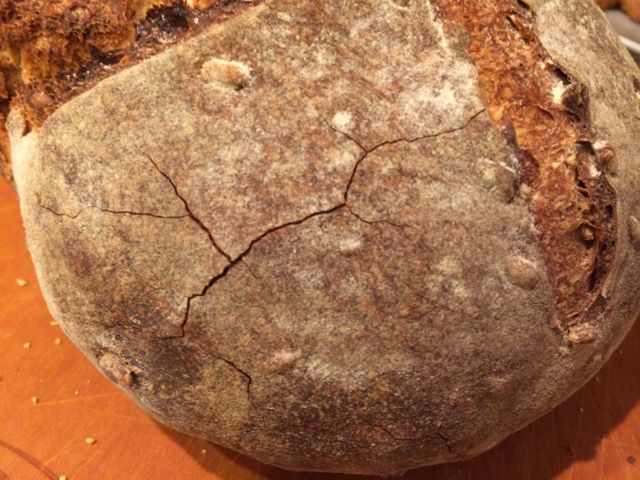
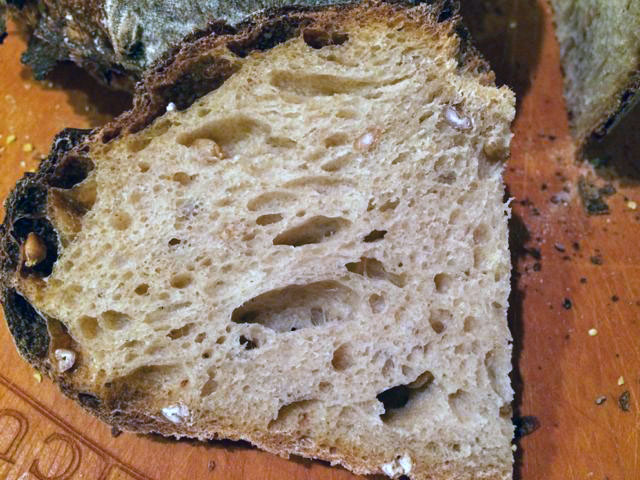
The crust developed some nice crackles. It was very crunchy, and when you bite into a wheat berry you get a pronounced nutty flavor hit! Yum! The crumb is not as soft as expected and rather chewy. A shorter mix next time, perhaps. The wheat berries within the crumb are nice and chewy. The flavor of the crust was sweet and nutty. The crumb was wheatier than expected, given the low percentage of whole wheat. Perhaps the wheat berries contribute more flavor than expected. I think I would still increase the percentage of whole wheat the next time I bake this bread. The bread was moderately sour.

This is a delicious bread, and I expect it will be even better tomorrow. I think it's a keeper! I'll be making it again.

Happy Baking!

David

Submitted to yeastspotting

davidg618's picture
davidg618

A compilation of lessons learned: starter maintenance, and manipulation.


Five years ago (April 25) I discovered The Fresh Loaf, and started this journey. Prior to then I’d frequently baked yeasted breads, and a modest spectrum of other baked goods. I’d bought a bread-maker—A Zo—and soon after quit, for the most part, buying supermarket bread. I continued to purchase loaves from local bakers, Deli Rye most frequently; and, while still working, loaded up with airport sourdough every time I passed through San Francisco.

I was content—well, almost content.

Over a couple of decades I’d tried half-a-dozen times to make sourdough bread at home. Every time mediocre, early successes were followed by dismal failures, and a neglected, smelly culture—sometimes rainbow colored with molds—long lurking in the depths of the refrigerator.

Mentored by TFL experts—you know who you are—to whom I will be forever grateful, during the first two years, I read a lot, experimented a lot, and had more successes than failures. And all the failures were edible.

In July of 2011 I could no longer deny a major failure was eminent.

My sourdough starter was slowly going belly-up. I tried to save it, but gave up after a time, and turned to TFL’er, Debra Wink, for help. With day-by-day guidance she led me back to having a robust, viable starter. She also suggested an alternate maintenance plan (for a refrigerated seed starter). I followed her advice, and now, nearly three years later, I am still enjoying the same culture’s robustness and dependability.

The experience got me thinking in broader chunks about my bread making. I’d started with a vague goal: I wanted to make “better bread”. I defined “better” with three parameters: good flavor, appropriate crumb, and pleasing eye-appeal. They are listed in priority order. Somewhere along the way a meta-parameter had unconsciously crept in: Consistency.

My conscious goal became make “better” bread consistently.

I can happily say I’ve reached a point in time when I can, with reasonable safety, say I’ve met my goal.  

Insanity is often defined as “doing the same thing over, and over again, and expecting a different outcome.  I assume the opposite is also true: “doing the same things consistently, and expecting the same outcome is sane.”

My TFL blog is, in the recent past three years, peppered with arguments for developing a personal, disciplined process(es) for baking breads. Discipline, in my opinion, begins with consistency: in ingredients, in procedures, in time and temperature, and also attitude.

This morning, while building a small amount of levain, not for baking but to merely replace my refrigerated seed starter—no baking this week, the freezer is full—I thought it worth a blog entry to focus on starter maintenance, and levain building (manipulation).

With the back-story complete, here’s what I do with my seed starter—consistently.

• 24 hours before dough making: Build 1; 40g seed starter @ 100% hydration, 20g each Flour (KA Bread Flour) and filtered well water. (2:1:1) Ferment at room temperature (72°F – 76°F)

• 16 hours before dough making: Build 2: All of Build 1, 40g flour and 40g H2O. Ferment at room temperature.

• 8 hours before dough making: Build 3: All of Build 2, 80g flour and 80g H20. Ferment at 82°F.

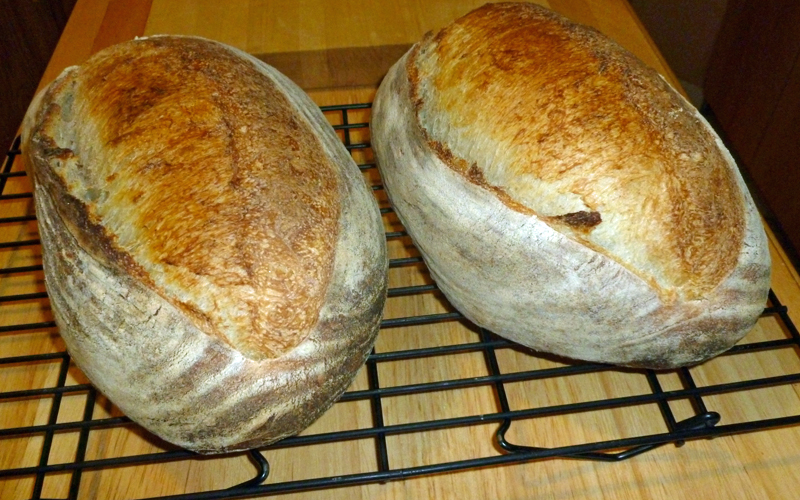
I make three sourdoughs routinely: a 10%:45%:45% (Rye: AP: Bread flours mix) @ 67% hydration, a Mostly White (only 5% Rye) at 67% to 72% hydration, and a 50% Whole Wheat:Bread flours version @ 68% hydration. All use 250g of ripe 100% hydrated levain. Which leaves 70g of ripe levain from the three Build process

10/45/45 Sourdough
 

Mostly White Sourdough


50%Whole Wheat Sourdough

I feed 50g of the remaining levain 1:1:1 with Bread flour and water, and completely replace the previous week’s seed starter. (Divided equally into two jars. I’ve always been a belt-and-suspenders, risk-avoiding guy.)  I refrigerate this mix immediately. Total replacement was Debra Wink’s suggestion. Previously, I’d been feeding a measured amount of the residual seed starter. This may have contributed to (caused?) the earlier failure.

This discipline, along with 15 hours of retardation at 54°F, yields consistent performance regardless of the flour mix, or hydration. I divide and warm the chilled, retarded dough for one hour at 82°F, shape the final loaves, and return them to the proofing box (82°F). Proofing invariably takes 2 hours and 15 to 20 minutes. I bake at 450°F, with steam for 15 minutes, and without steam until internal temperature reaches 208°F to 212°F—typically 8 to 10 more minutes for 1 lb. loaves and 12 to 15 more minutes for 1.5 lb loaves regardless of dough type or hydration percentage.

Variations on the theme:

• I’ve built a Rye Sour beginning with the same seed starter, but now replaced every week to ten days; otherwise same process: surplus Rye Sour for baking is fed at 1:1:1 with Whole Rye and stored in the refrigerator.

However, I build Rye levain at 60% hydration for the first 16 hours (Two progressive builds @ Room Temp.) and 100% Hydration at 82°F for Build 3.

• My wife is not a sour, sourdough fan. Consequently, I focus sourdough builds on yeast, not bacteria development. (82°F is the sweet spot for yeast development).

• When I want more tang, I let builds 1 and 2 go 12 to 16 hours fermentation. If I want even more I push build 3’s temperature to 90°F.

I thought this blog might stimulate other TFL’ers to share their personalized processes leading to their successes.  The emphasis is on how we achieve succeed.

Happy Baking,

David G


jimtr6's picture
jimtr6

Diastatic malt powder

does anyone use this and what purpose does it serve, one thing I read is it  does for yeast what steroids do for athletes, I also have barley malt which looks like a cross between molasses and honey, it's semi sweet, actually a nice flavor

ericreed's picture
ericreed

Bread book recommendations

I'm looking for other bread books along the lines of "Advanced Bread and Pastry" by Michael Suas or "Bread" by Jeffrey Hammelman. Despite just being a home baker and relatively new to it (coming up on 4 months in April!), I prefer the textbook style of Advanced Bread and Pastry and the erudition of Hamelman. My collection is getting kind of big, so I'm not sure if there is anything else out there worth getting right now.

Books I already have aside from the aforementioned:

Flour, Water, Salt, Yeast by Forkish

My Pizza by Lahey

American Pie by Reinhart

The Bread Baker's Apprentice by Reinhart

Whole Grain Breads by Reinhart

Breads from the La Brea Bakery by Silverton

Tartine and Tartine #3 by Robertson

A Passion for Bread by Vatinet (worst book of the collection in my opinion)

Local Breads by Leader

Baking Artisan Bread by Hitz

Baking Artisan Pastries and Breads by Hitz

The Bread Bible by Beranbaum

Bread Baking: An Artisan's Perspective by DiMuzio

wassisname's picture
wassisname

Corn Rye Sourdough
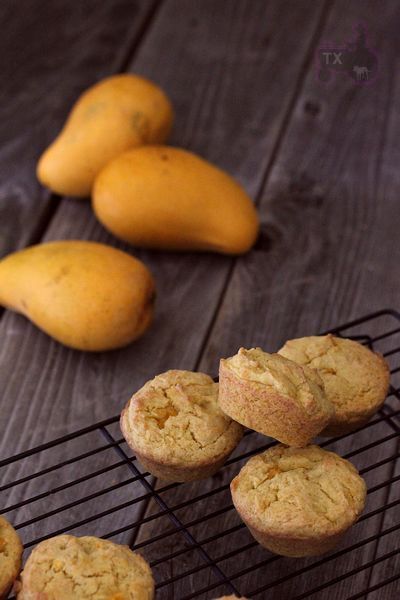
 

This is an adaptation of the Corn-Rye Rounds in Daniel Leader's Local Breads.  I’ve had my eye on this one for ages, but never got around to making it.  It sounds more "cakey" than "bready", using rye flour and a large percentage of fine corn flour.  In this version I use coarse rye meal and polenta, aiming for an equally substantial, but more "bready" loaf.  I veered a bit further in that direction than I meant to, but the result was absolutely delicious. 

The rye flavor is particularly noticeable in the crust – there is nothing quite like that flavor.  It combines very nicely with the slightly sweet flavor of the polenta.  The only downside to this bread is that, right out of the oven anyway, the polenta in the crust can be little hard on the teeth.

The hydration is the trickiest part of this formula.  Consider the numbers here a guideline.  I know that’s the caveat in any formula, but I think it is especially true here.  I ground the rye in a coffee grinder to about the same consistency as the polenta. It isn’t really noticeable in the finished bread the way the polenta is.

For next time I would like to try adding a little fine corn flour and more rye flour for an even heartier loaf.

Oh, and it makes a spectacularly delicious French toast!

And, the Family Grain Mill attachment for my mixer just arrived so I have some serious experimenting to do!

Marcus


txfarmer's picture
txfarmer

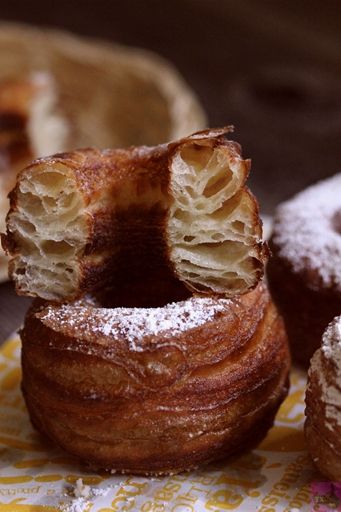
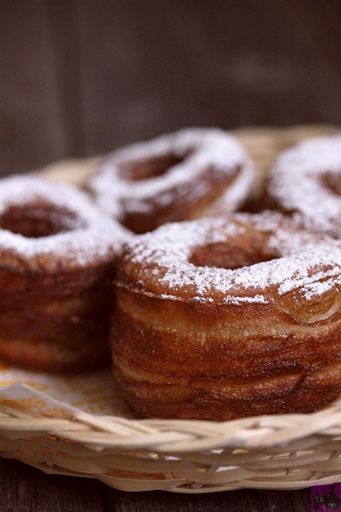
Sourdough Cronut - Hey hey hey, remember me?
Sending this to Yeastspotting.

Click here for my blog index.


Wow, it's been 11 months since I last posted. During that time several TFLers have reached out to me, thank you all for checking in. I have been doing very well, with no intention to "retire from TFL", life just got too busy to post for a while. Other than a super busy job schedule, several over sea big trips (New Zealand!), the biggest news is that I have been writing a Chinese baking book! It's scheduled to be out in July/Auguest 2014 (only in China unfortunately). Since I was doing all of the writing, photographing, not to mention recipe developing/testing/baking, I barely had any free time. Luckily the bulk of work is done, now that it's in publisher's hands, I can finally have my life back.

While I have been away from posting, I haven't stopped baking. Looking back at the pictures, I am surprised myself how much "not in the book" stuff I have baked. Had a tough time deciding which recipe I should post..

Certainly there have been lots of breads (almost all sourdough):

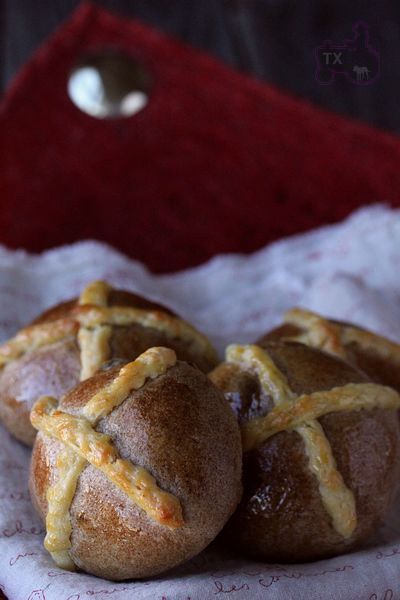
ww hot cross buns

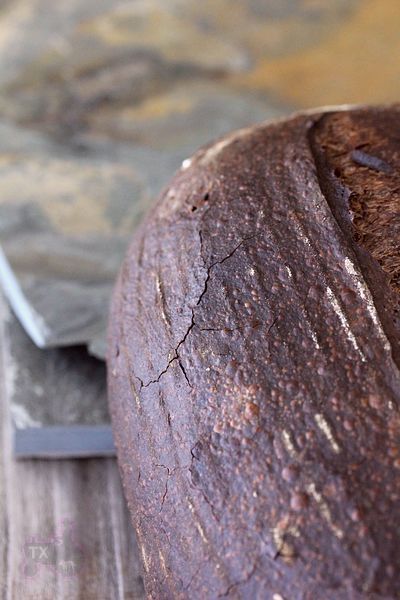
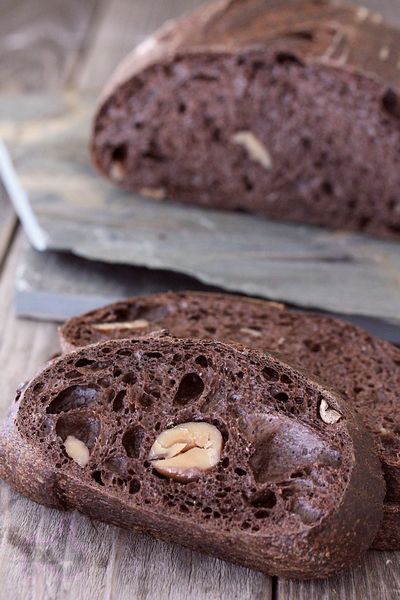
Cocoa sourdough with chestnuts
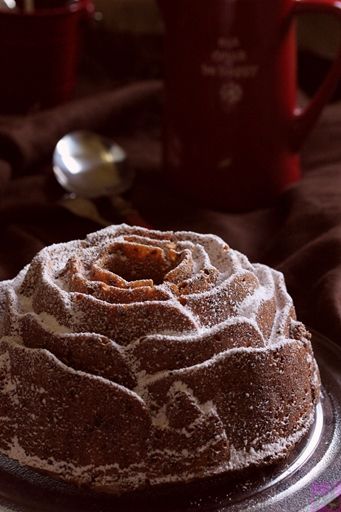
Buns with seasame seeds

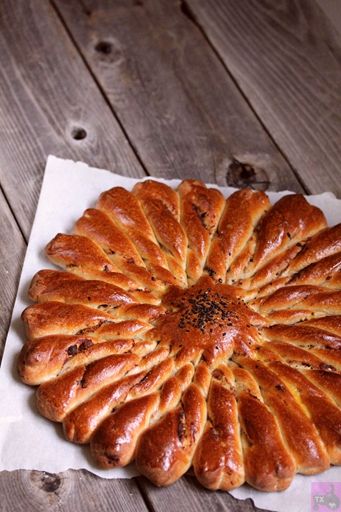
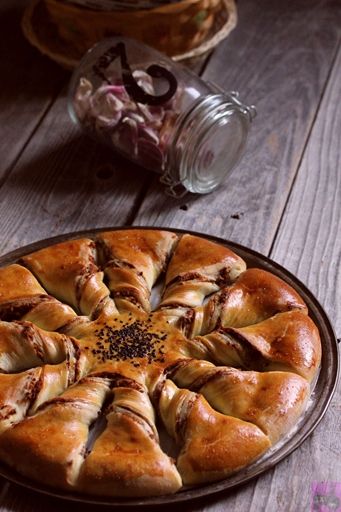
Flower light rye bread

Fenugreek, a new ingredient for me.

Everyday sourdough
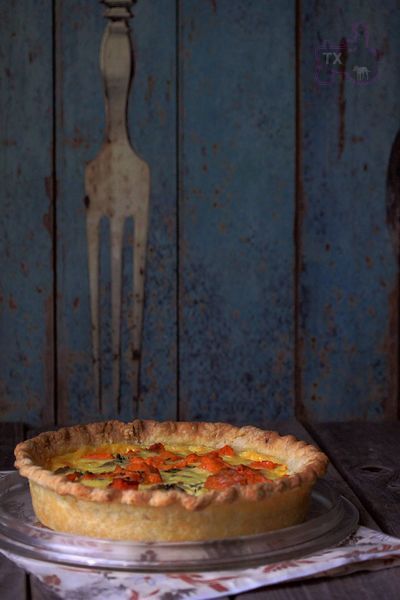
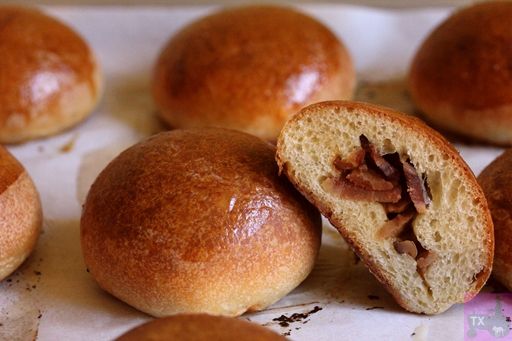
Another pretty bread with Chinese preserved dried pork & mayo filling

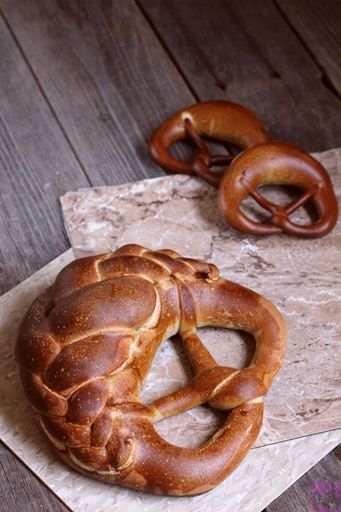
Lye pretzel with some ww in a pretty shape I copied from http://www.ploetzblog.de/

A sourdough with millet and tons of other whole grain
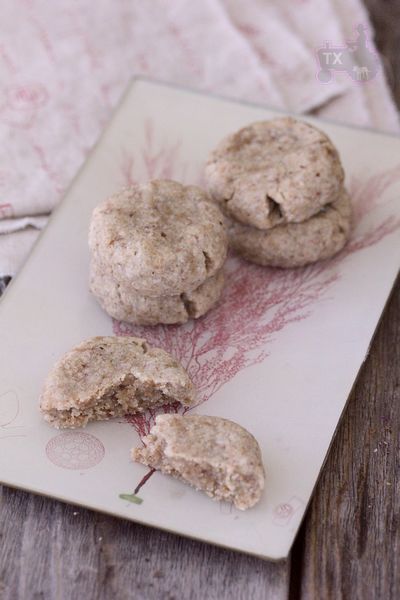
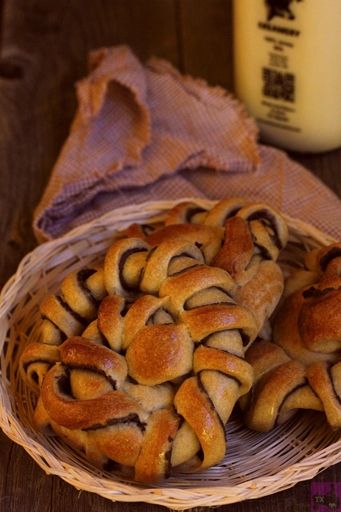
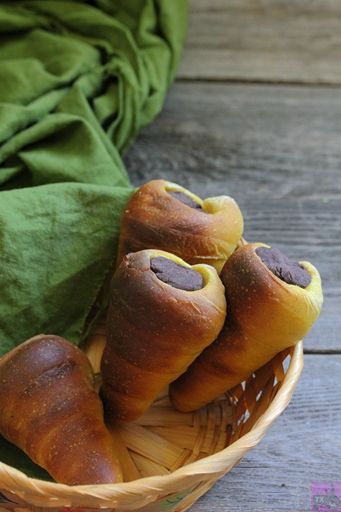
Rolls with red bean paste filling

Another pretty bread with Chinese preserved dried meat inside

Bacon filled buns

Maybe some cakes:

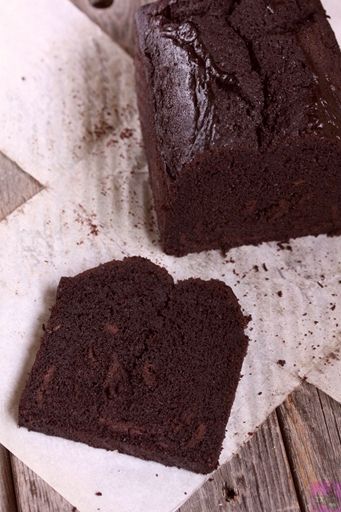
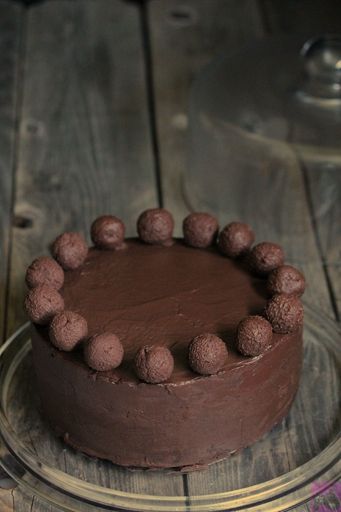
A super rich super decadent birthday cake for hubby, pounds of dark chocolate and butter went into that.

Of course can't live without mochi cakes

Some fresh peach cupcakes for my coworkers

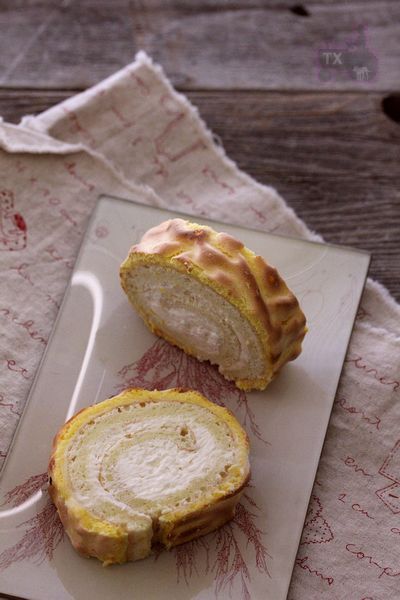
Tiger skin cake rolls. Almost every Chinese bakery has this.

This pound cake has parmesan in it, sounds odd but super yummy

How about pies and cookies?

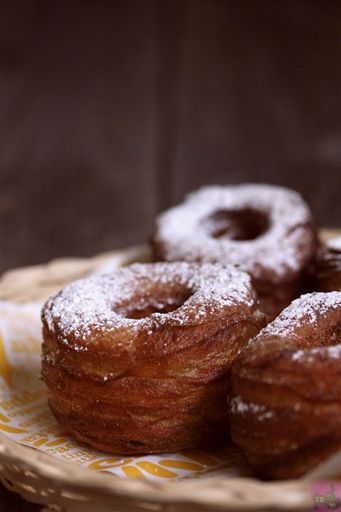
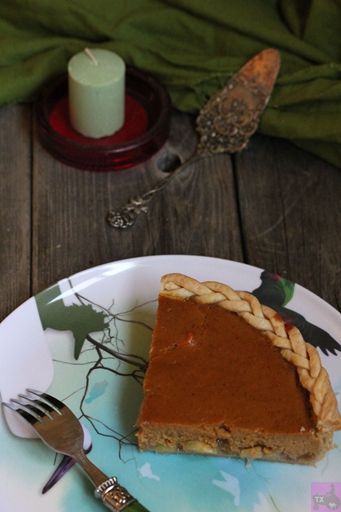
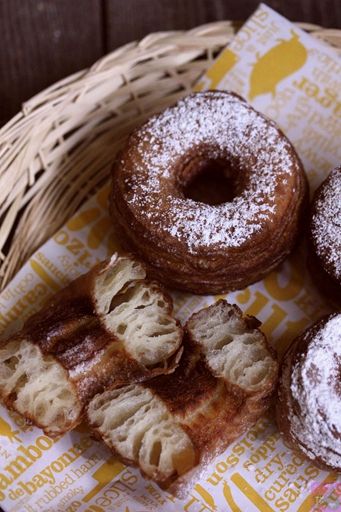
In the end, I settled on these cronuts. They were inspired by those cronuts took NYC by a storm last year, sort of how my life felt like in the past while.

----------

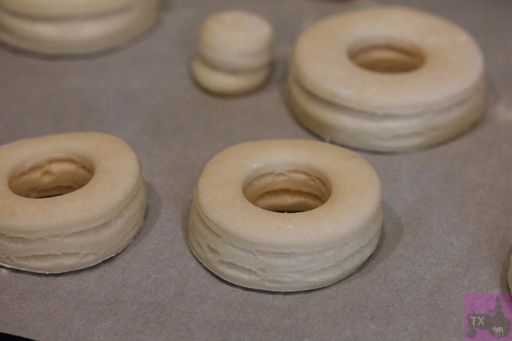
I used my trusty croissant recipe posted here. The only difference is that the dough was finally rolled out to be 8mm, much thicker than the 4mm required by croissants. Cut out the hole in the middle, and let proof @ about 80F until very soft and jiggly. About 3 hours for me. Look at the layers, the height should triple or more:

Just like anything deep fried, oil must be hot enough, otherwise stuff gets too greasy. I heated grapeseed oil to about 350F, drop in dough carefully, fry until golden. (Chose grapeseed oil because I read somewhere it's what the inventor chose after many experiments, I have no idea whether that story was true, but they turned out pretty good.)
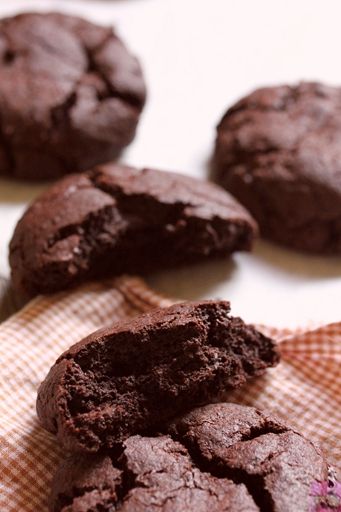
Did I mention I made these in August? Twice? It's rather inconvenient that my urge for lamination often comes in the summer.

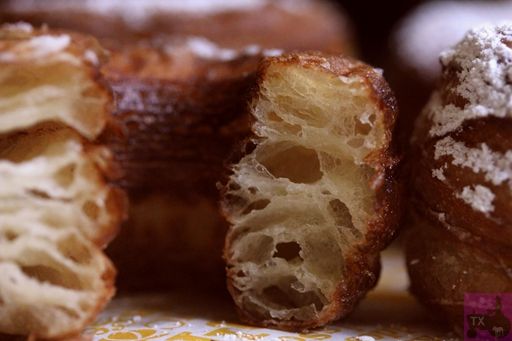
Nice layers. They are essentially fat fried in fat, I thought they would be too greasy, but no, they are rather tasty (unfortunate for my arteries).

It's quite a lot of work to make them, but much less work than taking a flight to NYC and stand in the line for a few hours I think. I have heard that Dunkin Donuts is making them now, guess I am not the only copycat out there...
ElPanadero's picture
ElPanadero

Micro Bakeries

Anyone out there running a "Micro Bakery" from their home or using someone else's catering kitchen or using a small dedicated bakery area?

I'm interested to understand a few things including:

1.  How often do you bake per week, and roughly how many loaves?

2.  Who are your primary customers?

3.  What roughly were your initial setup costs?

4.  What is your realistic profit margin %?

I love bread baking, feel confident in making a variety of good breads and want to consider taking this a step further as a method of partial income now that I am retired from the 9-5 office career.

Micro Bakeries I have emailed seem to have little or no profit margins.  Some are doing it for "fun", others expending a lot of hours for very little return.   Is there a viable business to be had in Artisan Micro Baking or is this only viable for a full production bakery shifting large volumes of product?

Any views welcomed.

Many thanks

EP

Pages