The Fresh Loaf

A Community of Amateur Bakers and Artisan Bread Enthusiasts.

Most bookmarked

Keeping Starter on the Counter

NOTE: This method works well for those who bake sourdough bread muliple times during the week, and who also like making other baked goods with leftover starter. In this chapter, a stiff starter (60 percent hydration) is discussed, but these techniques will work just as well for a wet starter (100% hydration). This personal account was written by JMonkey.

This is how I maintain my own starter, which I created in 2005. I'm a telecommuter who works from home, and I bake bread for the family two to three times a week. Occasionally, I'll make a loaf with commercial yeast, but typically, I make sourdoughs. Also, on the weekend, I like to make sourdough English muffins and sourdough waffles.

Keeping my starter in the fridge meant I was constantly trying to remember when I needed to take the stuff out to rev it up for bread, and I'd often realize too late that I didn't have enough starter for the muffins or waffles.

After some tinkering, I finally decided to keep the starter on the counter and feed it once or twice a day, which means I've always got at least enough active starter for my overnight whole grain sourdough, and, if I'll need more for a daytime sourdough, I've got enough to seed a bigger amount that can ripen while I sleep. The regimen that I now follow also has the advantage of not wasting anything, because I use all the extra starter stored in the fridge to make all the waffles and English muffins I want. Since both of these recipes derive most of their rise from the interaction of acids and baking soda, using week-old starter from the fridge has enough oomph for leavening and flavor, given that it's gotten pretty acidic already.

Anyway, I'm not saying this is the way to maintain a starter - it's just what works for me at this time in my life.

I usually feed it twice a day, once in the morning and once again before bed. Sometimes I forget, though, and only feed it once a day, but it doesn't seem to mind much. I keep it at 60% hydration, which is pretty stiff, but I find it's less messy and stands up a bit better that the wet stuff would to a missed feeding here and there, due to my forgetful nature. Here's how I feed it (it's a 1-3-5 ratio for starter-water-flour by weight).

In the morning, it hasn't risen much, but it feels puffy, and when I break it open, it's clearly aerated inside. Sometimes, it actually blows the lid off the plastic container.

It weighs about 45 grams, so I take 5 grams of it (about the size of a small marble) and put the rest in my fridge bowl. These leftovers will find their way into waffles or English muffins later in the week.

Then I add 15 grams (1 Tbs) of water and mush it up until it's soft and the water has turned somewhat milky in color.

Then I add 25 grams (2 heaping Tbs or 2 Tbs + 1 tsp) of whole wheat flour.

(If you're maintaining a wet starter, simply increase the water to 25 grams)

Finally, I mix it all up with a spoon, take it out and knead it a bit in my hands, which consists of folding it over on itself four or five times. I then roll it into a ball, snap on the lid and let it work.

That's it. I've found it's not that much of a hassle to feed it twice a day and is much less annoying than realizing I can't make a sourdough because I forgot to take my starter out of the fridge and feed it.

dmsnyder's picture
dmsnyder

March 3 should be a TFL holiday!

Norm's onion rolls and kaiser rolls

Norm's Onion Rolls and Kaiser Rolls

March 3 should be a TFL holiday. That's the day in 2008 that Stan (elagins) asked Norm (nbicomputers) if he had a recipe for New York style onion rolls.  Norm did, and he posted the recipe the same day

I just know there are some here who have yet to bake these. No one's perfect. It's not the end of the world. On the other hand, it would be a terrible thing for the end of the world to happen, and you haven't gotten around to baking these rolls. You shouldn't be depriving yourself. You never know ...

It should be noted that the same dough that is used for onion rolls is also used for kaiser rolls (aka "hard rolls," "Vienna rolls," "bulkies"). The only differences are in the make up (how the rolls are formed), the proofing and the topping. Well, there is also a slight difference in the recommendation for steaming the oven.

I am posting Norm's recipe together with tips he contributed in response to various questions and problems others posted.

So, without further ado ...

 The Dough

(Makes nine 3-oz rolls)

  • High Gluten Flour 16 oz
  • Water                  8 oz
  • Yeast                  0.3 oz Fresh or 0.1 oz Instant
  • Salt                     0.25 oz
  • Sugar                  0.75 oz
  • Malt                    0.25 oz (diastatic malt powder or malt syrup. If you don't have either, just add an additional 0.25 oz of sugar.)
  • Eggs                   0.75 oz (a little less than 2 Tablespoons)
  • Oil                      0.75 oz (a little less than 2 Tablespoons 
  1. Combine flour, salt, sugar (And malt, if using malt powder. And crumbled fresh yeast, if using fresh yeast.)
  2. Pour water in a bowl. (Add instant yeast, if using it, and mix. Add malt syrup, if using, and mix it.)
  3. Mix egg and oil together.
  4. In a large mixing bowl, preferably the bowl of a stand mixer, pour in the flour mixture. Add the egg and oil mixture and combine. Last, add the water mixture and combine.
  5. Using the dough hook, knead on Speed 2 (for a KitchenAid mixer) or equivalent for 10-15 minutes, until the dough is very smooth and silky. (This is a very stiff dough, so your mixer may "walk." Keep an eye on it!) Depending on your flour, you may have to add a bit more water, but the dough should be rather dry. Not sticky or even tacky. It should clean the bowl sides and not adhere to the bowl bottom.
  6. Place the dough in a clean bowl and cover tightly. Let it ferment until doubled in volume. (About 90 minutes, depending on the room temperature.)
  7. Turn the dough onto a dry, un-floured work surface. Divide it into 2 to 4 oz pieces, depending on the size rolls you want to end up with. (For reference, a 3 oz piece will result in a 4 inch onion roll or a 3 inch kaiser roll.)
  8. Pre-shape each piece into a ball, cover with plastic wrap and/or a towel and let them rest for 10 minutes. (This is to relax the gluten, not to rise.)
  9. If making onion rolls, spread the topping on your work surface, a cookie sheet, a pie tin or whatever.
  10. Flatten each piece using a rolling pin and/or the palm of you hand. They should be 1/4-1/2 inch thick.
  11. Press each flattened piece firmly into the topping mixture, then place it topping side up on a baking pan lined with parchment paper which has been sprinkled with coarse cornmeal (polenta).
  12. Cover the baking sheet with plastic wrap and allow the rolls to fully proof. This may take 60-90 minutes. (Failure to allow the rolls to fully proof will result in more oven spring than is desirable. These rolls should not end up spherical, but rather flat, like a discus.)
  13. Pre-heat your oven to 450F and prepare to steam it using your method of choice.
  14. When the rolls are fully proofed, press a finger deeply into the center of each roll.
  15. Bake them for 5 minutes with steam. Then remove the steam source and continue baking until the rolls are well-browned - 10 to 15 minutes longer. (The tops may remain white if the onions were too wet or you had too much steam in your oven.) If desired, you can bake a bit longer to crisp up the tops.
  16. Remove the rolls from the oven and cool on a rack.

The Topping for Onion Rolls

(Makes enough for a double recipe)

  • Dehydrated onion flakes ¼ cup
  • Poppy seeds                  1 T
  • Salt                              ¼ tsp
  • Oil                                1 T
  1. Put the onion flakes in a bowl and pour boiling water over them.
  2. When the onion flakes are fully re-hydrated, pour off the excess water but save it for use in the dough or in your rye sour or other good use.
  3. Mix in the other ingredients and put aside.

If anyone has additional tips, please submit them. Collectively, we have quite a bit of experience with this recipe. I'm hoping to collect it all in one place.

Thanks. 

David


browndog's picture
browndog

The Scent of Apples

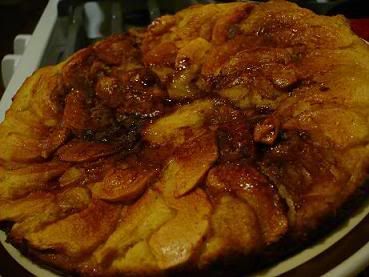
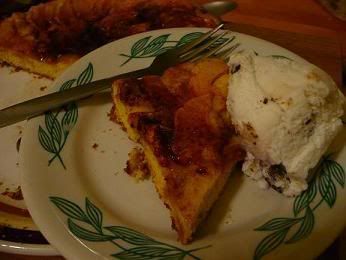
Grandmother's Apple Cake

5 tablespoons plus 1/4 cup sugar

1 cup AP flour

1/2 teaspoon salt

1 teaspoon baking powder

1 egg

2 tablespoons milk

1 teaspoon vanilla extract

4 tablespoons unsalted butter, at room temperature

2 medium baking apples

1/2 teaspoon ground cinnamon


1. Set the oven to 400 degrees. Spray the bottom of a 10 inch cast iron skillet with cooking oil spray. Sprinkle 2 tablespoons of the sugar into the pan.

2. In a bowl, sift the flour, salt, and baking powder.

3. In another bowl, whisk the egg, milk, and vanilla.

4. In an electric mixer, beat the butter with 1/4 cup of sugar for one minute or until light. Remove the bowl from the mixer stand. Stir in one third of the flour, then one third of the milk. Add the remaining flour and milk in the same way.

5. Use the back of a spoon or your fingertips to spread the batter in the skillet - it will be thick and sticky.

6. Peel and core the apples. Slice them 1/8 inch thick. Starting at the outer edge, arrange the apples on the cake in slightly overlapping concentric circles.

7. In a small bowl, mix the remaining 3 tablespoons with the cinnamon. Sprinkle over the apples.

8. Bake the cake for 20 to 25 minutes or until the apples are tender and a skewer inserted into the cake comes out clean. Let the cake cool for 10 minutes.

9. With a wide metal spatula , loosen the edges and bottom of the cake from the pan. Place a large plate on top and invert the pan and cake together. Lift off the pan. Place another plate on top of the cake and invert it again, so the cake is right side up. Serve warm.


Be careful not to burn this cake!

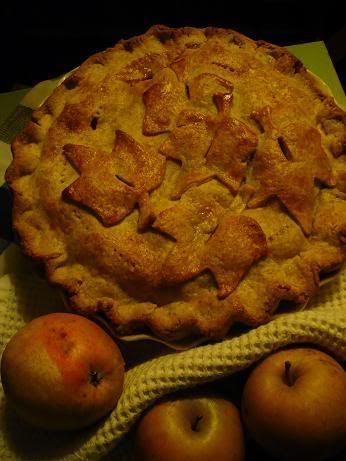
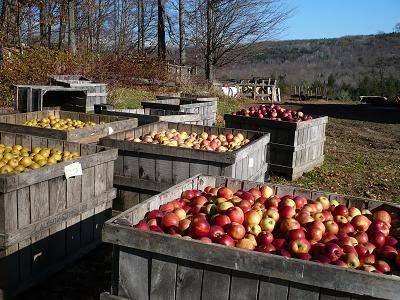
Heirloom apples are a palette of the past. Their names reach across centuries: Ashmead Kernel, Cox Orange Pippin, Lamb Abbey Pearmain, Reine de Reinette, Sheepnose or Black Gilliflower. Their flavor does, too--either one in the mouth takes you to a tree in a stone-edged field, discussing apples with a man in leather and homespun.

Hudson's Golden Gems

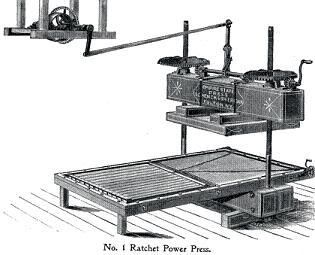
Our neighbor Willis Wood makes cider from antique apples on a press bought new by his family in 1882.

The best cider comes from knowing the apples and how to combine them.

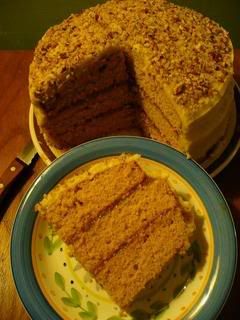
This cake uses 3 cups of it.

Willis boils fresh cider into syrup and jelly.

A little more than half way along the forest trail that leads from my house to the cider mill, the scent of apples meets us, pungent, sweet and vinegary, odd against the smell of fallen leaves.

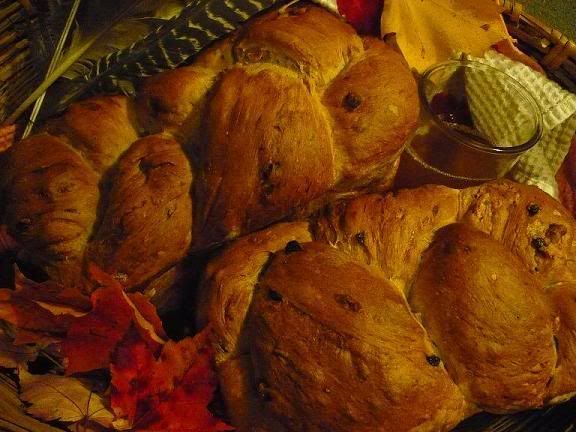
Beth Hensperger's Fresh Apple-Walnut Loaf

Ingredients

1 tablespoon active dry yeast

2 tablespoons light brown sugar

1 cup warm water (105-115 F)

1 cup warm milk

6-6 1/2 cups unbleached all purpose flour or bread flour

2 medium-large tart cooking apples, peeled, cored, and coarsley chopped (2-3 cups)

1/2 cup dried currants

1/2 cup walnuts, coarsley chopped

2 tablespoons walnut oil

2 large eggs, at room temperature

2 teaspoons ground cinnamon

1/2 teaspons ground mace

1/2 teaspoon ground allspice

1 tablespoon salt


1. In a large bowl using a whisk or in the work bowl of a heavy duty electric mixer fitted with the paddle attachment, combine the yeast, brown sugar, warm water, warm milk, and 2 cups of flour. Beat until smooth, about 1 minute. Cover the bowl loosly with plastic wrap and let stand at room temperature until foamy, about 1 hour.

2. Add the apples, currants, walnuts, oil, eggs, cinnamon, mace, allspice, salt, and 1 cup more of the flour. Beat until creamy, about 2 minutes. Add the remaining flour, 1/2 cup at a time, until a soft dough that just clears the sides of the bowl is formed. Switch to a wooden spoon when necessary if making by hand.

3. Turn the dough out onto a lightly floured work surface and knead until smooth and springy yet firm, about 5 minutes, dusting with flour only 1 tablespoon at a time as needed to prevent sticking. Push back any fruit or nuts that fall out during the kneading.

4. Place the dough in a greased deep container. Turn the dough once to coat the top and cover with plastic wrap. Let rise at room temperature until doubled in bulk, 1 1/2 - 2 hours.

5. Gently deflate the dough. Turn the dough out onto a lightly floured work surface. Grease two 9 by 5 inch loaf pans. Shape into two braided or regular loaves. Let rising pans till tops are an inch above rim of pan, about 45 minutes.

350 degrees for 45-50 minutes.


A wild apple tree is as gnarled and angular as an elderly aunt.

Most evenings deer gather beneath this tree, till the snows bury the remains of the season's apple crop.
saffron bun

The first time I saw this recipe in Linda Collister and Anthony Blake's Country Breads of the World I nearly threw the book out the window. The recipe, called "Daniel's Saffron Bread," shows a 6 year old all decked out in an apron happily baking this Saffron Bread.

"A six year old??? Baking with saffron?!? The stuff costs as much, by weight, as gold!!!" I thought.

A month or so ago my mother-in-law returned from a trip to Portugal and brought me a souvenir: saffron. So I decided to try it. I have to admit, they are good.

The recipe in the book includes a bit more butter and skips the initial rise. He also bakes it in a loaf pan, whereas I baked them as little buns. I was happy with the way mine turned out, so I'm posting the recipe my way.

Saffron Buns
Makes 1 dozen buns.

1/2 teaspoon saffron strands
1 1/4 very warm milk
4 cups (500 grams) unbleached bread or all-purpose flour
1 teaspoon salt
1/2 cup (1 stick) butter
1/4 cup light brown sugar
2 1/2 teaspoon instant or active dry yeast
2/3 cup dried fruit

Stir the saffron strands into the hot milk and set aside to infuse for half an hour at the minimum or as long as overnight (in the refrigerator).

Combine the flour and salt in a mixing bowl. Cube the butter and cut it into the flour with a fork or a pastry cutter so that the mixture resembles course crumbs.

Stir in the sugar. If using active dry yeast, heat a half cup of the milk to room temperature, then stir in the yeast and allow to activate for 10 minutes. Otherwise, add the instant yeast directly to the flour mixture and stir in all of the milk.

Knead by hand for 6 to 8 minutes or in a stand mixer for 3 to 5 minutes. Add the dried fruit and knead some more until the fruit is distributed throughout the dough.

Place the dough in an oiled bowl, cover with plastic wrap, and set aside to rise at room temperature until doubled in size, roughly 45 minutes to 1 hour.

Shape the rolls by hand and place on a baking sheet. Cover the baking sheet with plastic and set aside to rise another 45 minutes. In the meantime, preheat the oven to 350 degrees.

Bake the rolls at 350 for approximately 20 to 25 minutes, rotating the baking sheet once halfway through. The buns should be nicely brown.

saffron bun

Serve immediately.

Saffron Buns

Floydm's picture
Floydm

Crepes of Wrath

crepe muncher

We've been reading a ton of Petzi books to our son. All of the drawings of Petzi eating crepes forced me to make crepes this weekend (yes, forced me... my life is so tough).

These were good in the morning, but the best part has been having extras in the fridge. I pull one out, spread on some Nutella, and zap it in the microwave for 20 seconds and they are as good as new.

I've used a few different recipes in the past, but I really like this one from Beth Hensberger's Bread Bible. It is extremely simple.

Crepes

Makes 15 to 20 crepes

3 eggs
1 cup whole milk
2/3 cup water or light beer
1 cup plus 2 tablespoons unbleached all-purpose flour
4 tablespoons melted butter (add a dash of salt if you are using unsalted butter)

Mix everything together with a blender, hand mixer, or whisk until it is smooth and the consistency of cream. Cover with plastic and refrigerate.

Lightly grease a skillet or crepe pan and heat over medium heat. Pour a scoop of batter onto the pan and tilt the pan to spread the batter around (or use a plastic scraper to do so). After a minute or so flip the crepe over and bake until the other side is slightly browned, 30 seconds or so.

Serve with whatever filling you like. We did Nutella and black current jam. Both were excellent.

As I mentioned, leftover crepes can be wrapped in plastic and stored in the fridge for a good long while. We actually didn't have any left over, but I made a second batch the next morning because we enjoyed them so much. It is almost time for me to make a third batch!

Danni3ll3's picture
Danni3ll3

Dark Chocolate with a Splash of  Maple Syrup Porridge Sourdough 


I don’t remember how I stumbled on this combo but I must give Kristen Dennis, from Full Proof Baking, the credit for inspiring this version. 


Recipe 


Makes 3 loaves


Porridge 

100 g large rolled oats

200 g water

35 g Maple Syrup

30 g butter


Add-ins

200 g 50%  dark chocolate chips 


Dough

800 g strong bakers unbleached flour

200 g freshly milled wholegrain Durum flour 

50 g freshly ground flax seeds

700 g water

23 g pink Himalayan salt

30 g yogurt

250 g levain (procedure in recipe)

Extra wholegrain and unbleached flour of your choice for feeding the levain


The day before:

1. Take 2 g of refrigerated starter and feed it 4 g of filtered water and 4 g of wholegrain flour. Place in a warm spot for about 8 hours. 


The night before:

1. Mill the grains if you are using durum berries. Otherwise use the freshest wholegrain durum flour that you can find (freshly milled flour does make an incredible difference in flavor). Place the required amount of flour in a tub. Grind the flax seeds and add to the tub. Add the unbleached flour to the tub as well. Cover and set aside.

  1. Feed the levain 20 g of water and 20 g of wholegrain flour. Let that rise at cool room temperature for the night. 


Dough Making day:

1. Early in the morning, feed the levain 100 g of filtered water and 50 g of strong baker’s flour and 50 g wholegrain flour. Let rise until doubled (about 5 hours). 

2. About two hours before the levain is ready, put 700 g filtered water in a stand mixer’s bowl and add the flours from the tub.  Mix on the lowest speed until all the flour has been hydrated. This takes a couple of minutes. Autolyse for at least a couple of hours at room temperature. 

3. Make the porridge: Add the water, the butter and the maple syrup to the rolled oats and cook on low until the liquids are absorbed and porridge is creamy. Let cool. 

4. Once the autolyse is done and the levain has doubled, add the salt, the yogurt, and the levain to the bowl. Mix on the lowest speed for a few seconds to integrate everything, then mix on the next speed for 8 minutes. At the end of the 8 minutes, add the porridge as well as the chocolate chips, and mix until incorporated.

5. Remove the dough from the mixing bowl and place in a lightly oiled covered tub. Let rest 30 minutes in a warm spot (oven with light on). 

6. Do 2 sets of coil folds at 30 minute intervals and then one more set after 45 minutes. I usually do a total of 4 sets but this dough was moving really fast. When I went to do the last set of folds, it had risen 40-50% already so I decided to go ahead with shaping. Total bulk was less than 3 hours. 

7. Tip the dough out on a bare counter, sprinkle the top with flour and divide into portions of ~870 g. Round out the portions into rounds with a dough scraper and let rest 30 minutes on the counter. 

8. Do a final shape by flipping the rounds over on a lightly floured counter. Gently stretch the dough out into a circle. Pull and fold the third of the dough closest to you over the middle. Pull the right side and fold over the middle and do the same to the left. Fold the top end to the center patting out any cavities. Finally stretch the two top corners and cross over each other in the middle. Roll the bottom of the dough away from you until the seam is underneath the dough. Cup your hands around the dough and pull towards you, doing this on all sides of the dough to round it off. Finally spin the dough to make a nice tight boule.

9. Sprinkle a  mix of rice flour and all purpose flour in the bannetons. Place the dough seam side down in the bannetons. Let rest for a few minutes on the counter and then put to bed in a cold (38F) fridge overnight. I try to keep final proof under 12 hours. 


Baking Day

1. The next morning, about 11 hours later, heat the oven to 475F with the Dutch ovens inside for 45 minutes to an hour. Turn out the dough seam side up onto a cornmeal sprinkled counter. Place rounds of parchment paper in the bottom of the pots, and carefully but quickly place the dough seam side up inside. 

2. Cover the pots and bake the loaves at 450 F for 25 minutes, remove the lids, and bake for another 20 minutes at 425 F. Internal temperature should be 205 F or more.


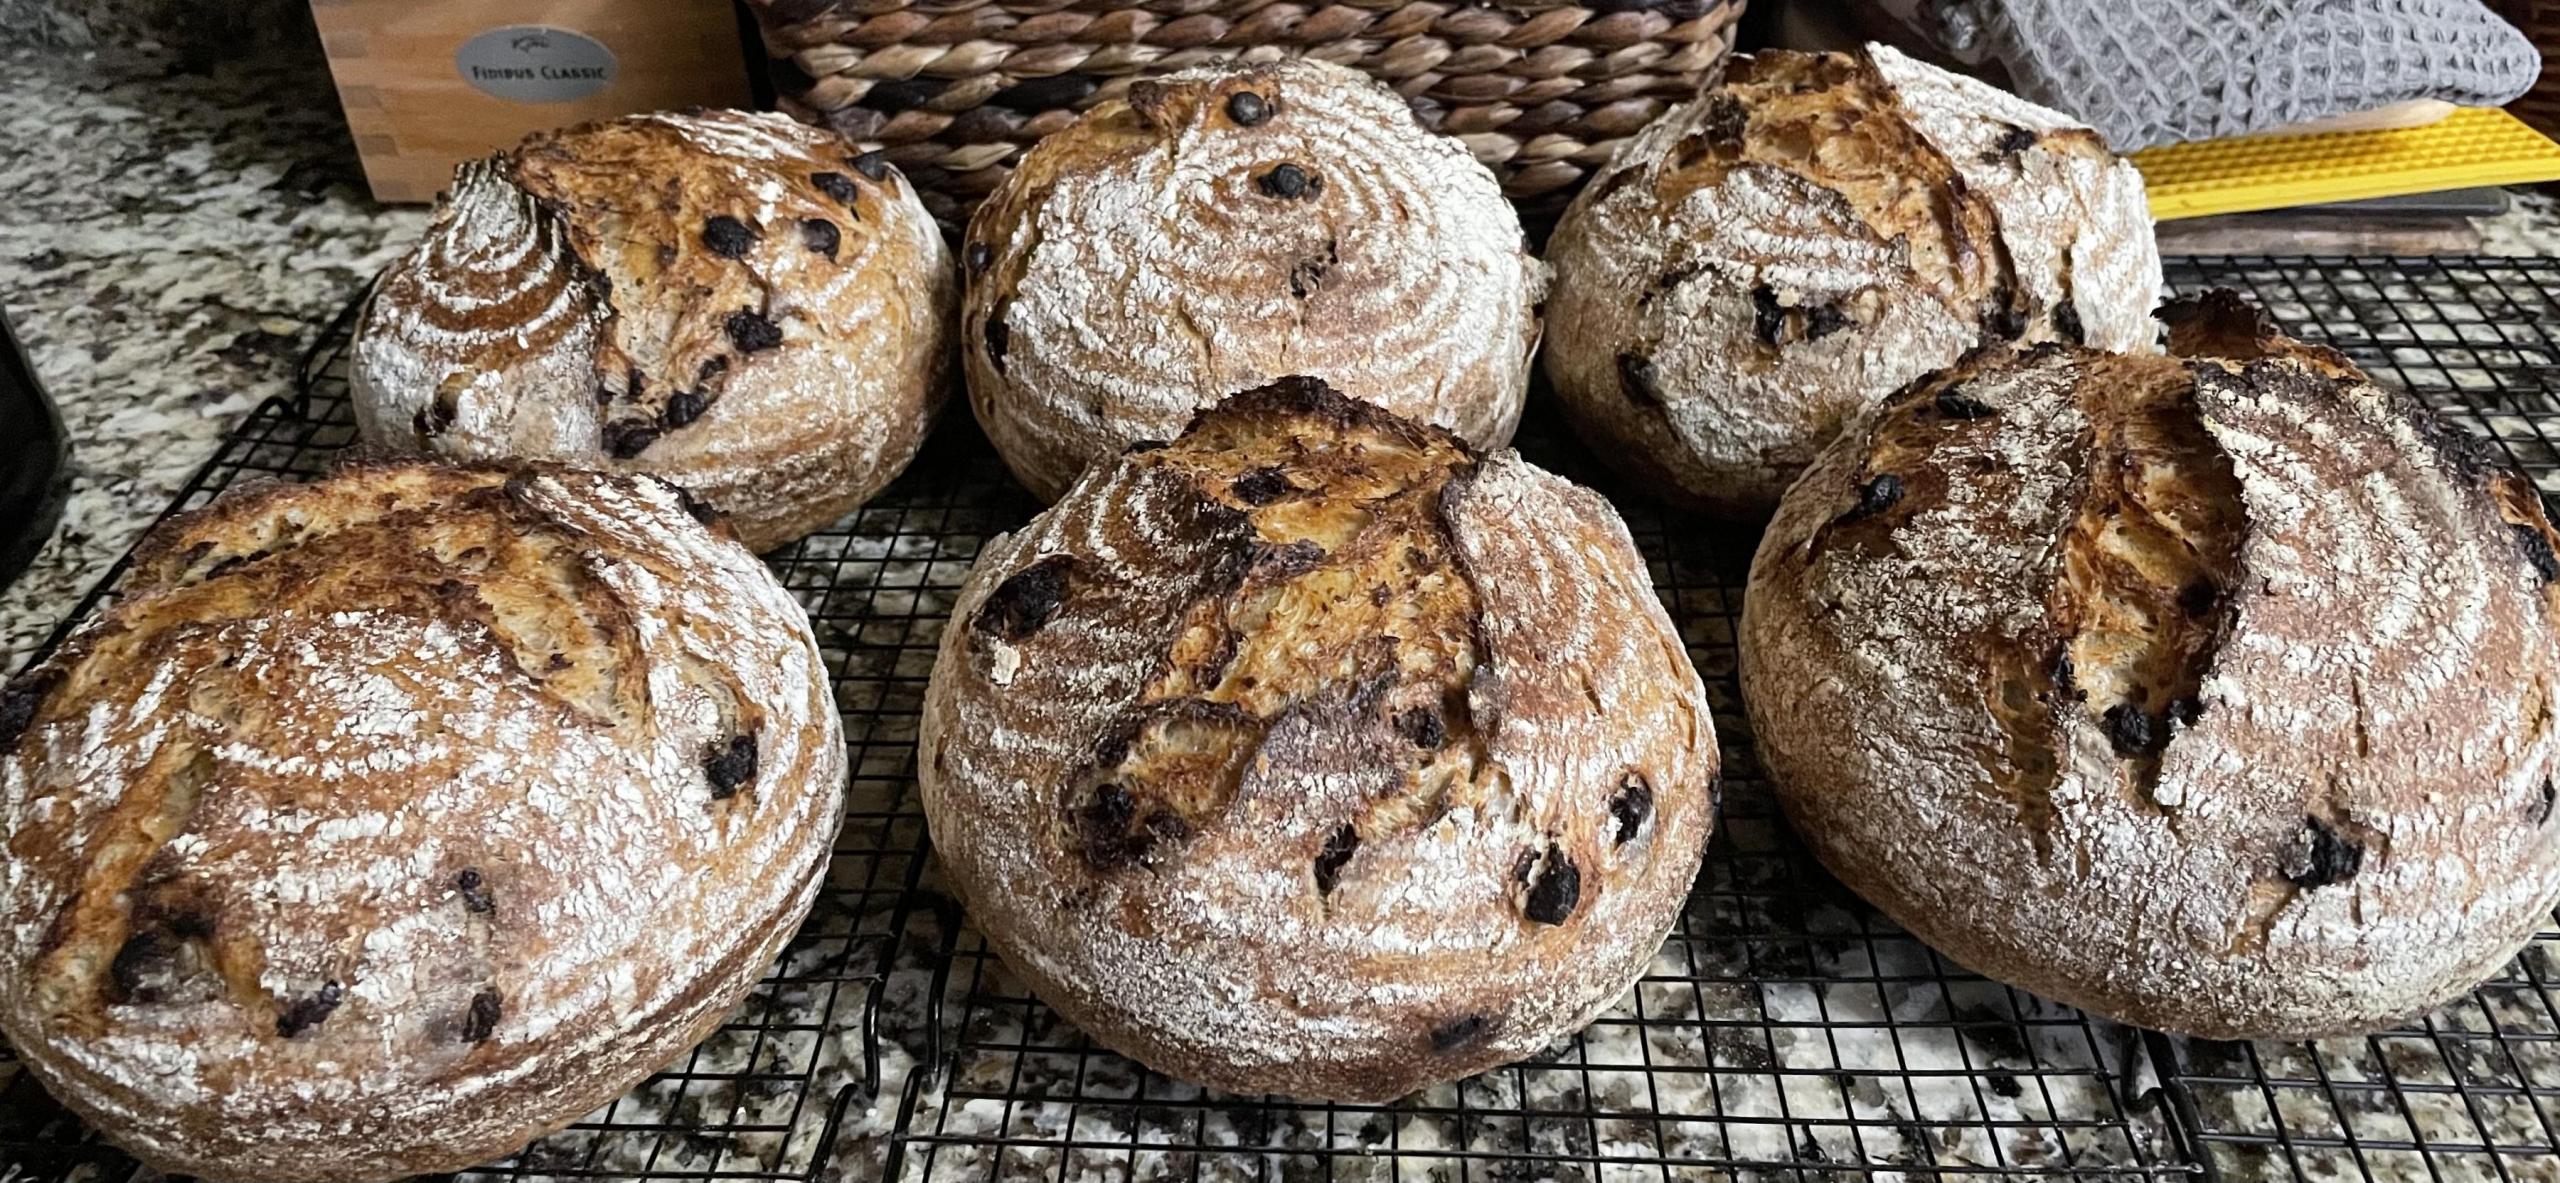
Holy oven spring! These really decided to explode. 

Antilife's picture
Antilife

Neapolitan Pizza and Teglia Romana

Hi Guys,

my name is Stefano and i'm a pizzamaker from Italy. Every week I make some style of Pizza.... here there are some images of my works.

With Neapolitan i prefer use Sourdough, but for pizzeria the use of Fresh yeast is more easy


Other my prefered style is Teglia alla Romana, using only Fresh Yeast and studing a lot on toppings


My personal web page is : www.0059.it   and every week i will add some pizza with receipt. 

Doc.Dough's picture
Doc.Dough

Heat transfer mechanisms in typical home-oven baking

This post has no pictures and is not going to interest a lot of readers since I did it to help my own understanding of what is going on in the oven.  Writing it down forced me to explain more when I didn't understand why and fix apparent inconsistencies.  If it is too much technobabble, just jump out and find something interesting. For those who wade through it, I welcome comments, corrections, clarifications, and questions.  Just consider it a work in progress.  When you understand this, you should be able to write the versions that apply to wood-burning ovens and deck ovens with external steam generators.

CONVERTING DOUGH TO BREAD BY BAKING IN A HOME OVEN

The modes of heat transfer from oven to bread include:

  • Conduction (by direct contact with a hot surface)
  • Convection (both natural and forced mechanisms from hot oven air)
  • Radiation (the heat flow between the oven walls and the bread in the oven)
  • Phase change (the evaporation of water from, and condensation of steam onto the dough surface)

For pan bread, the sides and bottom of the loaf are cooked by conduction of heat through the pan while the top is cooked by a combination of radiation, convection, and possibly condensing steam. The relative contribution from each mode is dependent on the oven, the temperatures involved, and whether there is any mechanical stirring of the air to enhance the convective heat transfer.

For freeform loaves baked on a metal pan, the bottom is cooked by conduction of heat through the pan while the remainder of the loaf is baked by other mechanisms.  When the baking surface is tile or stone or firebrick (something other than a thin sheet of typically aluminum or steel), heat stored in the baking surface is transferred by conduction to the loaf which both heats the loaf and cools the baking surface. The rate of heat delivery to the loaf is determined by the mass of the cooking surface, the initial temperature of the material, the thermal conductivity of the cooking surface, and the specific heat (cp) of the cooking surface material as well as the density, thermal conductivity and cp of the dough. The rate at which the energy stored in the baking surface is replaced from the oven primary energy source depends on the geometry, surface temperatures and convective flows, and also on what else is simultaneously in the oven (e.g., other loaves of bread or other pans above or below).

There is always some amount of free convection in any oven, driven by the temperature distribution within the oven which heats or cools air causing it to expand and rise, or contract and fall as its density changes. This results in the top of an oven generally being hotter than the lower shelf positions. Convection ovens have mechanical fans that circulate air within the oven to both increase the heat transfer rate to the food and to achieve a more uniform temperature distribution within the oven (top to bottom, side to side, and front to back). Even the small fans in widely available home ovens deliver very high temperature uniformity and shorten baking times because they increase the heat transfer rate from the oven heat source to the food.  The general guidance for using a convection oven is to reduce the temperature by 25°F and bake for the amount of time that is called for if you were using a conventional oven.

For most non-convection, non-steam injected ovens, radiation from the oven walls is the principle heat transfer mechanism.  The Stefan-Boltzmann law governs radiation energy transfer between the oven surfaces and the bread.  It takes the form of:

Qdot12= s A1 F12(T1^4 – T2^4)

where s is the Stefan-Boltzmann constant, A1 is an increment of oven wall area, F12 is a shape factor that accounts for geometry and surface emissivity, T1 is oven wall temperature and T2 is the bread temperature (both in °K).  Note that the heat transfer rate Qdot is proportional to the difference between the fourth powers of the absolute temperatures.  This is not (T1 - T2)^4, but T1^4 - T2^4 which is a really big number at typical bread baking conditions [T1 might be 250°C (523°K) and T2 might be 15°C (288°K) at oven entry].   At these temperatures, a 30°C reduction in oven wall temperature produces about a 20% reduction in radiant heat transfer rate and about a 13% reduction in convective heat transfer rate.

In steam-injected ovens, condensation of water on the surface of the dough delivers a lot of heat.  The enthalpy of vaporization for water (2250 J/g), is more than five times the energy required to heat the same quantity of water from 0°C to 100°C (418 J/g) and is delivered directly to the surface of the dough when steam condenses. Steam does two things for you; it brings water directly to the dough which helps to fully gelatinize the starch forming a shiny, waterproof, gas tight membrane that prevents CO2 from escaping through the surface (thus forcing dissolved CO2 in the dough just under the skin to form blisters when it comes out of solution as the dough temperature rises to exceed the temperature at which the CO2 can remain dissolved).  The cooked surface is also physically strong and cannot stretch to accommodate expansion of the trapped CO2 (oven spring) and will thus facilitate fracture along the lines defined by your lame when you slashed the dough (or randomly at weak spots if you forgot, or slashed ineffectively).

During the first few minutes in the oven, the dough is cool enough to condense steam on the surface, and the more steam there is in the oven the more effectively and rapidly it cooks what will become the crust.  If there is inadequate steam, the dough will still cook, but the starch will not be fully gelatinized so that the crust is not as shiny or gas tight as you might desire and the coloration will be different and generally dull.

When the surface temperature of the dough gets high enough that it exceeds the local water vapor saturation temperature (oven dew point) steam no longer condenses on the crust.  At this point, while the specific heat (cp) of unsaturated steam is somewhat higher than dry air (by about 2x), the dominant heat transfer mechanism in a non-convection oven switches over from phase change (condensing steam) to radiation (from the oven surfaces). In convection ovens, the size of the fan and the capacity of the heating elements will determine whether radiation or convection will be dominant. In most home ovens, the convection fan is adequate to maintain uniform temperature throughout and does increase heat transfer by about 15% above what it would be with radiation plus free convection, but does not provide sufficient air velocity to raise convective heat transfer to a point where convection dominates radiation as the mechanism for transferring heat to the bread.  In commercial convection or combination ovens, the situation is reversed and since the heating elements and the convection fan are big and powerful, they transfer heat via convection considerably faster than radiation alone.

Gas ovens (with burners that share the bread baking volume) suffer from the absolute need to exhaust combustion gasses when the fire is on and in the process sweep out both the steam that is generated by combustion and any steam that is added to the oven (by both your steam generator and by evaporation from the bread dough itself).  The conventional solution is to preheat the oven to very high temperature, include some additional heat storage capacity in the oven (tile, brick, stone, scrap iron), then turn off the gas and plug the vents after loading the bread until there is no additional value from further steam. At this point you can unplug the vents, re-ignite the flame, and remove your steam generator from the oven.

Crust thickness is determined by the depth to which the baking bread has been depleted of moisture, and is generally a function of both oven temperature and oven cycle time. If the oven is too hot, the bread will over-brown before it develops a thick crust.  If the oven is too cool, the crust will be light in color even though it may be relatively thick.

When generating steam by boiling water inside the oven, some energy that would otherwise go toward raising the oven temperature is used to boil water.  This can be a major factor in small ovens and is important to understand.

Bread loses about 15% of its initial weight to evaporation of water during the bake cycle, thus a 750g loaf will lose ~110g of water.  It takes 2.13 BTU/gm to evaporate the water so you expend about 235 BTU in the process. That 235 BTU is about 68 watt-hours of energy, which you can allocate over the bake cycle and think of as reducing the effective power of the oven.  For a 30 min bake cycle that is like reducing the 2500W heating element by 136w to 2364W except that the effective reduction is bigger at the beginning of the cycle than at the end because there is more water to easily evaporate at oven entry. 

If you consume a pint (pound) of water in a steam generator, you will use 1000 BTU or 0.3 KWH to convert it to steam (plus 1 BTU for every °F that the initial average water temperature is below 212°F).  A 2500W oven will take about 7 minutes to recover the heat lost to the steam generator, and for a 4.5 cu ft oven, it takes about 75g of water to produce enough steam to fill the oven.  You will have to make an assumption about how tight your oven is but it would not be a bad assumption to guess that you lose one oven volume of steam per minute of active steaming. My observation is that after the first five minutes in the oven, the surface of the dough stops looking wet, and for rolls and small diameter loaves, they have completed almost all of their oven spring (note that there is an alternate view that says you should steam until the dough begins to brown – just figure out what works for you).

Seventy five grams of water takes 3.84 KW-minutes to boil, but you need 75g of steam per minute (about a pint for five minutes of steam if you leak at one oven volume per minute), so with a 2.5KW oven, if you don’t want to substantially cool off your oven in the process of making steam, you need some energy storage in the oven.  Lava rock has a cp of around 0.2 so it takes a bit more than a pound of lava rock at 400°F to generate 5 minutes of steam, but that is not unreasonable since you will heat the rock up during your normal pre-heat cycle (I am assuming it takes 1 hr @ 500°F to get the lava rock thermally charged to 400°F in a non-convection oven). And you will want to use boiling water to charge the steam generator so that you don’t use another 20% of additional energy to heat the water up to boiling.

Danni3ll3's picture
Danni3ll3

Cranberry Wild Rice Sourdough with a touch of Tarragon

This bread is inspired from several sources: my bread baking class, Joc1954 Cranberry Tarragon bread and a request to make a Cranberry Wild Rice loaf from one of the volunteers at the soup kitchen. 

And the very special thing about this bread is that it was leavened using JamieOF's sourdough starter. He (guessing he is a he, if not, I apologize!) sent me some of his explosive starter which he had dried. This was new to him and reviving it was new to me.

The first try on Monday as done using tap water, I realized this after I had dumped the water in, and a day later, nothing was happening so I redid it the next day. This time there were signs of life within a few hours and I carefully fed it every 12 hours.

By Saturday, it looked quite lively so I gave it my usual combo of rye and AP flour to make a levain. It loved that combo and doubled in 4 hours. I wasn't ready for it so I just stirred it down and it had risen half way within an hour and a half. As you can see, it did an awesome job leavening my loaves. 

This recipe made 3 loaves. 

The night before:

1. Soak 75 g oh wild rice in 375 g of water with 30 g of organic local yogurt. Leave at least 7 hours. Drain reserving the yogurt water. Cook the wild rice in fresh water. This was supposed to take 10 minutes but it took 45. Drain and refrigerate. 

2. Soak 150 g dried cranberries in the 375 g of reserved yogurt water and refrigerate overnight. 

Dough day:

1. Feed starter to get at least 360 g of levain at 80% hydration. Let rise till double. 

2. Autolyse 157 g cold wild rice, all of the cranberries with their liquid (cold), 525 g very hot water, 900 g flour, 135 g dark rye, 150 g Kamut flour, 105 g Spelt flour and 2 grams blanched tarragon. I blanched the tarragon because in the past I had a soup turn sour when I added fresh herbs at the end and refrigerated it. I didn't want something similar happening here. I let sit for an hour and a half. 

3. Then I mixed in 30 g salt, 360 g 80% hydration levain and 30 G water. I used pinches and folds to integrate everything and start the gluten development. 

4. I did 4 sets of folds 30 min apart and let the dough ferment for a total of 5 hours in a warm spot till it was double. 

5. I divided the dough into 3 and did a preshape, a 30 min rest and then a final shape using the envelope fold method. Then into rice floured baskets for an overnight proof in the fridge. 

Bake day:

1. Bake as per my usual method of 20 min at 500 in preheated Dutch ovens, 10 min at 450 and then another 20 min with the lid off. I also always put a round of parchment paper in the bottom to prevent sticking. 

I am super happy with these loaves. They feel quite light and they got great oven spring. I will give a crumb shot when we cut into one which won't be long considering the  amazing aroma floating in the air. 

I have put "Frankie" to bed in the fridge as per the NMNF method and hopefully, she won't mind that too much. I found that she was a warm weather type of "gal" and that she pouted when she was just on the counter. 

drogon's picture
drogon

Easy Sourdough - Part 2

Here we are again - its now Monday morning (normally a day I don't make bread!) however I've some dough I made up last night that needs attending to.

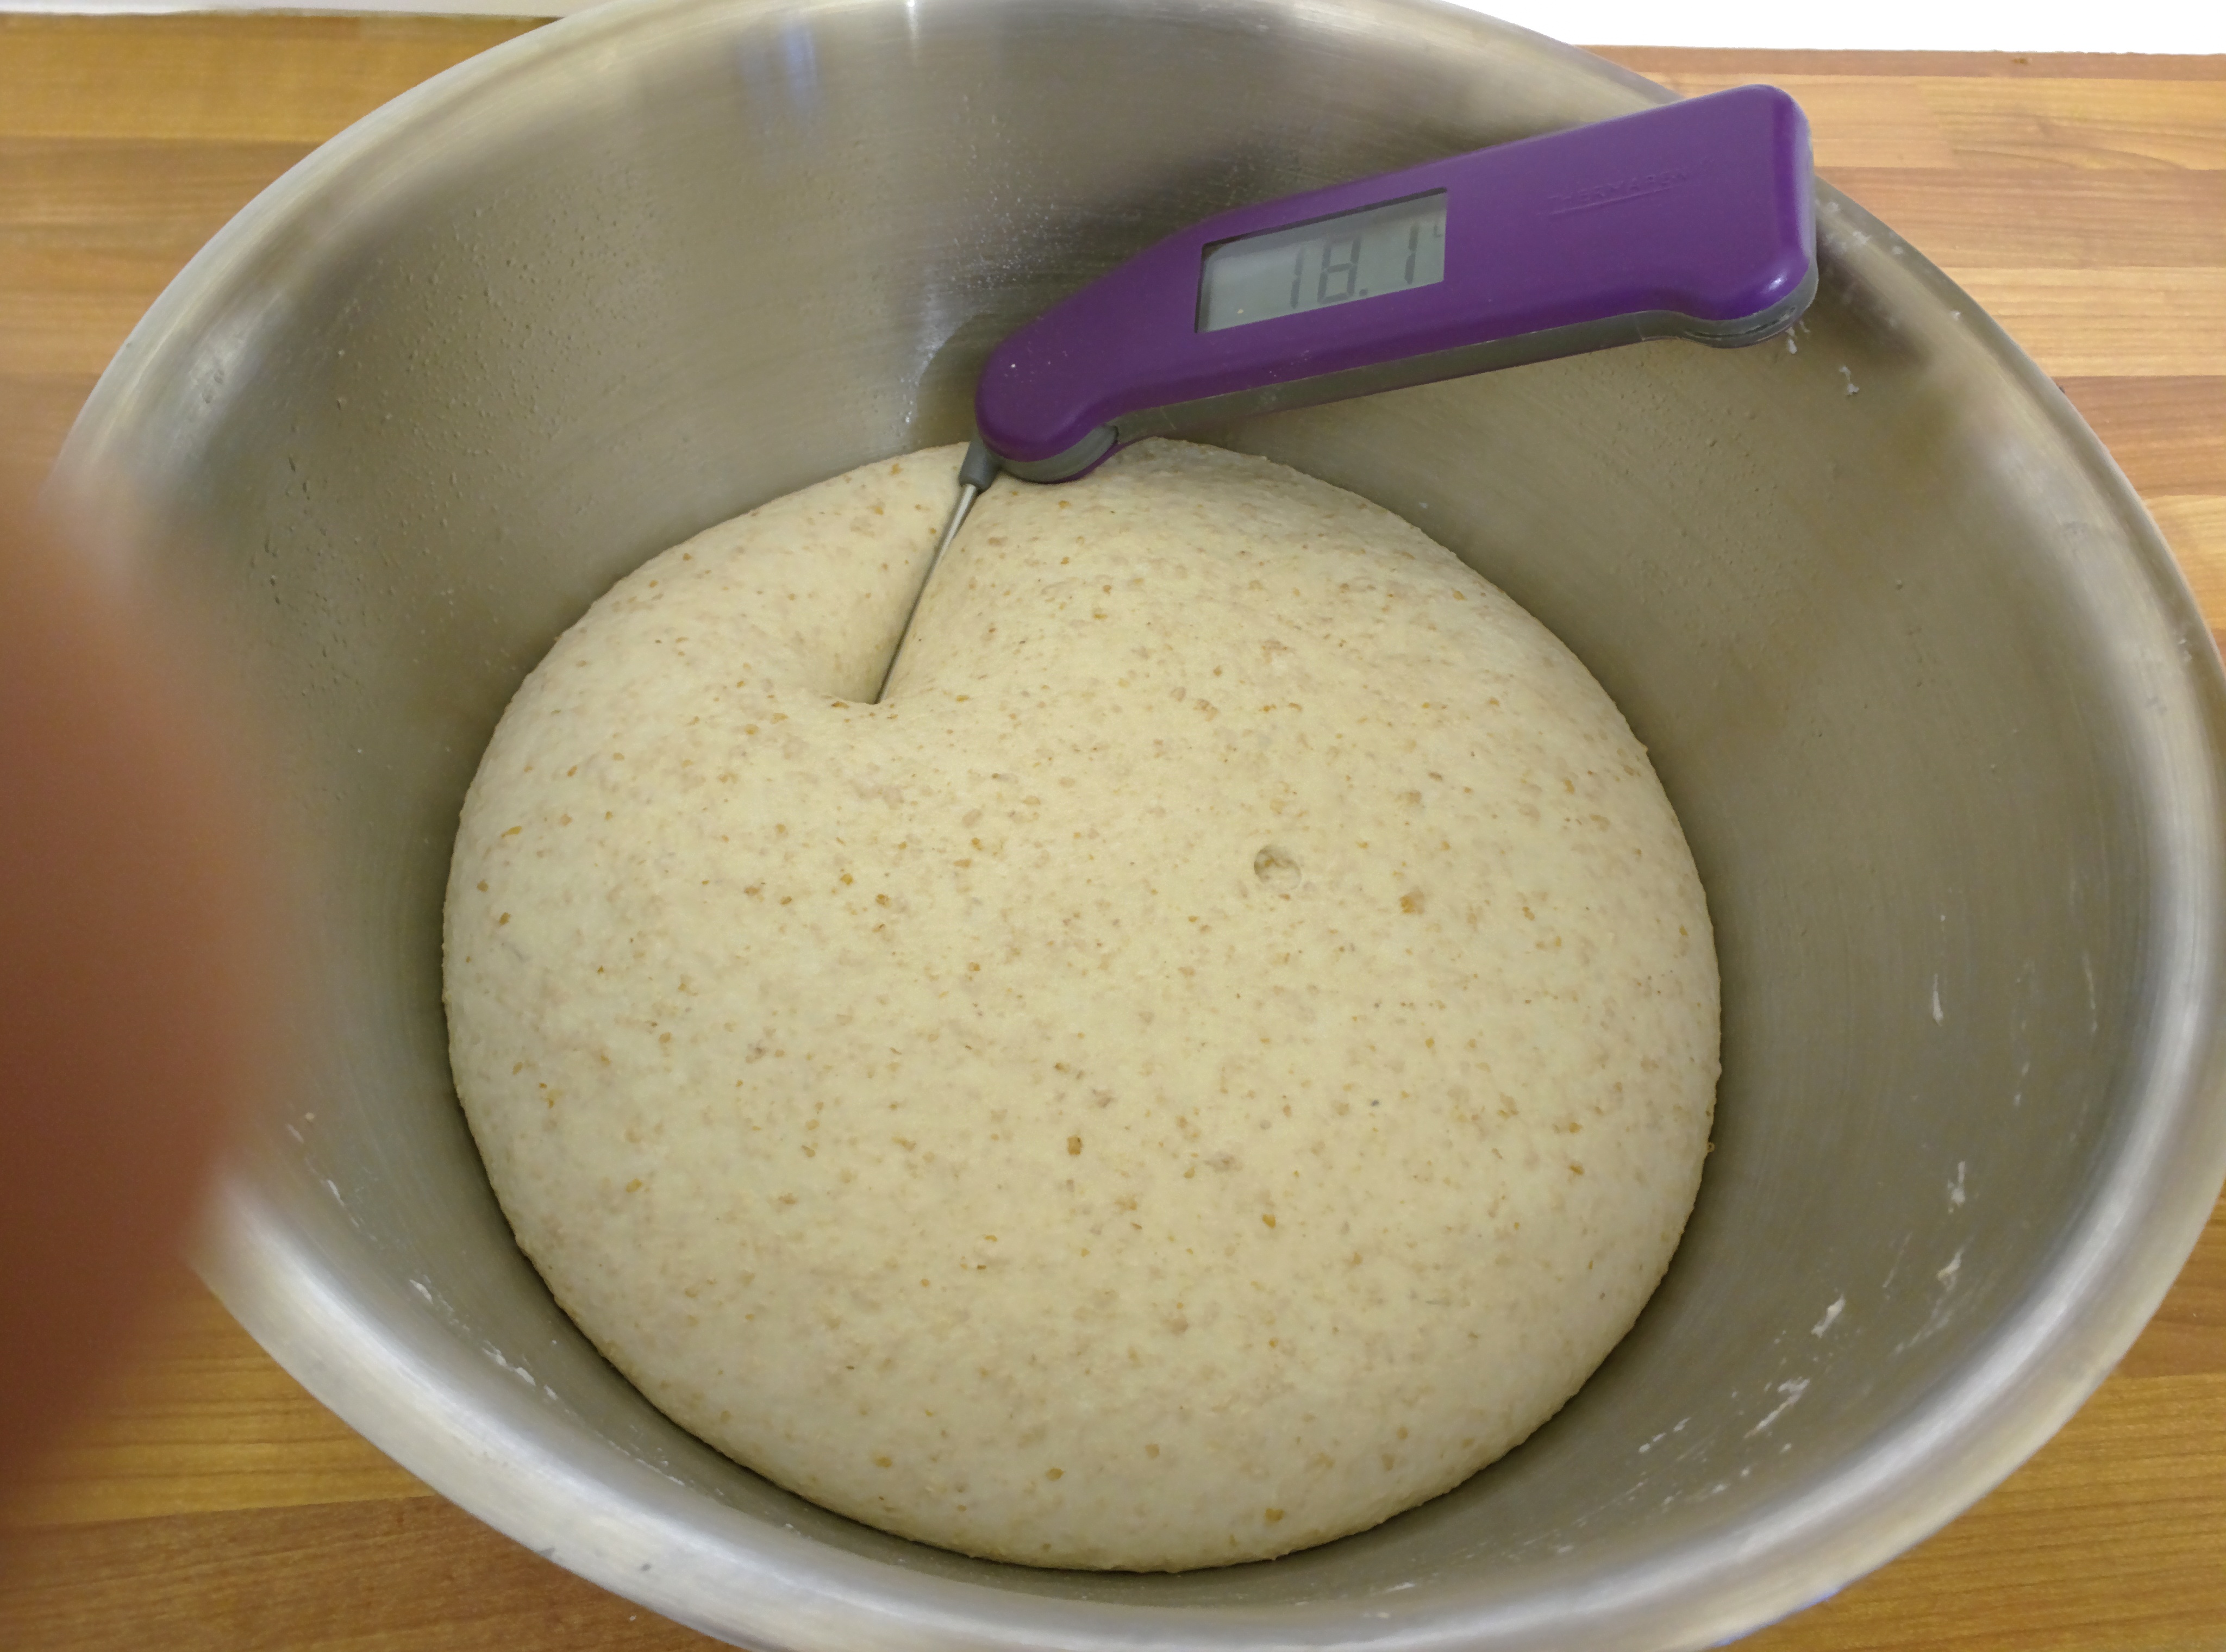
Last night the dough was left in a (relatively) cool place - about 18°C at about 9:45pm. It's now about 7:40am and I've taken the bowl of fermented dough up to the warmer bakehouse and stuck a thermometer in it:

As you can see, it's risen nicely and cooled down to 18°C. (And I was dopy enough to put my thumb over the camera lens - ah well)

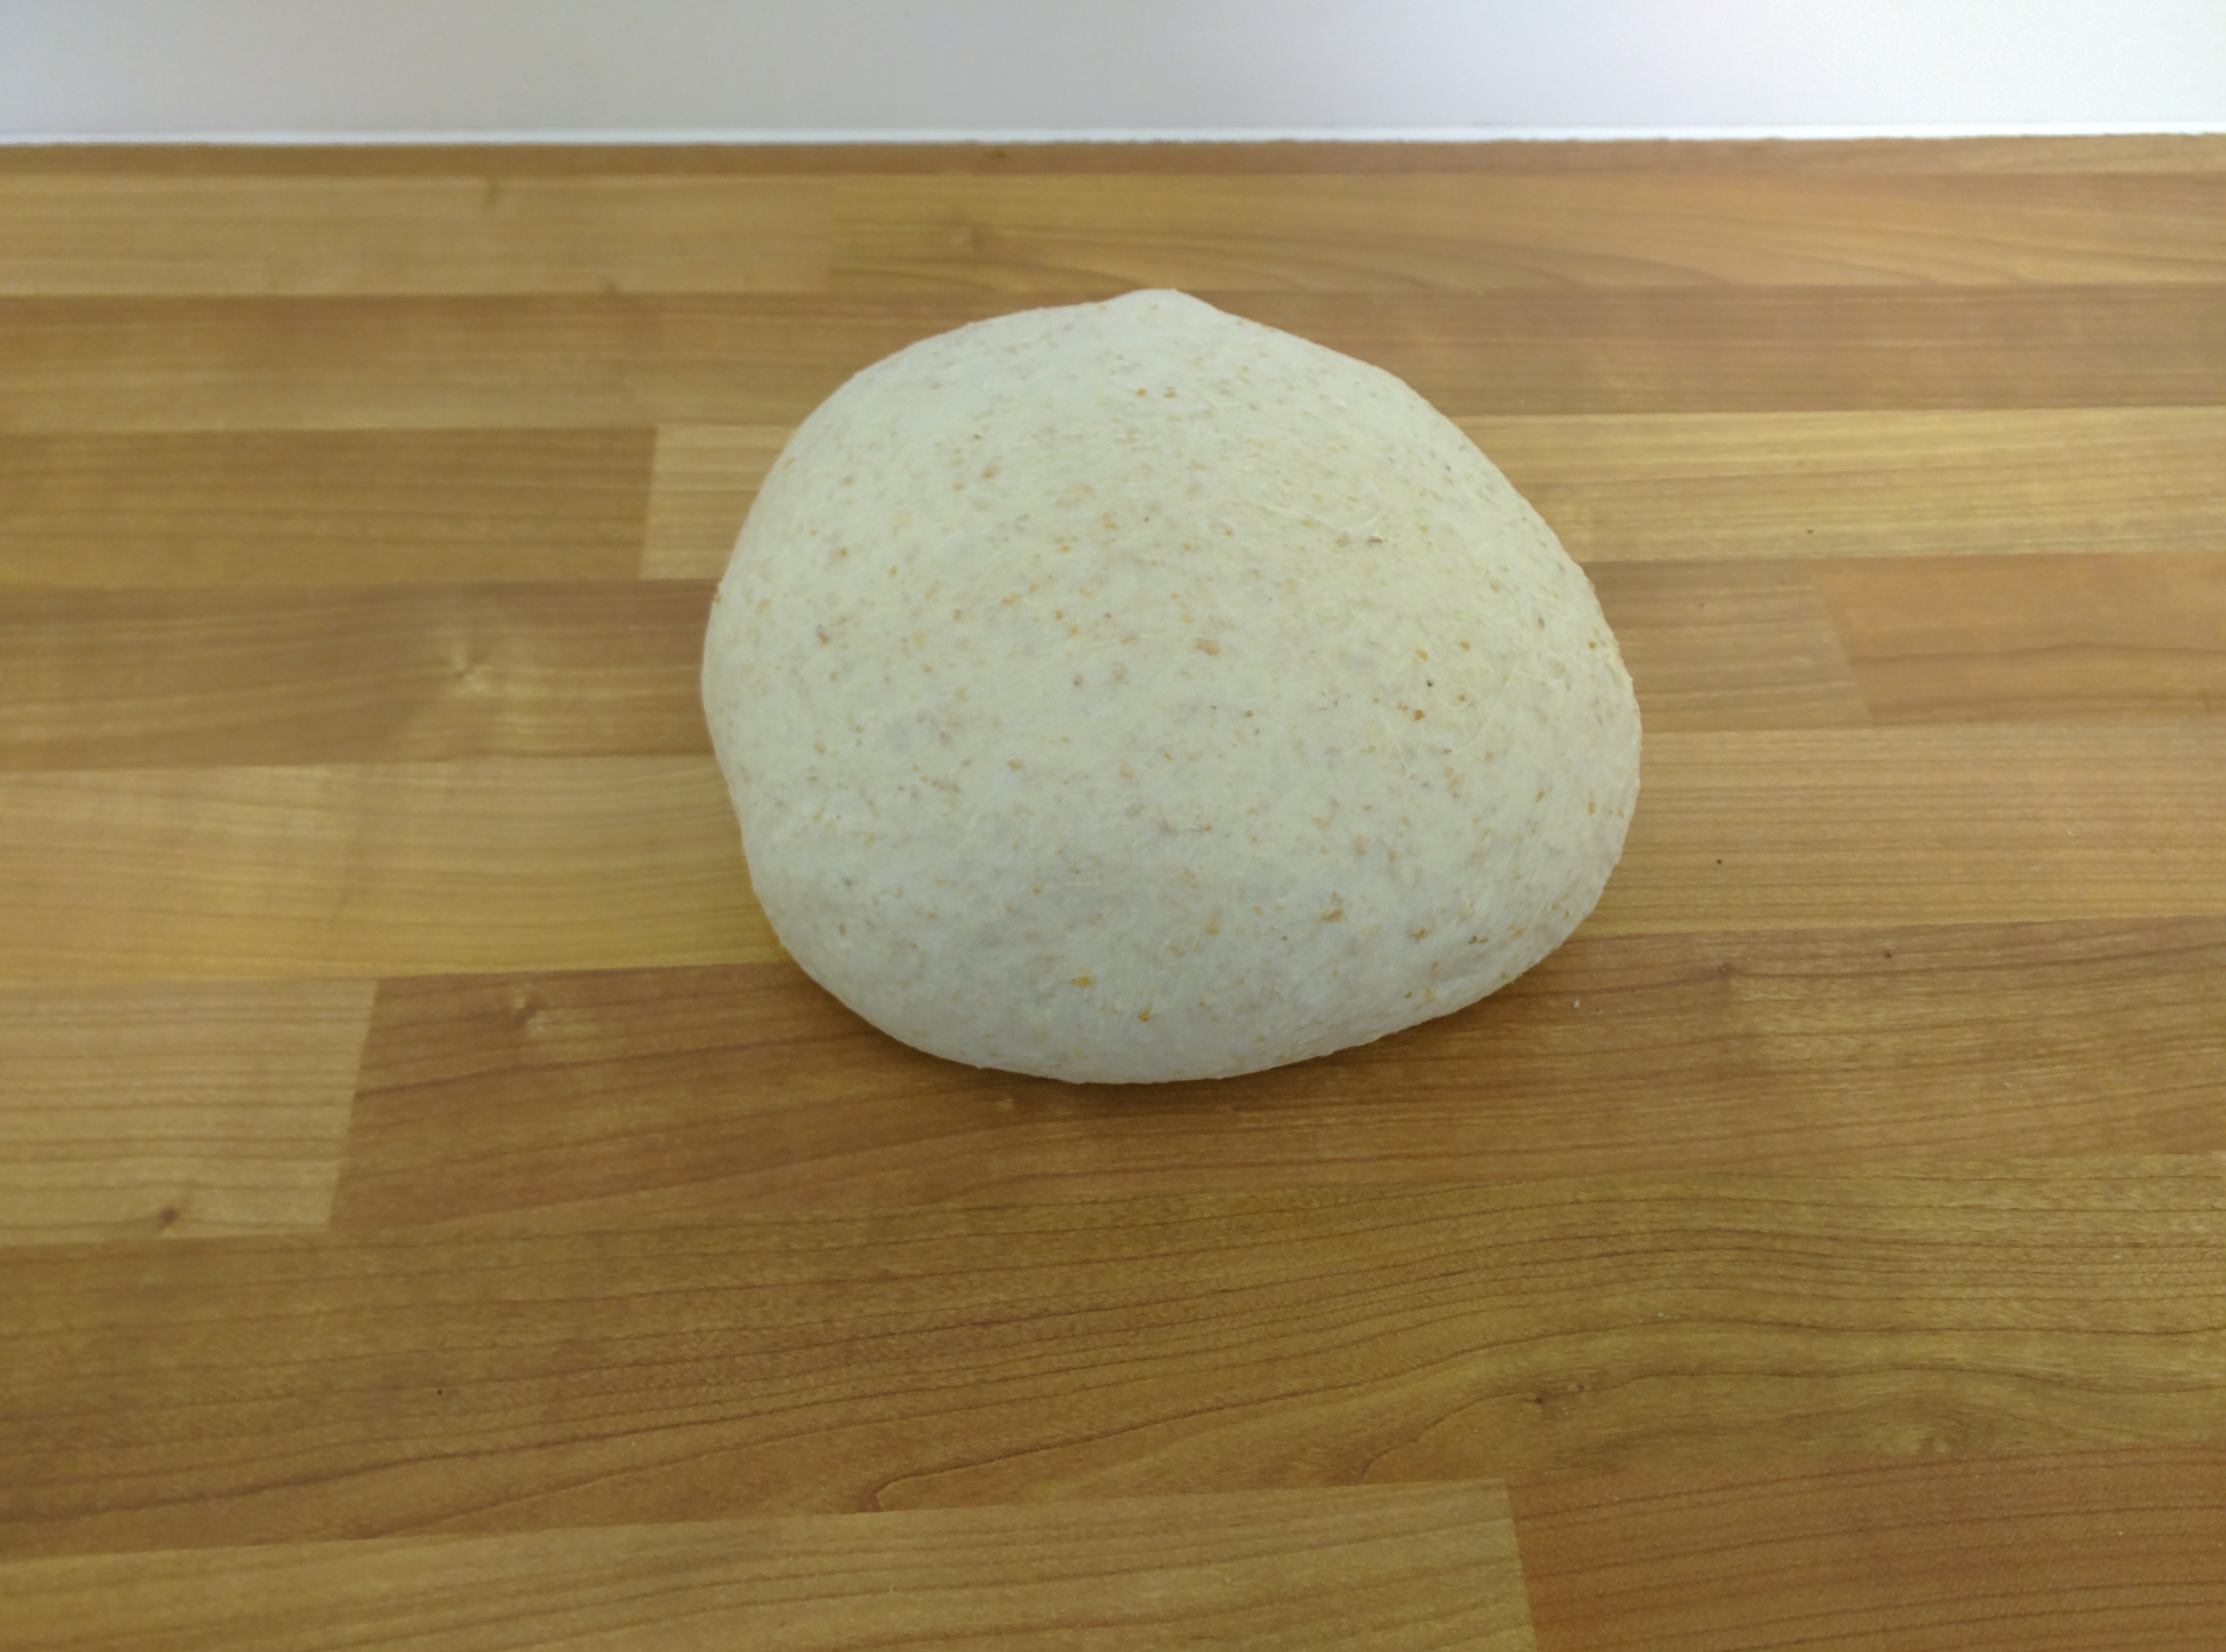
Using the rounded end of my scraper I gently tipped the dough out of the bowl (note I didn't bother using oil, flour, etc. in the bowl last night) and I then gave it 3 gentle stretch and folds with the forth being used to turn it over then it was chaffed into a rough boulle. This is what I consider to be the only real special "technical" part of making this bread. Normally I'll have a tub with 4 or 6 loaves worth of dough in it which I'll tip out, stretch/fold then divide up using scales and roughly shape into boulles.

A rough boulle.

I then left this for 10 minutes "bench rest" while I busied myself with other stuff then prepared a lined basket for it to prove in.

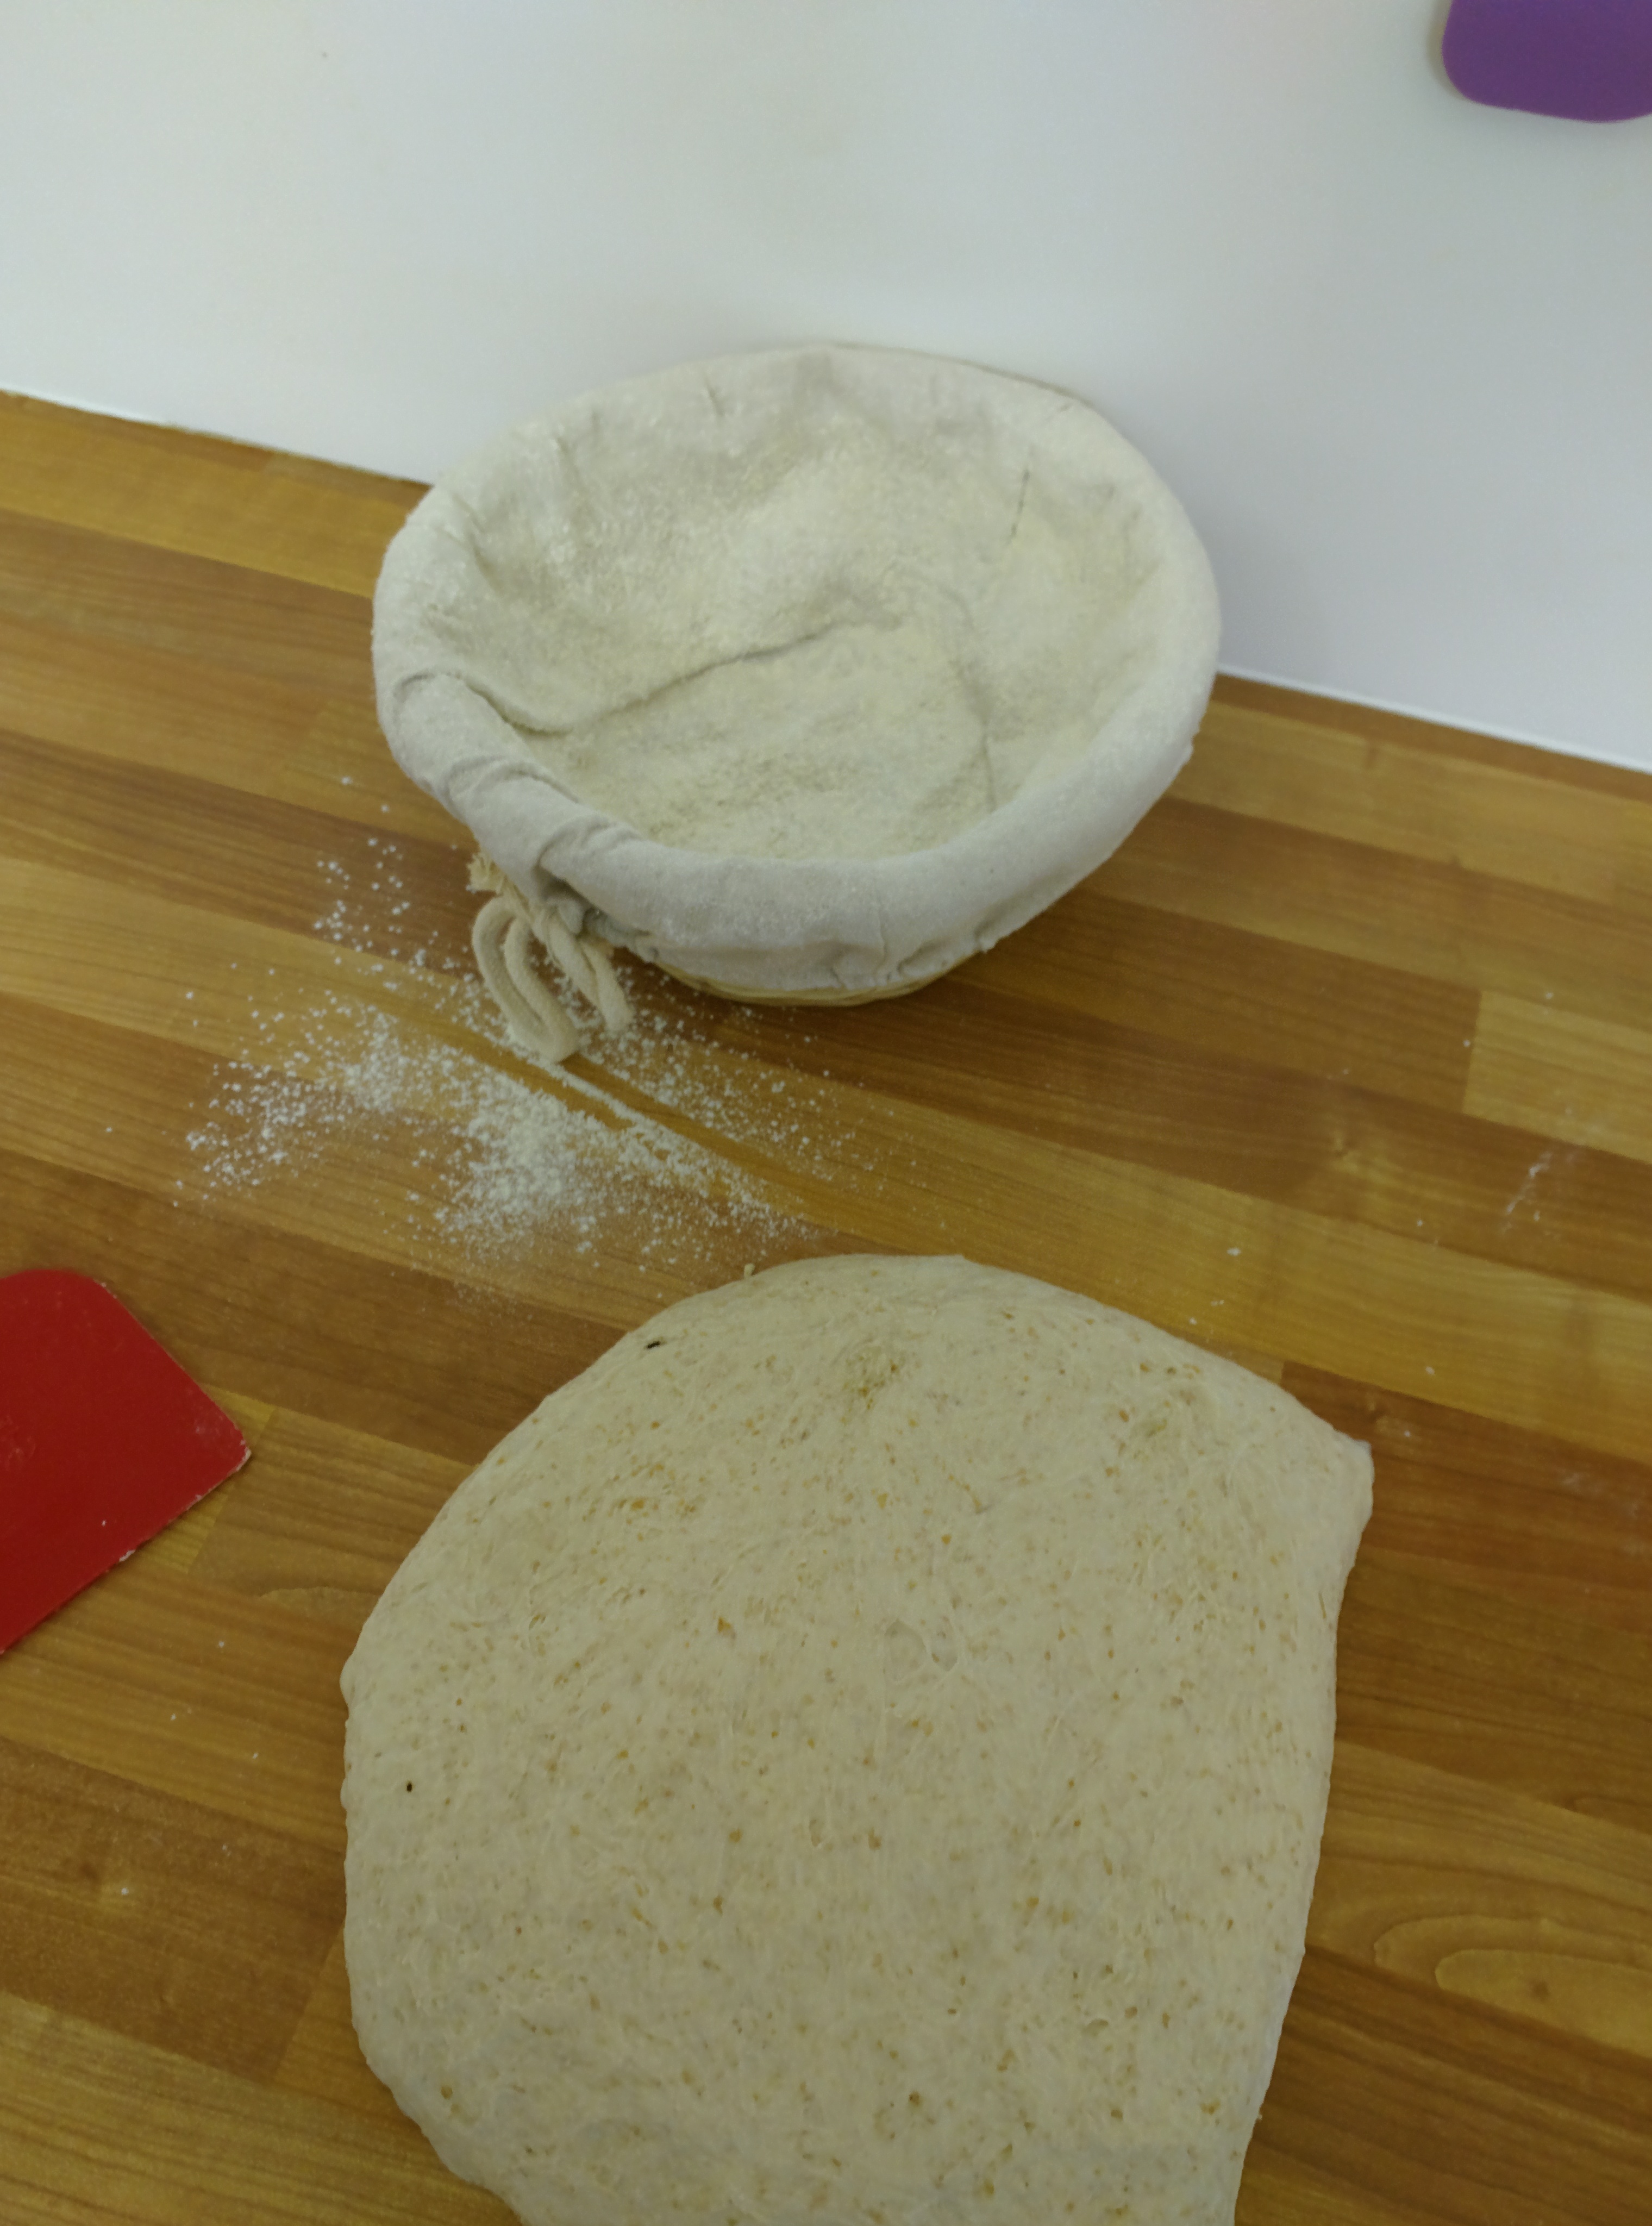
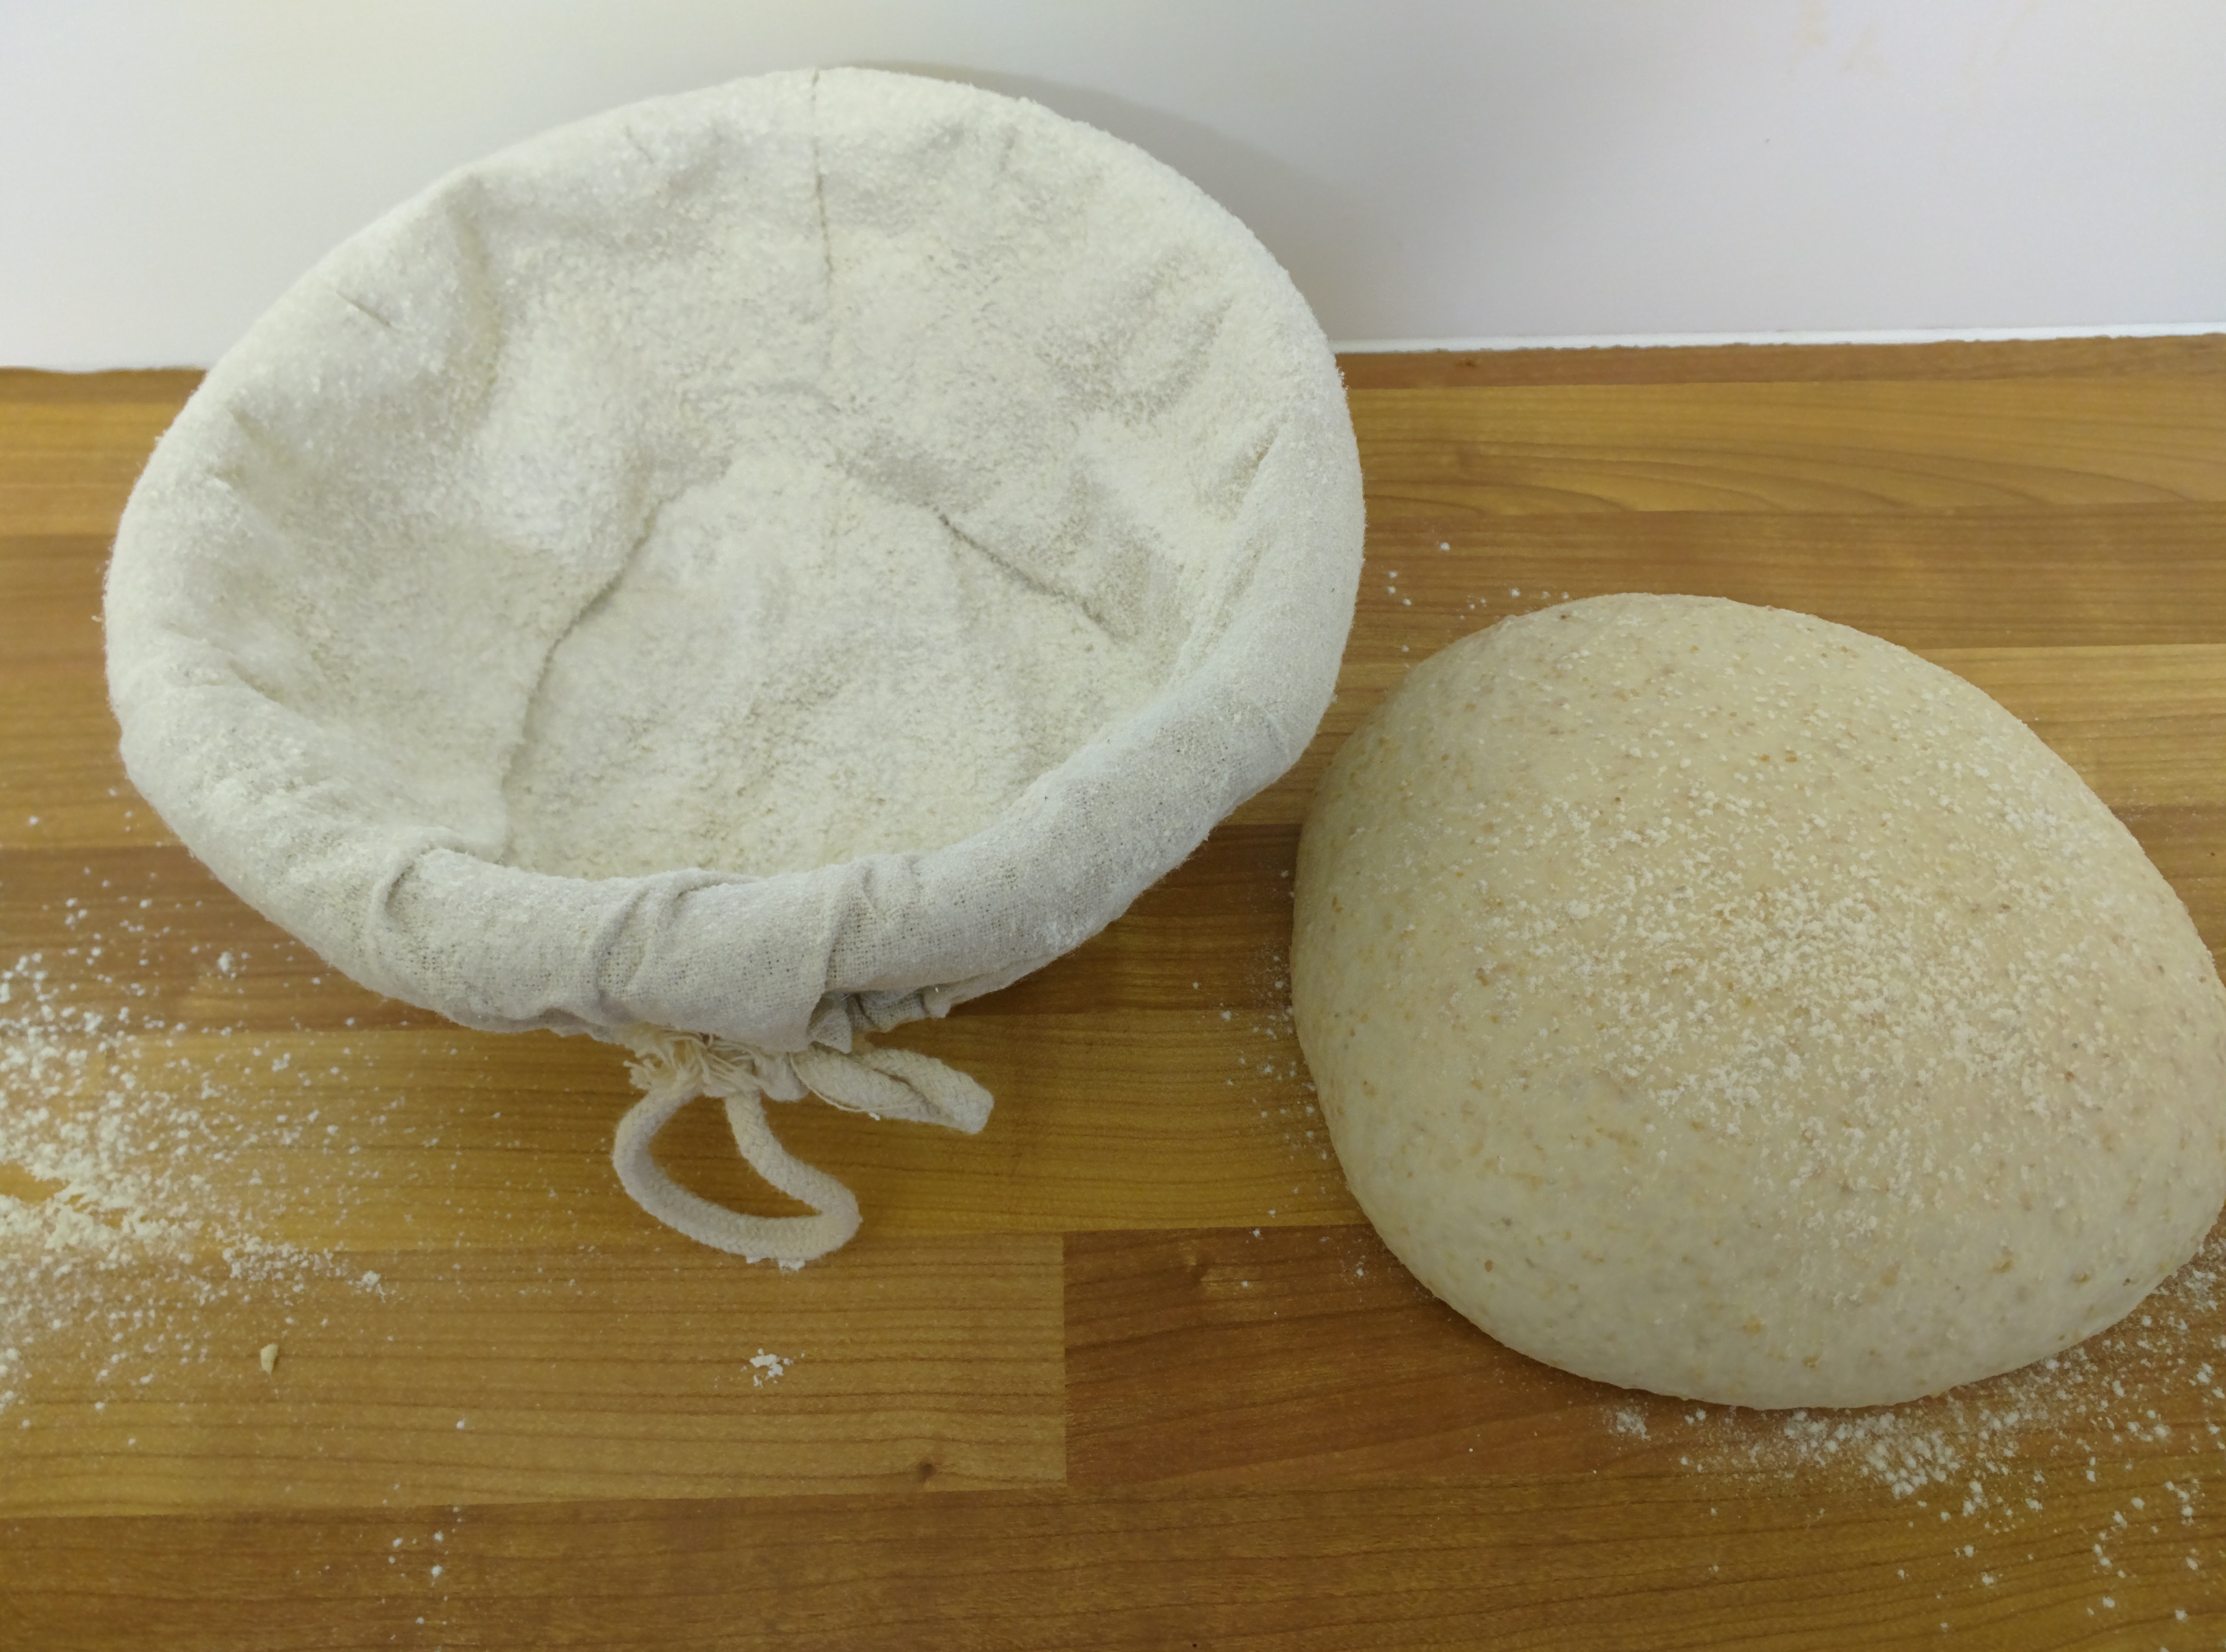
I floured the inside of the basket and just a little on-top of the dough.

Next the dough was flipped upside down and degassed/patted out:

I then shaped it into a boulle by lifting the top, gently stretching it and folding it over the dough, then doing the same 5 mote times, so at approximately the 3 O'Clock, 5 O'Clock, 7 O'Clock and 9 O'Clock positions, flipped it over and chaffed it into a boulle then put this seam side UP into the basket.

Just realised that photo is grossly out of focus, but you might be able to see enough.

It was then covered and left in the bakehouse for about 1.5 hours.

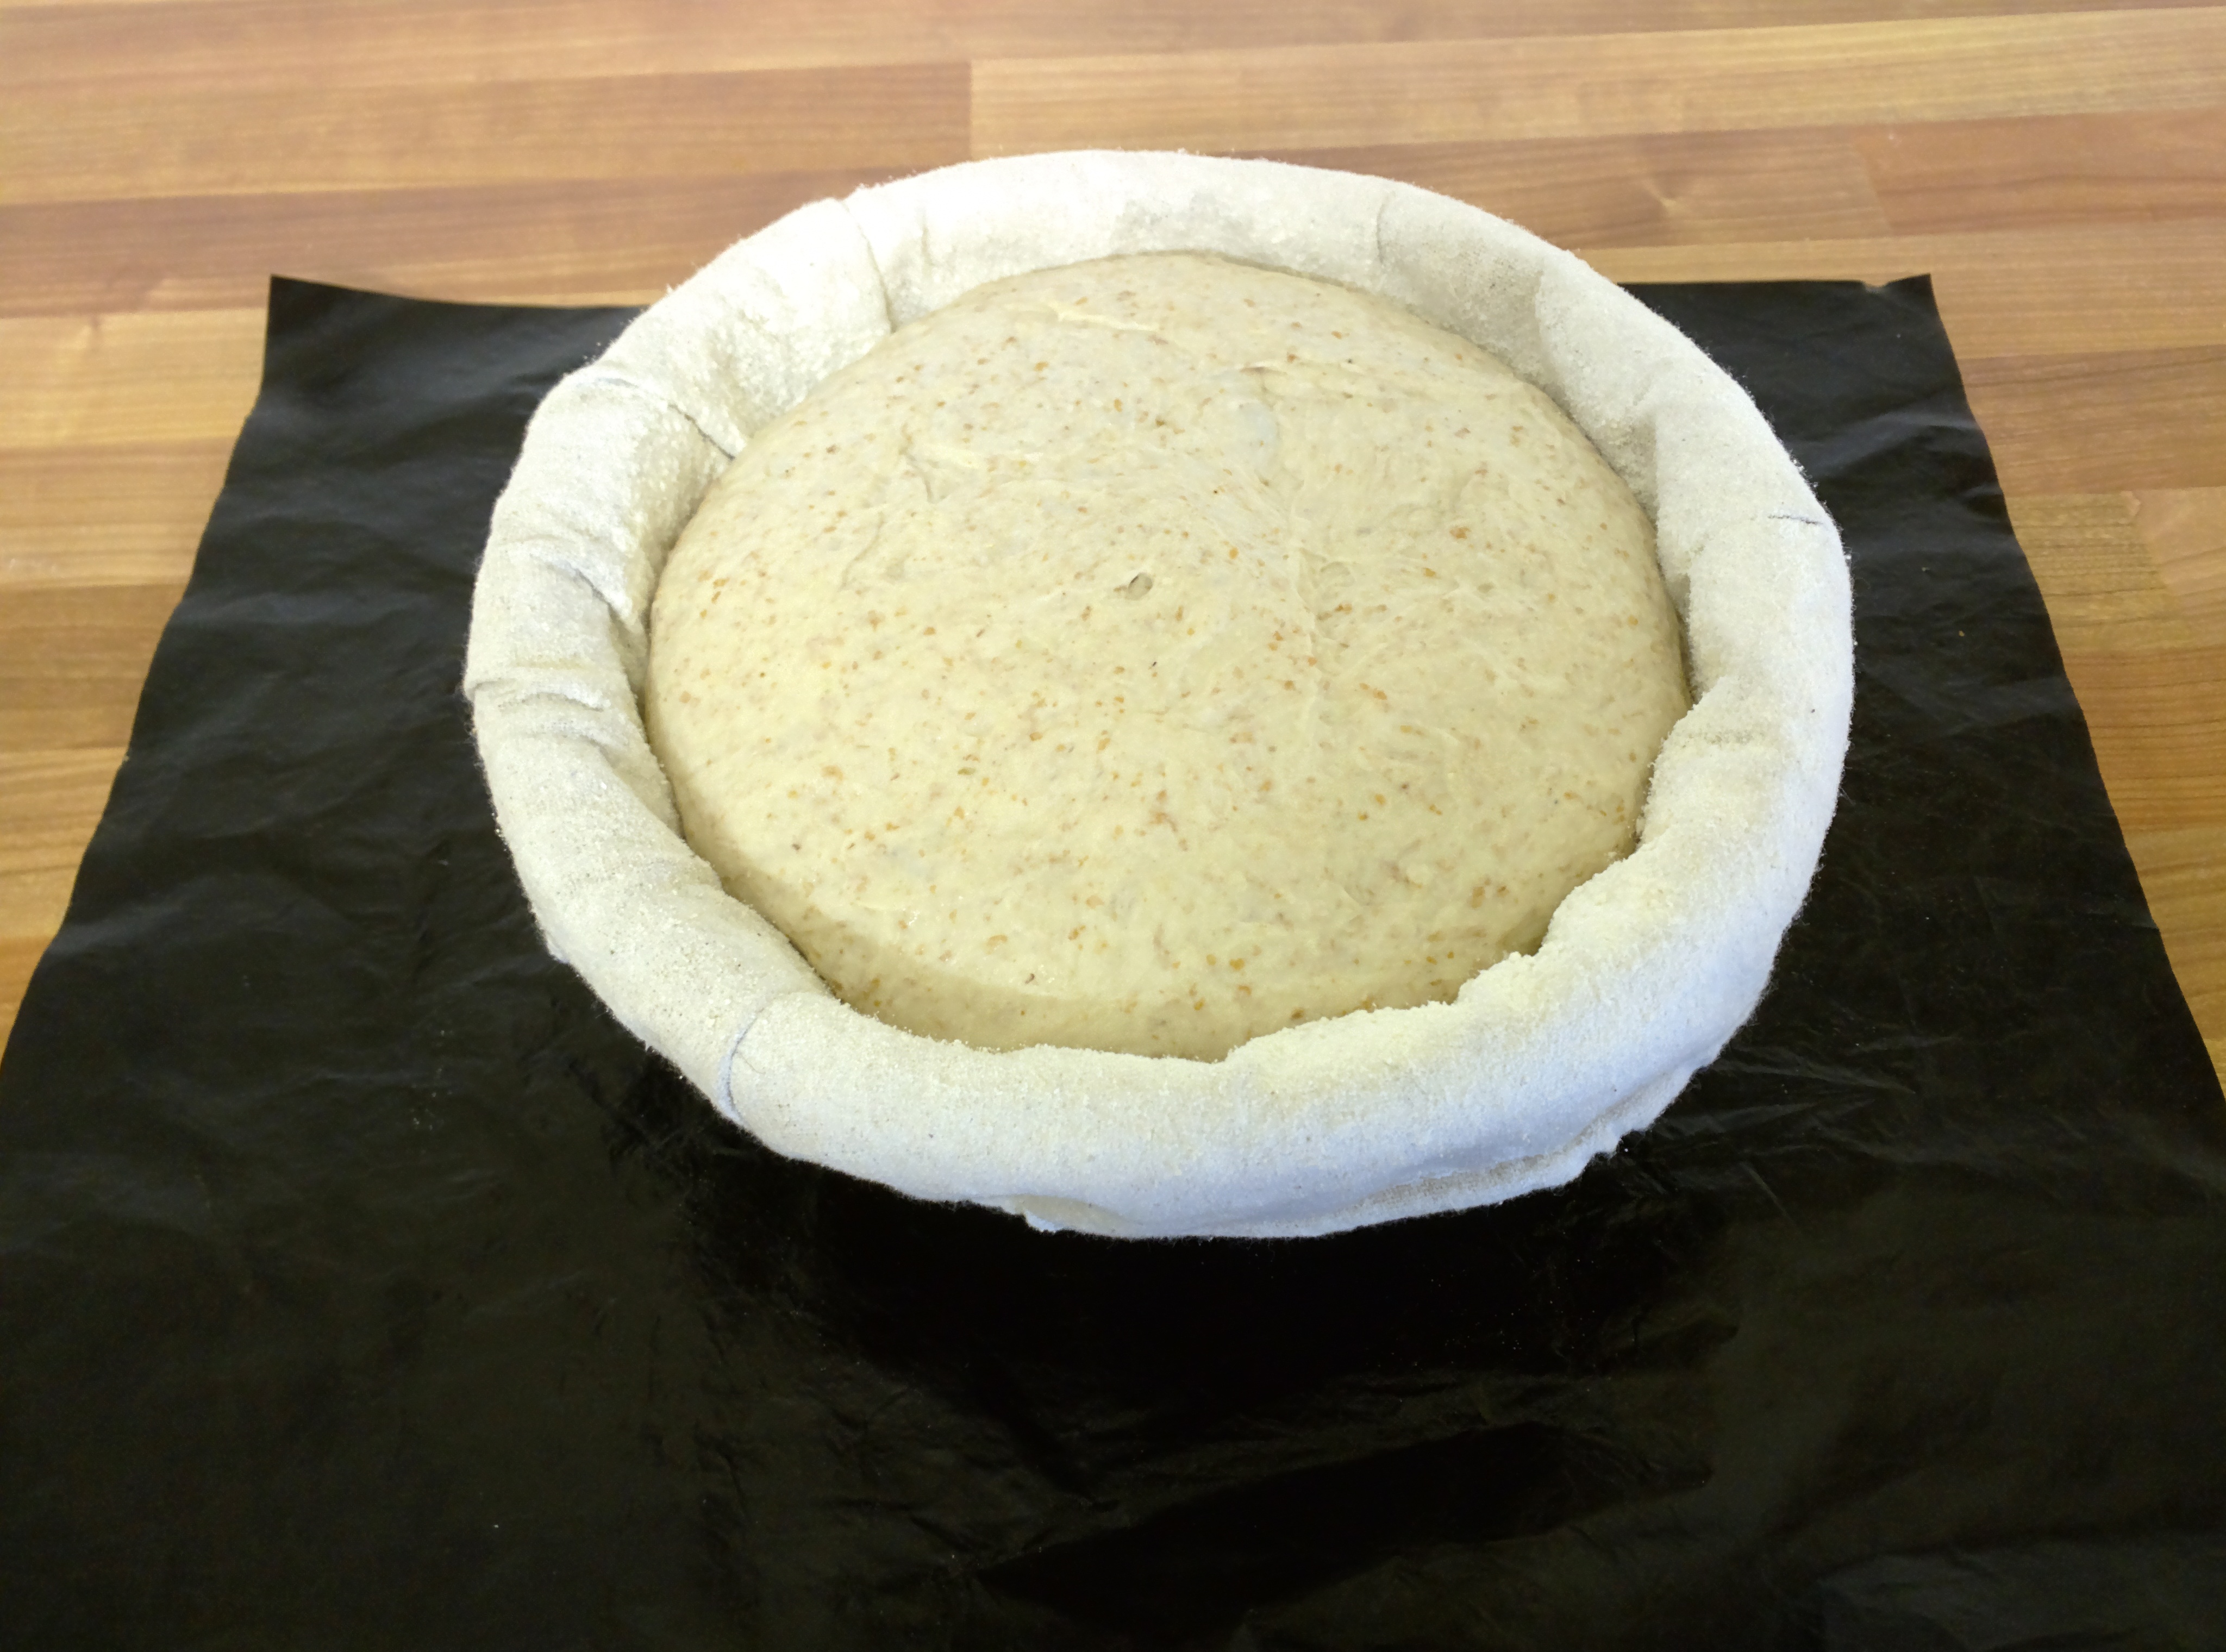
It's now 9:30am. Proofed dough in the basket on top of a silicone baking sheet (like a re-usable baking parchment)

Meanwhile half an hour earlier I turned the oven on to 250°C and put a pizza stone in it.

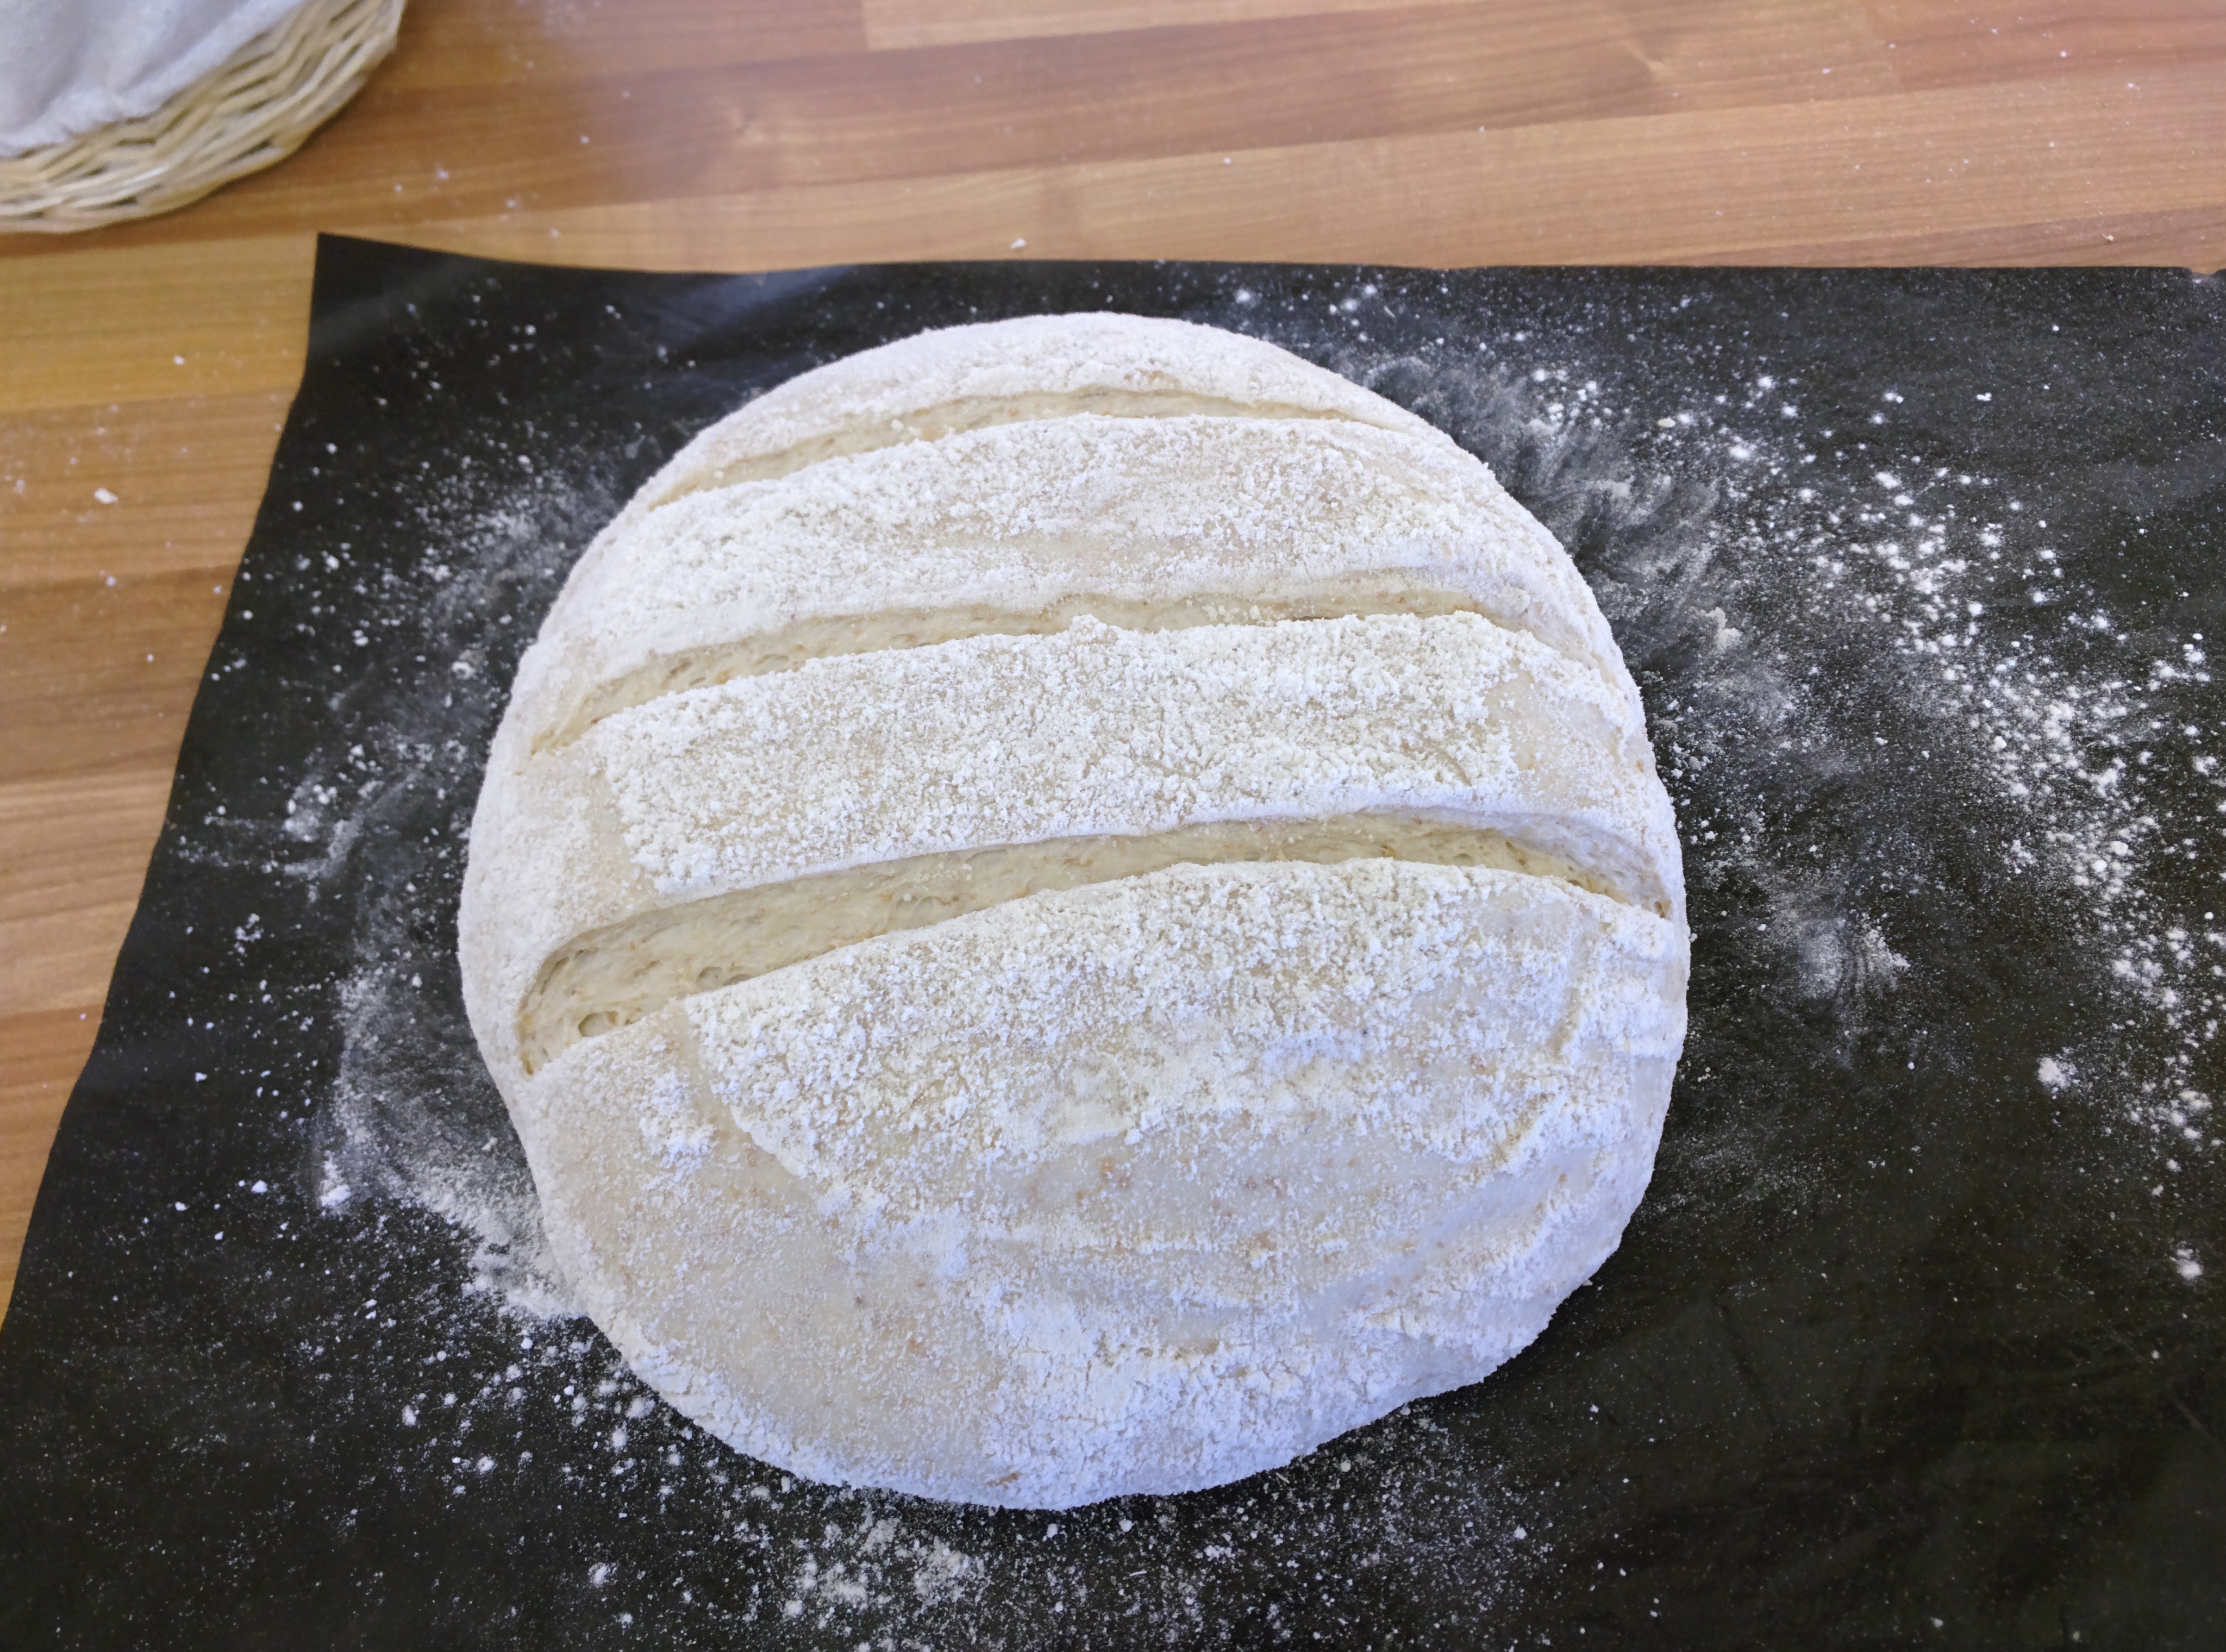
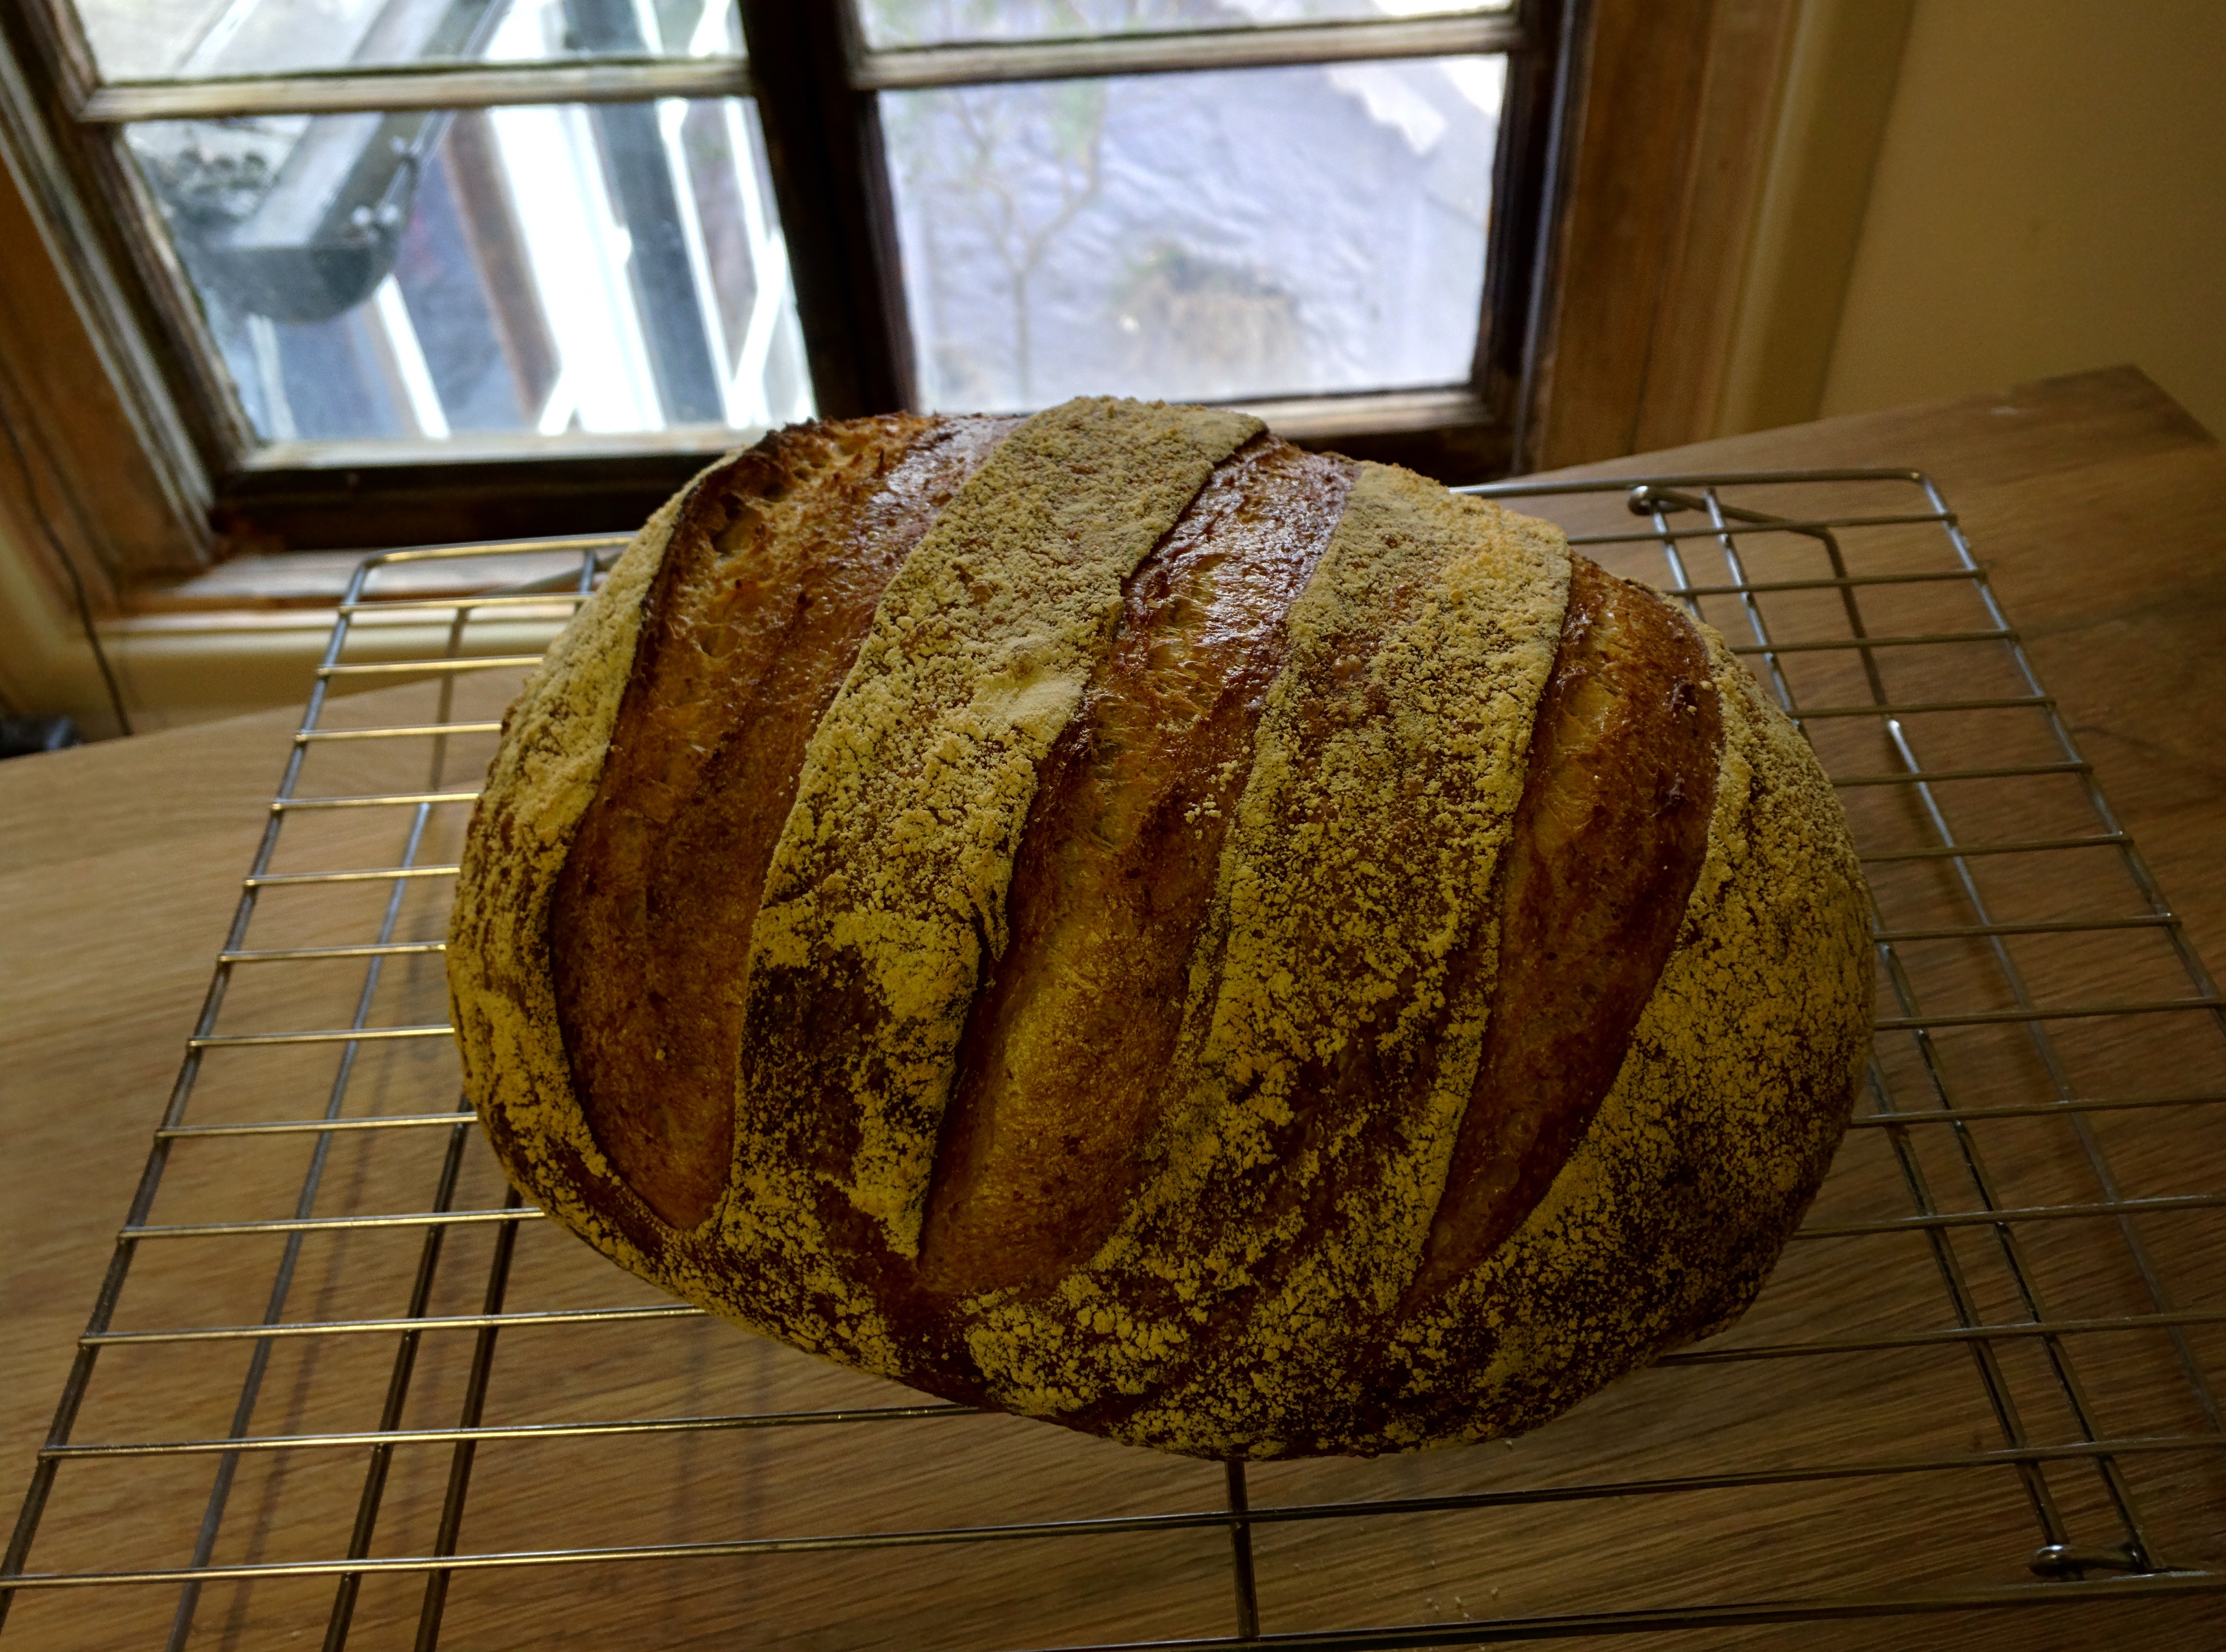
I flip the dough out onto the sheet and make 3 slashes over it. Nothing fancy here - not looking for an "ear" just making sure that the dough will spread out in a direction perpendicular to the slashes, so rather than a round it comes out as a fat oval (which my customers seem to prefer for making sandwiches, etc.)

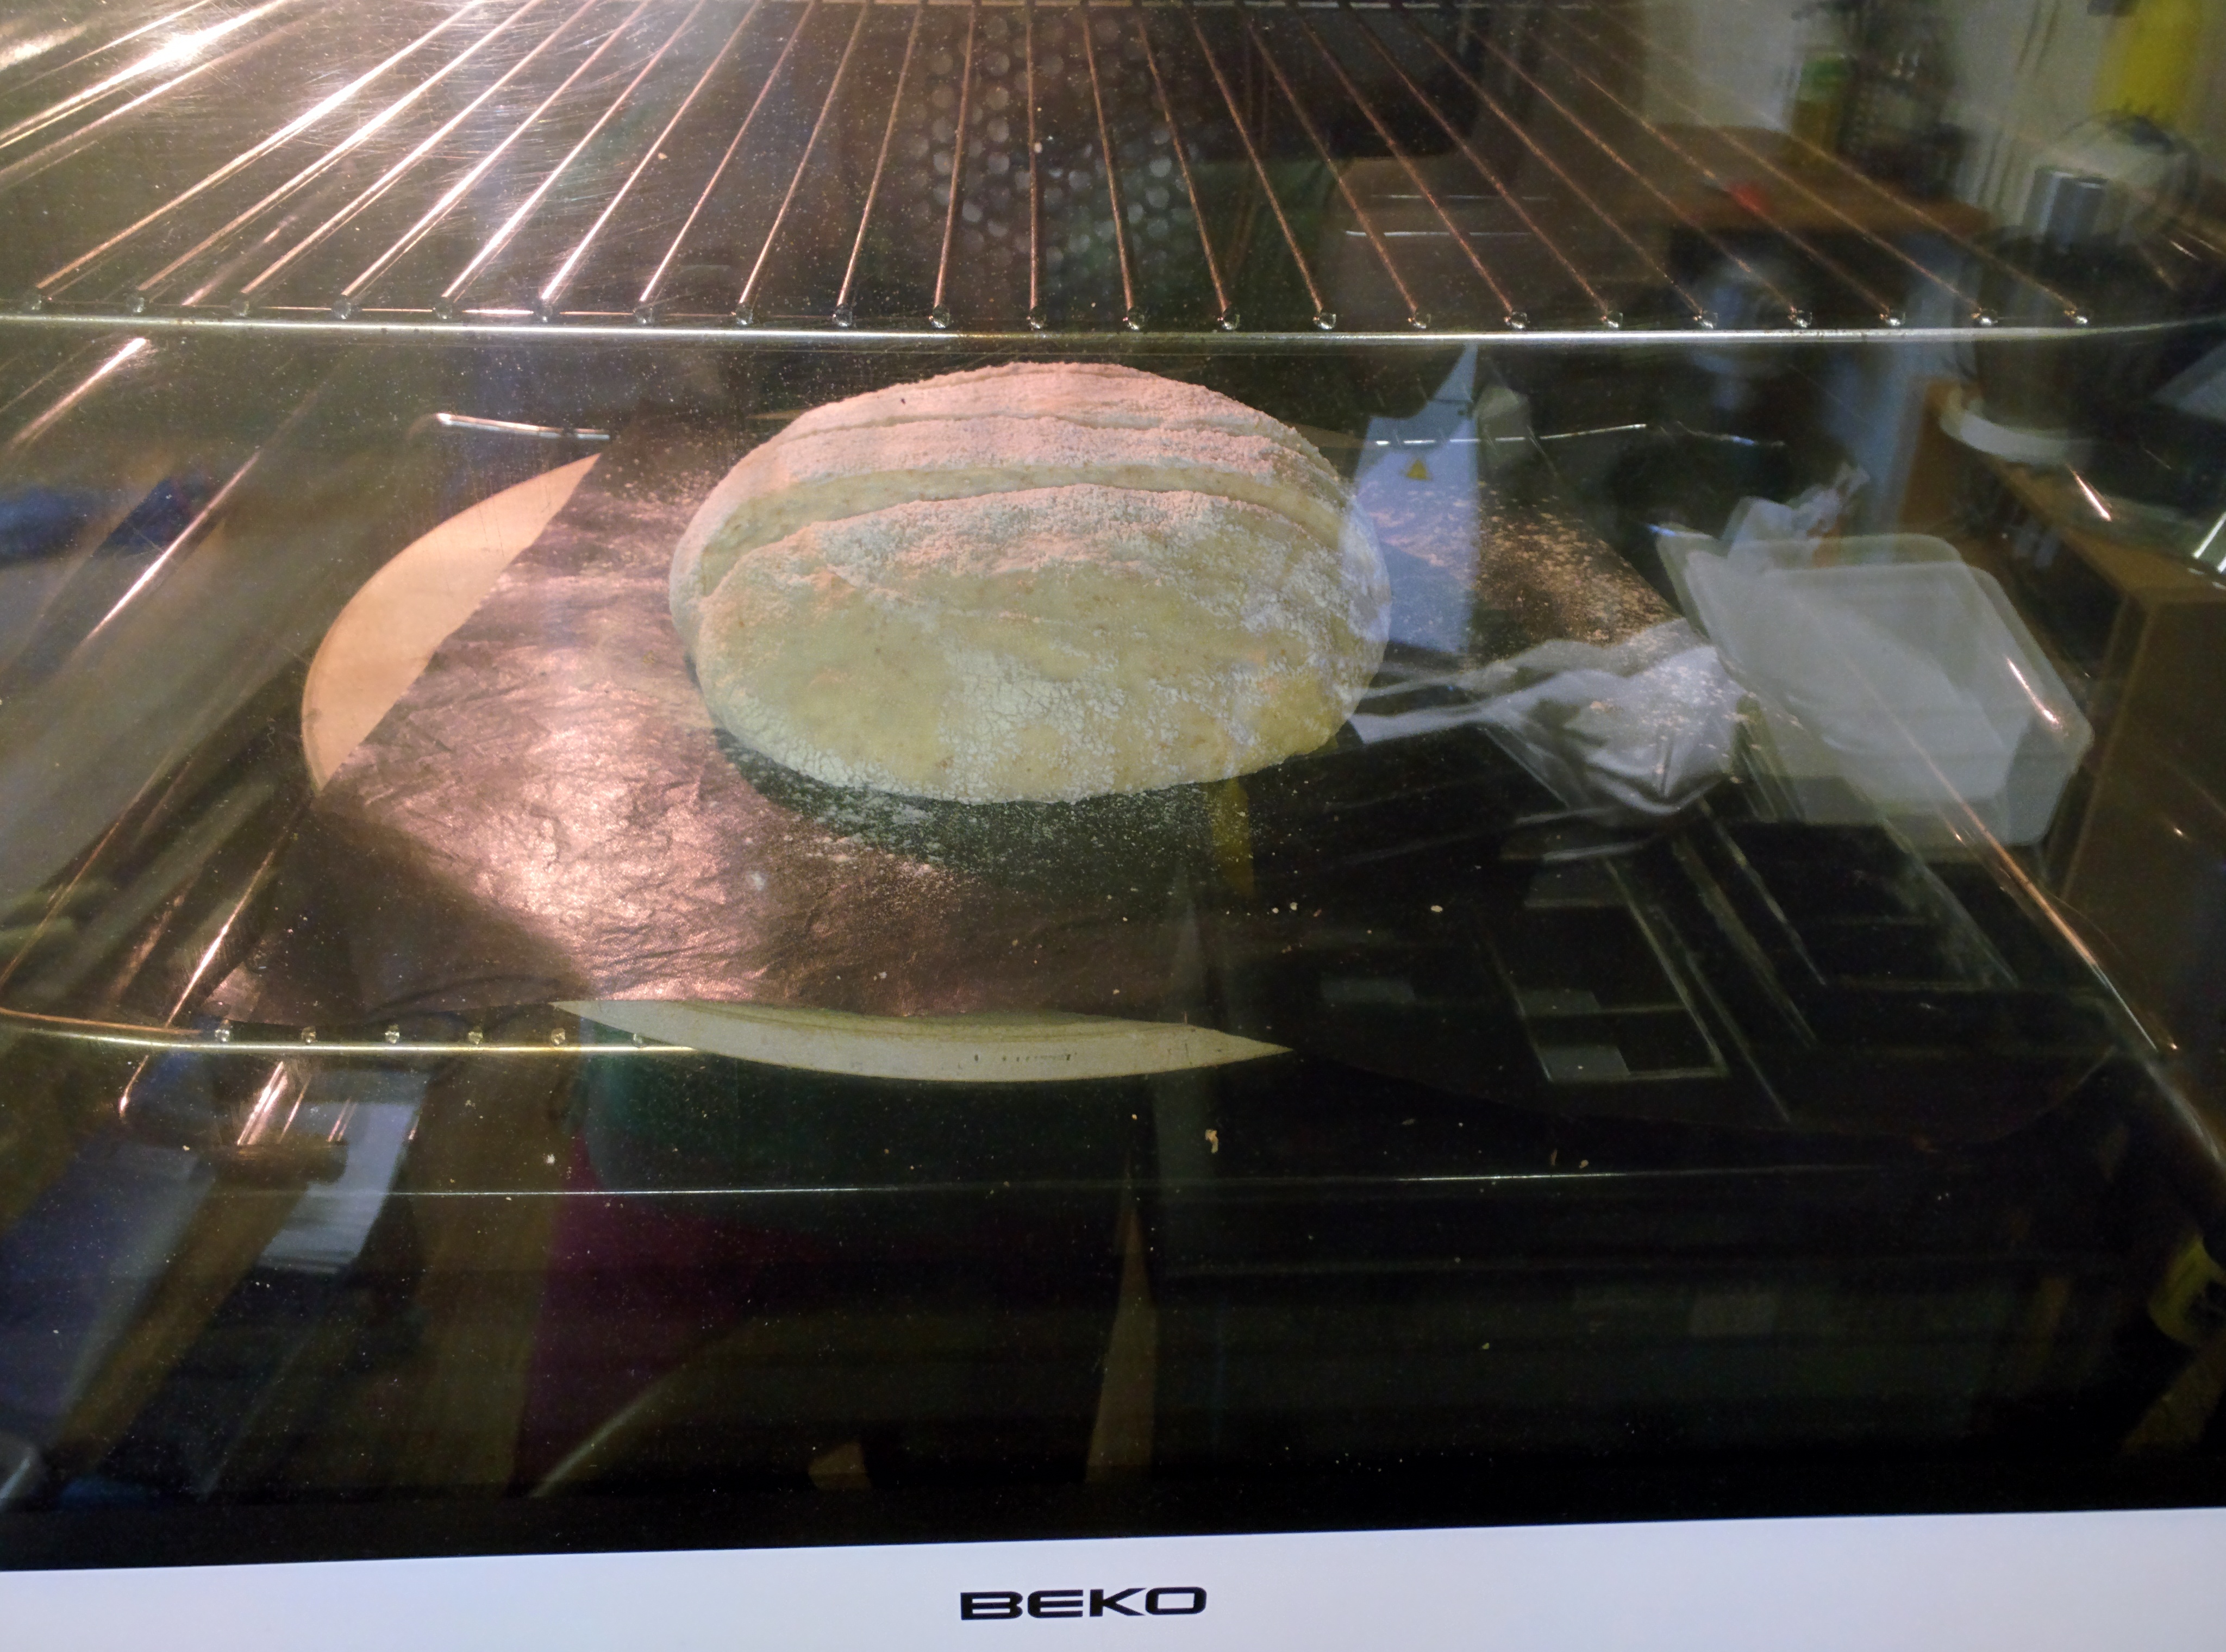
I use a peel to transfer it into the oven onto the stone and throw a cupful of water into the tray at the bottom.

This is a cheap electric fan oven.

After 12 minutes I open the oven, remove the silicone sheet (I don't have to, but have always done so) and turn the bread round (the oven doesn't bake evenly)

Close the door, turn the heat down to 210°C and leave it for another 24 minutes.

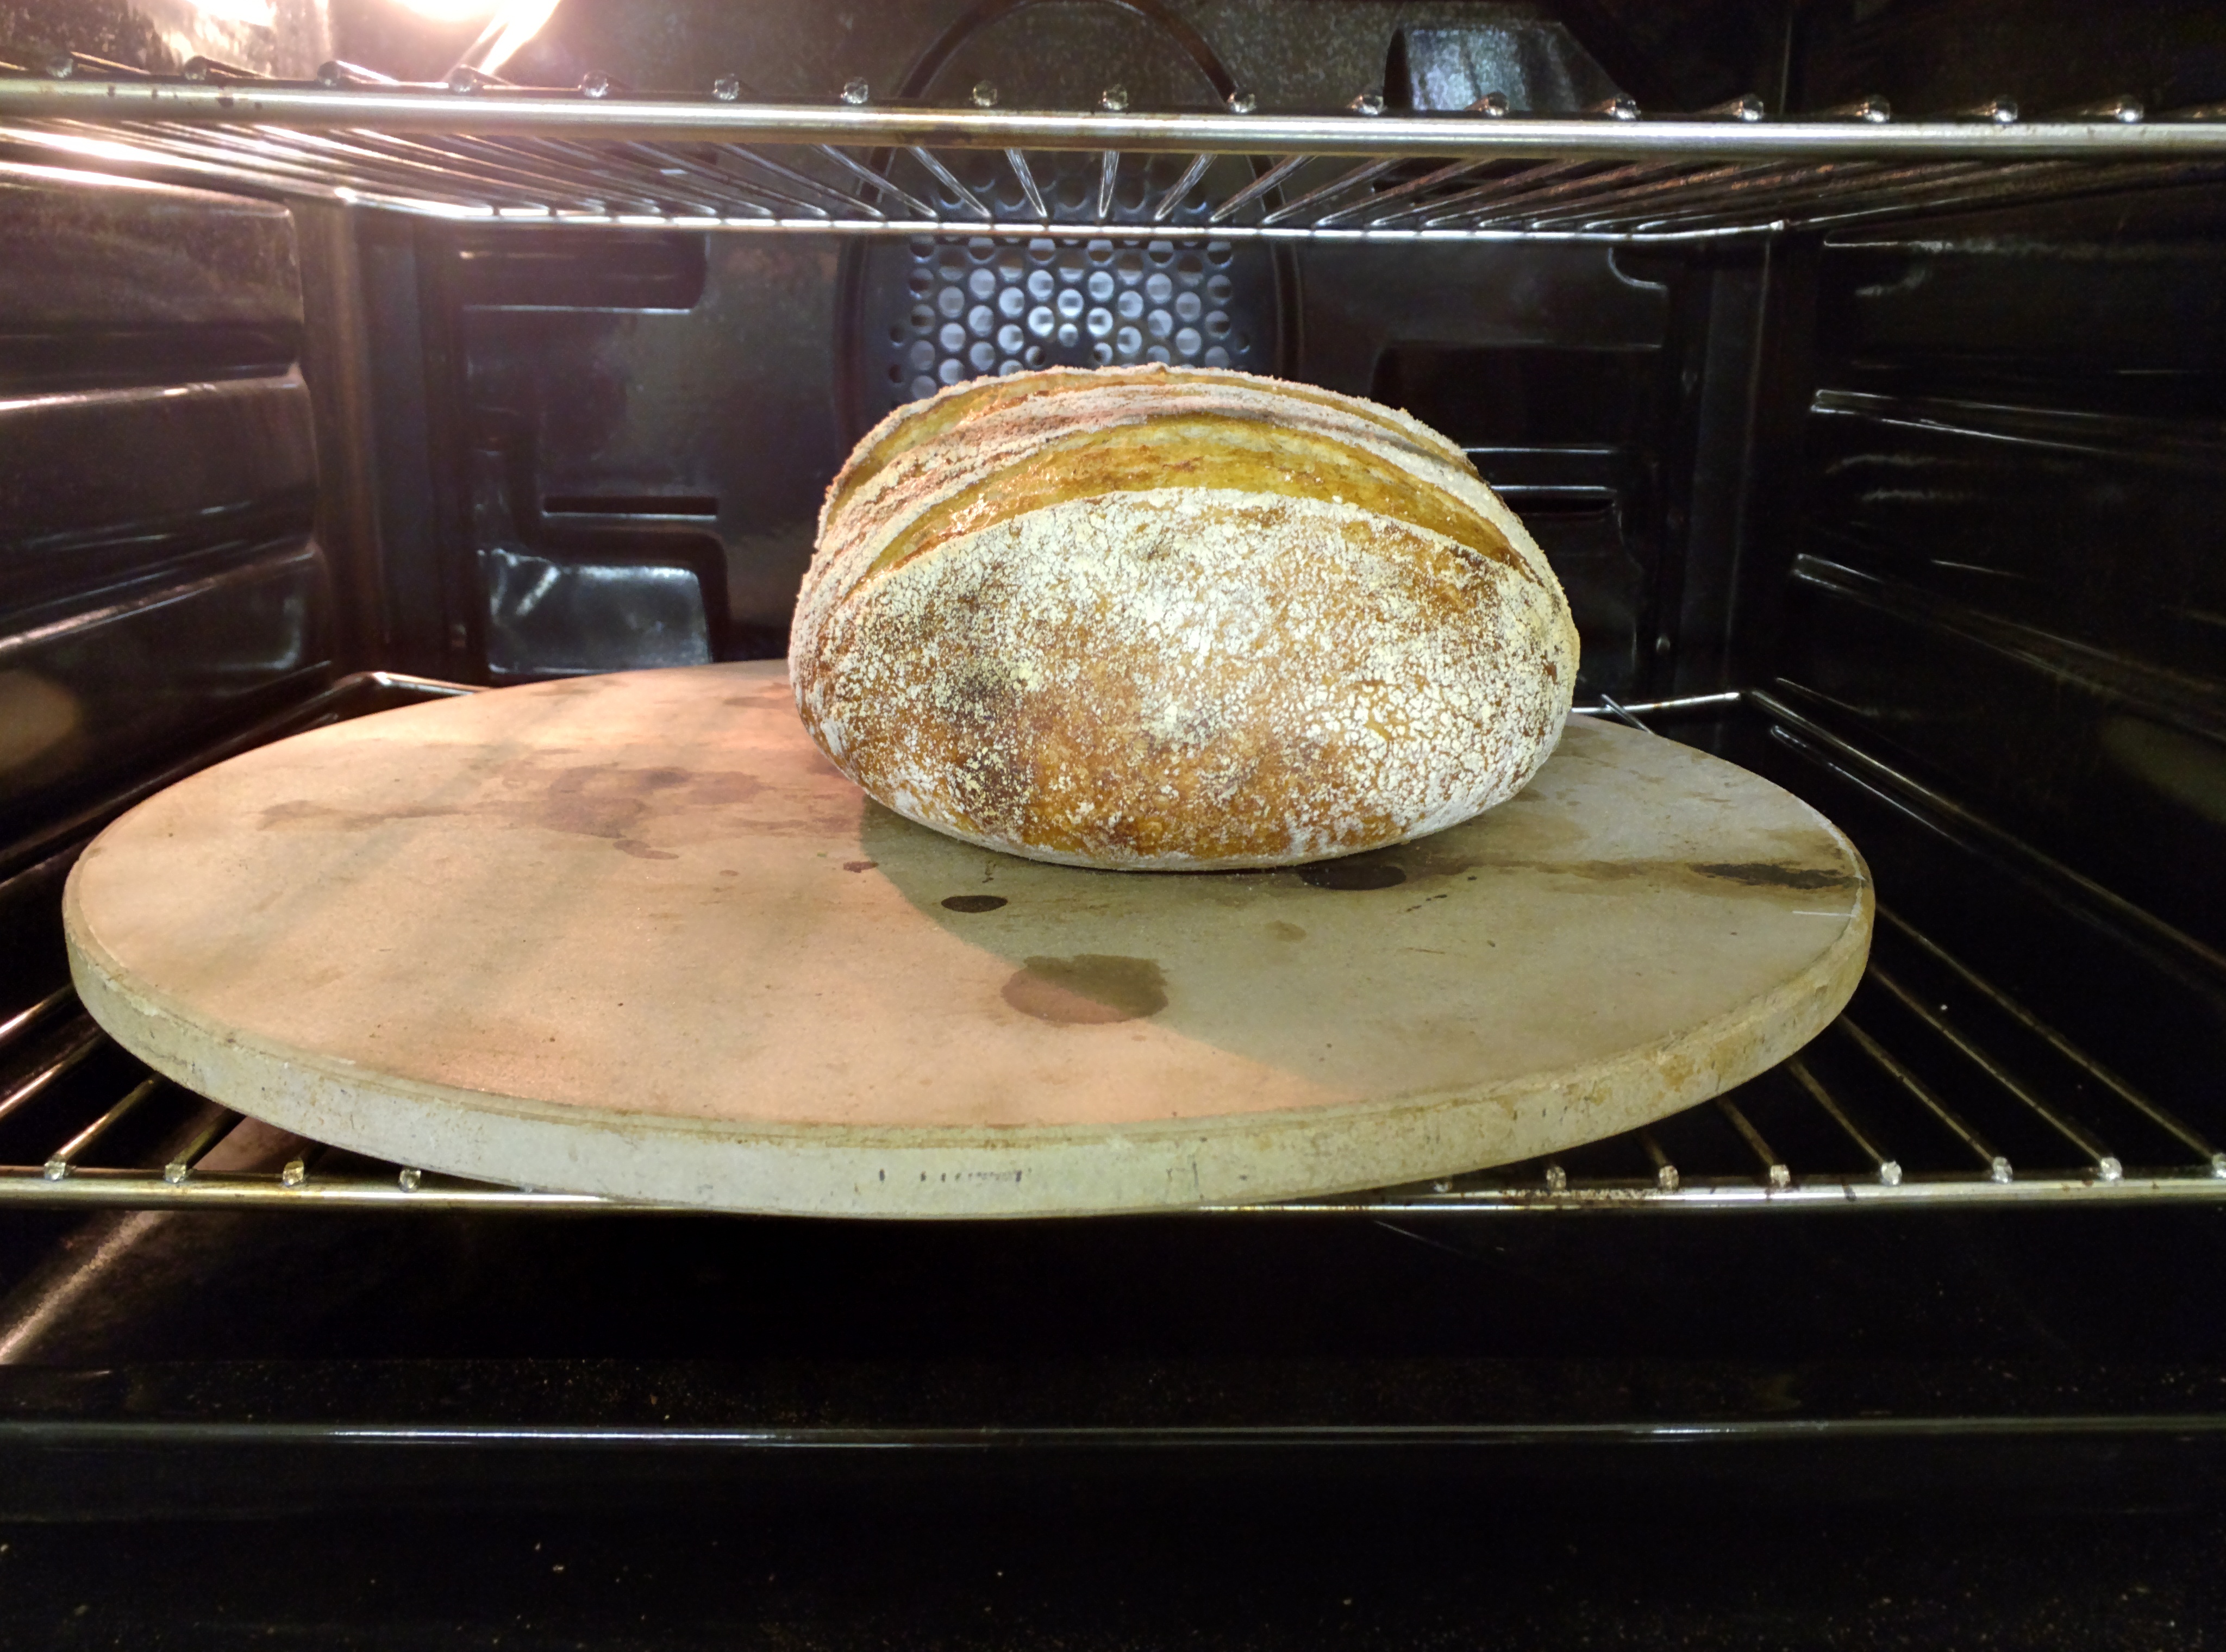
Baked loaf. Cooling down.

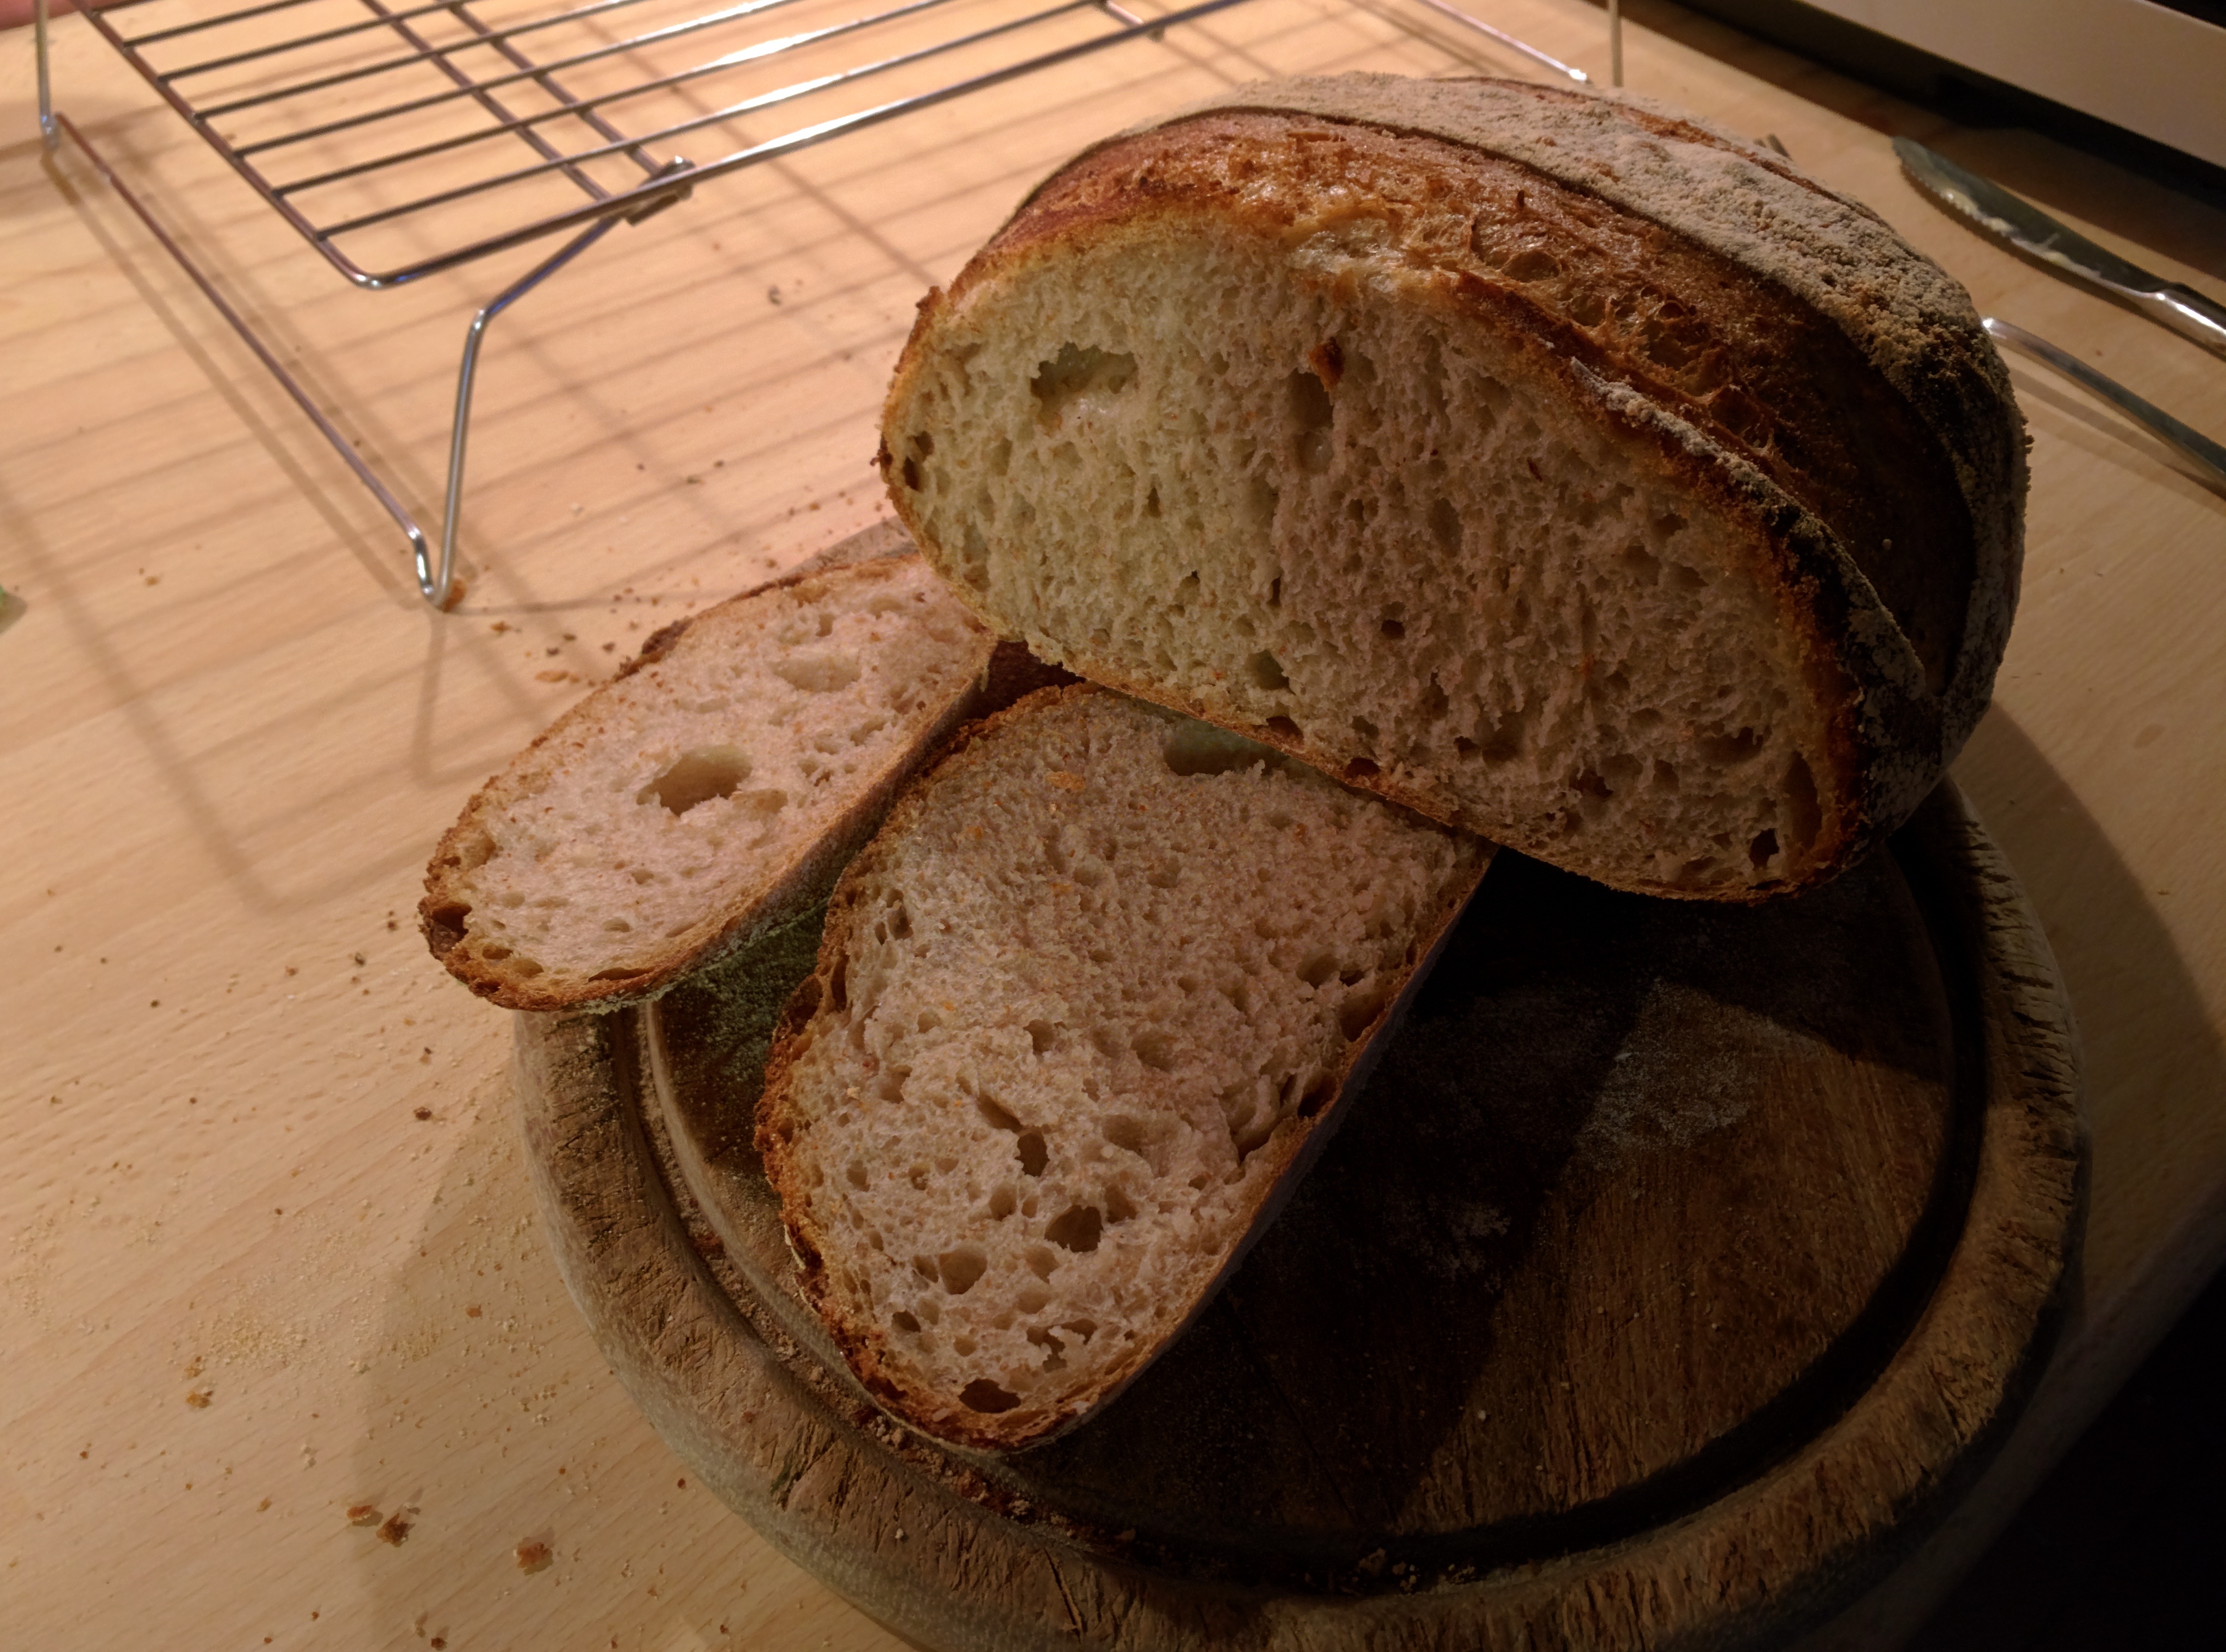
And of-course what you all want is the porn-shot - the crumb!

There it is.

There are are uneven holes - that's mostly due to lack of regular stretch and folds. Note also the holes are not big holes - big holes don't hold as much butter/jam/marmalade/honey. You want bigger glossy holes - well, add more water. (This recipe has an overall hydration of just 63%)

It's also not very sour - in-fact you might be hard pressed to tell. If you want it more sour then let it ferment longer (and prove longer, but you'll need to proof it in a cooler place) and/or build the starter over a longer period of time. I think the addition of wholemeal really makes a change to it too. It still looks like a white loaf though and passes the cold butter test - even fresh out of the oven as that was.

So there you go. The Buckfastleigh Sourdough - a good daily bread made with just 3 ingredients; flour, water, salt.

Hope you enjoy and are not feeling too disappointed if you though you needed a lifetime of arcane and esoteric knowledge required to make sourdough. It's just bread.

-Gordon


Pages