My daughter’s birthday is this week and as she loves hearty, artisan breads, I decided to bake Jeffrey Hamelman’s sourdough seed bread instead of a cake.
I used King Arthur bread flour and Arrowhead Organic rye. The seeds were purchased from an organic food coop. The recipe was tweaked a bit.
Day one (of three): Assemble the liquid levain, soak the flax seeds, and toast the sunflower and sesame seeds:
Liquid levain:
4.8 oz. bread flour
6 oz. water
1 oz. mature culture
The recipe calls for a liquid culture. I opted to try one ounce of my stiff sourdough culture straight from the refrigerator [it had been refreshed the day before] as an experiment.

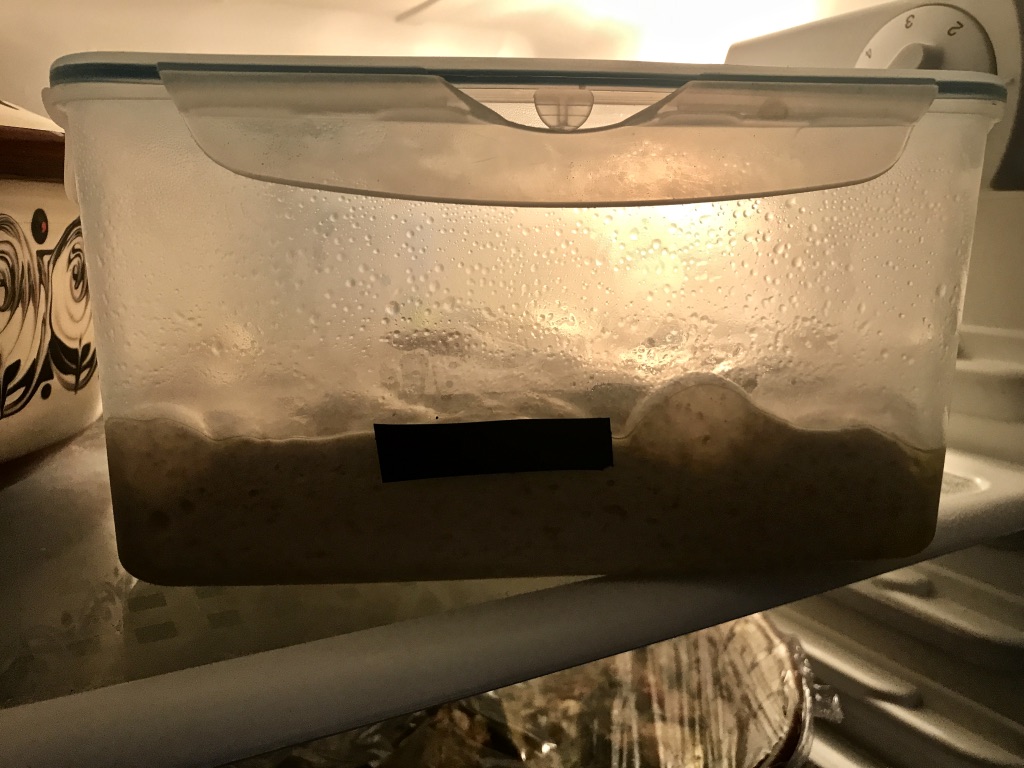
Mix the levain and allow it to stand (covered, at 70F) for 12 to 16 hours. The photo shows my levain about two hours after it had been mixed.
Flax seed soaker:
2.2 oz. flax seeds
6.7 oz. cold water
After you’ve mixed the levain, place 2.2 oz. flax seeds in a container and gently add 6.7 oz. cold water. Cover and let stand for 12 to 16 hours. As the flax seeds absorb the water, the mixture will appear gelatinous.

Toast the sunflower and sesame seeds:
3.8 oz. sunflower seeds (shelled)
1.9 oz sesame seeds
The sunflower seeds were toasted on a cookie sheet in a 325F oven for about 20 minutes (stirred occasionally) until browned. The sesame seeds were browned in a cast iron pan over direct flame. Stir constantly or they’ll pop out of the pan all over your stove top.

The toasted seeds were mixed together (smelling oh, so heavenly), moved to a glass bowl, then covered and allowed to rest overnight so the nutty flavors could meld.
Day two: Mixing, fermentation, shape, and retard:
1 lb. 8.6 oz. bread flour
2.6 oz whole rye flour
11.3 oz. water.
.7 oz salt (1 T plus ½ tsp)
All (8.9 oz) of the flax seed soaker
All (5.7 oz) of the toasted sunflower and sesame seeds
10.8 oz. liquid levain (all of the liquid levain except for 2T [1 oz]) (I added all 10.9 oz.)
The desired dough temperature is 76F (see note at the end of this text).

All of the ingredients were added to my KA spiral mixer. Hamelman instructs to mix at first speed for three minutes, then at second speed for another three minutes. I think Bread was written primarily for professional bakers and that those mixing instructions are for a heavy duty commercial mixer, so I don’t follow them.

I used the first speed only long enough to make sure the levain, water, salt, flour, and seeds were well mixed, then let the dough autolyse for 20 minutes. After the autolyse, the dough was moved to my counter top where I stretched and folded until it felt supple.
Bulk fermentation is 2.5 hours. The dough next was placed in a bowl for the bulk fermentation. I folded it twice at 50-minute intervals.

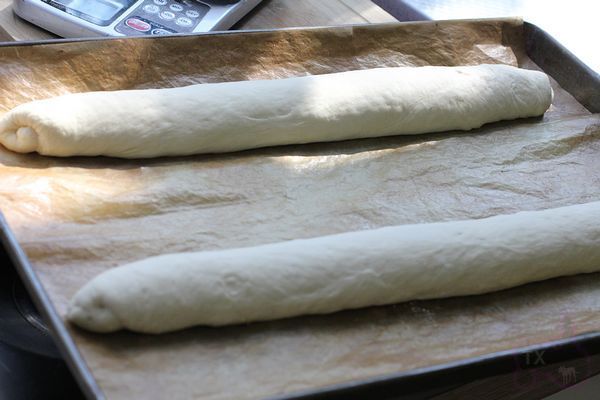
I retarded the bread on a full sheet of parchment placed on a three-sided cookie sheet. These three loaves were placed in a large food-grade plastic bag and moved to the refrigerator. The recipe calls for two large loaves, but I prefer three smaller loaves.

Final fermentation: The final fermentation can be up to 18 hours at 42F.
Day three: Bake and cool.

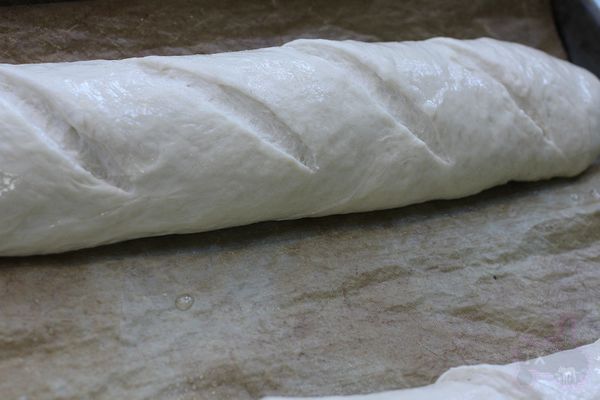
These loaves rose nicely during the final fermentation and even while unbaked, the perfume of the toasted seeds was quite wonderful.
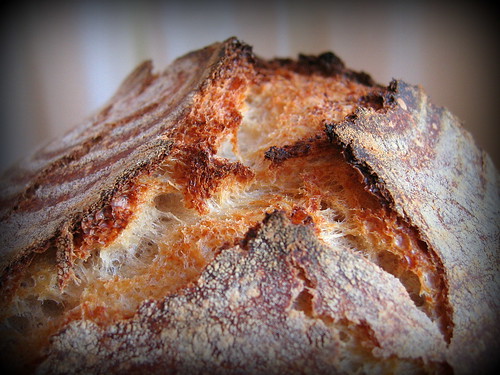
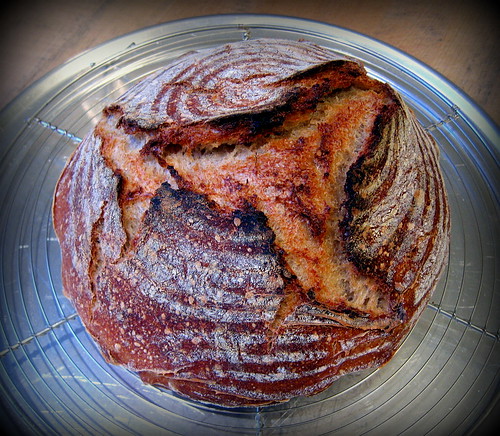
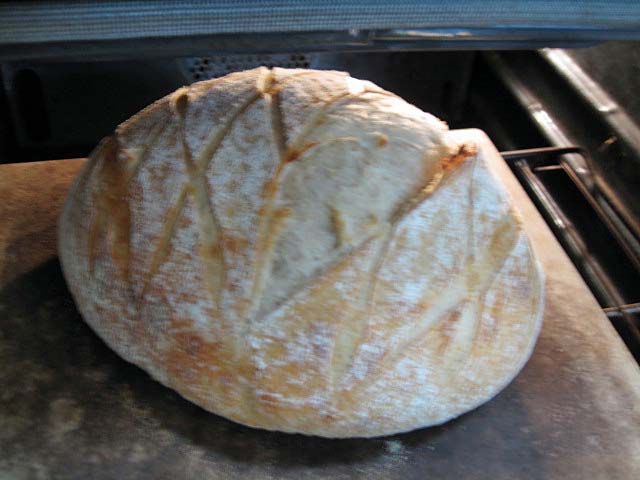
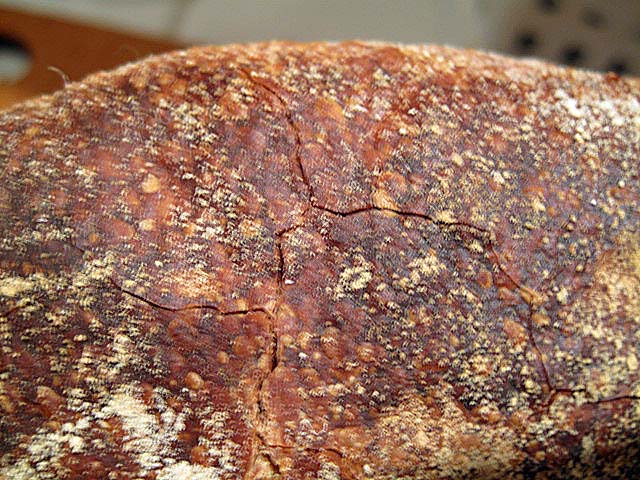
The retarded breads had about an hour’s warm-up time while the oven was preheated to 460F. They were scored and moved to the hot oven stone, then half a cup of hot water was dumped in the broiler pan under the stone. Total bake time was 45 minutes.
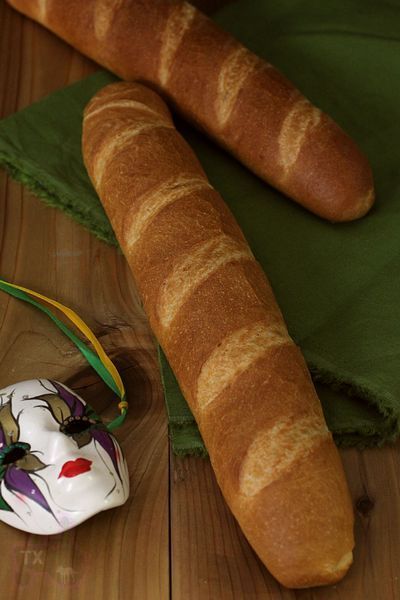
The fragrance of the cooling bread was awesome.

I’ll give myself a “D” for scoring, but at least it’s a small improvement.

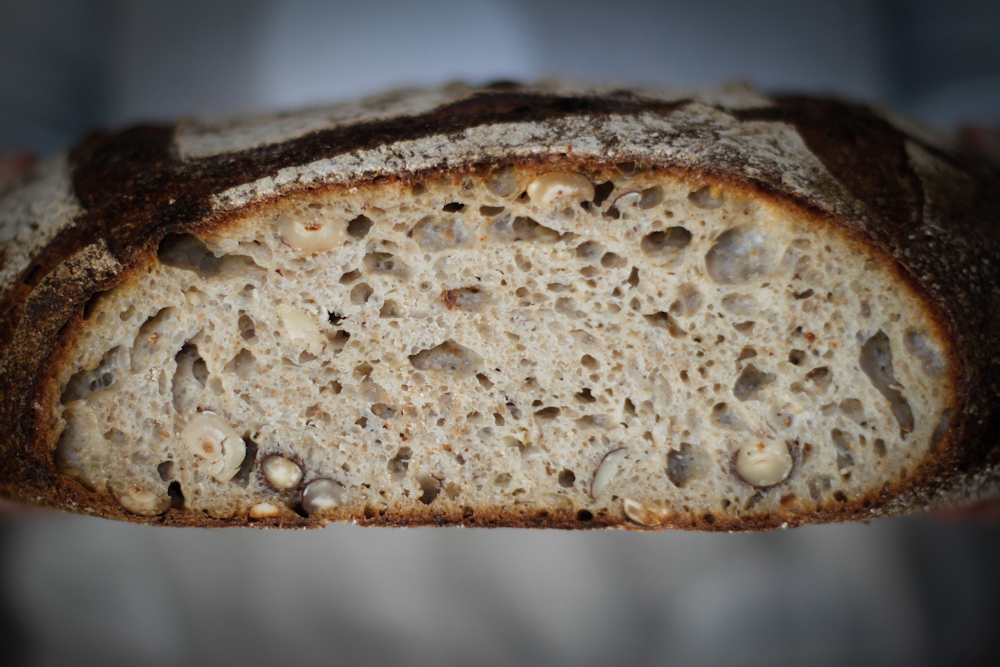
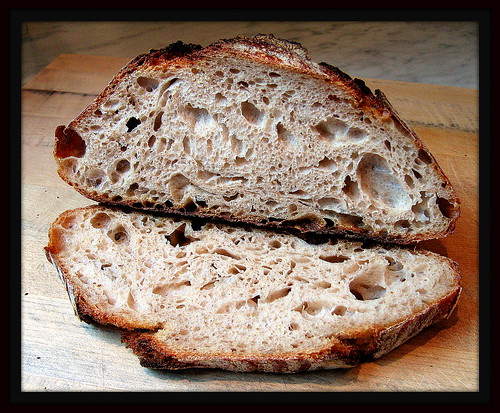
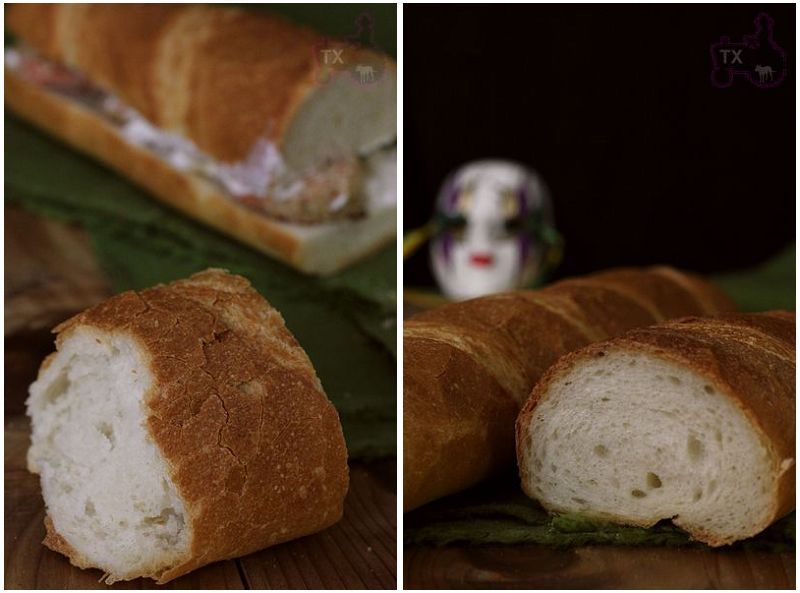
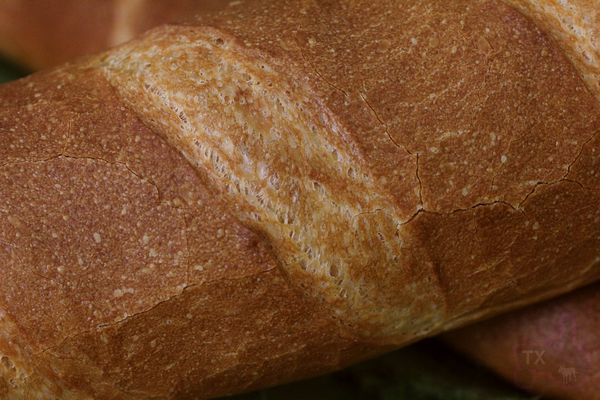
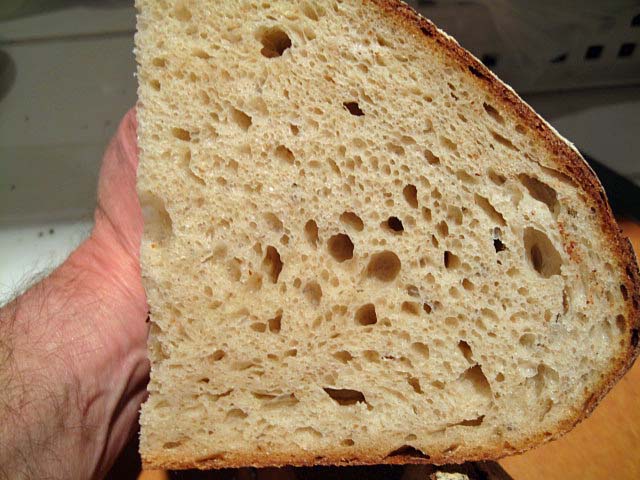
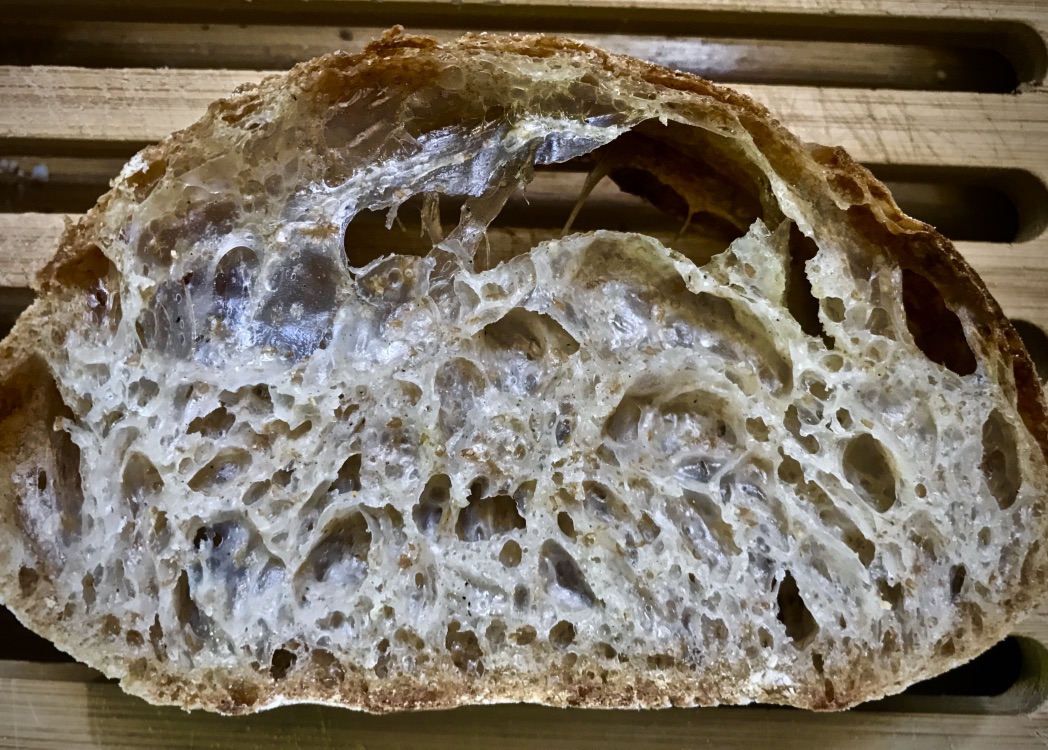
I waited 24 hours before slicing the bread, to allow the flavors to combine and mature. The mix of the sunflower, flax, and sesame seeds, combined with the caramelized crust, provides a burst of flavor that borders on smokiness. I loved the taste, fragrance, and texture of this bread.
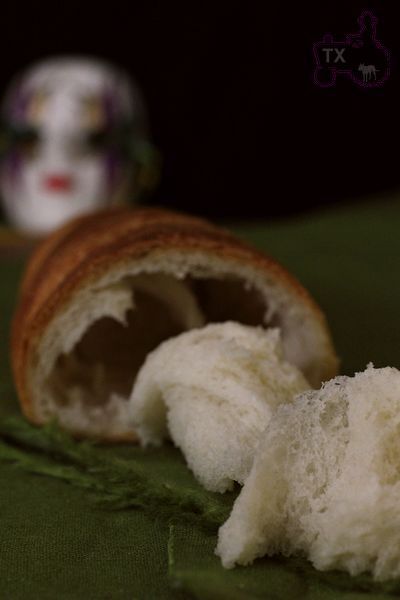
A different take on crumb: The kids and grandkids claim that too many holes means there’s too little bread, so they call it diet bread. This should make them all happy.

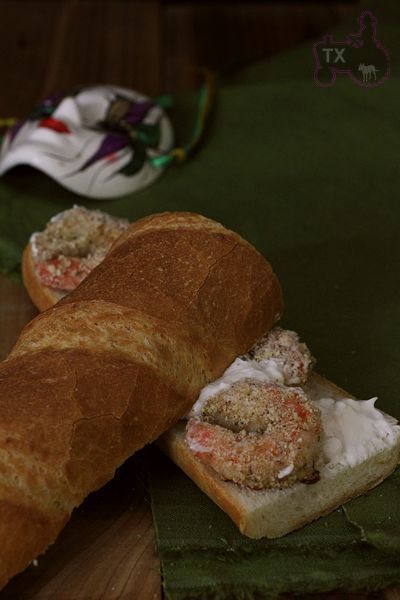
If you enjoy an aromatic hearty bread, I’d encourage you to try Hamelman’s SD seed bread. It's delicious toasted for breakfast, or with a bit of unsalted butter with a salad. Or even plain!
Now, about desired dough temperature. If you have Hamelman’s Bread, you’ll have read pages 382-385. If you’re not familiar with the term, it is a formula used to determine the correct temperature of the water to be added to your flour and other ingredients. It makes a difference in the quality of your bread.
Rather than reinventing the wheel, I direct you to WildYeast's blog where she so masterfully covers the subject and even provides a free downloadable calculator. (Thank you, Susan!).