Things have cooled down just a bit the last few days, enough to make cooking more pleasant. This loaf is based on Trailrunner/Caroline's WW YW Pullman 13" bread. As Caroline mentions, this is a spin off of Danayo's 1-rise only bread. I scaled Caroline's recipe down a bit for use in my 9 in Pullman pan, and made just a few substitutions:
235 gm AP (Bob's Red Mill organic)
235 fresh milled Central Milling hard red spring wheat
50 gm KA Semolina that I ran through the Mockmill x2 to get it finer. No idea if that will work, but it was what I had on hand.
20 gm fresh milled rye
280-325 gm water (100 gm of the water was yeast water)
34 gm each honey, EVOO, buttermilk (the real, cultured stuff) = 102 gm Trinity
9 gm salt
1 slightly rounded tsp of diastatic malt powder (none of these flours are malted, and the YW is pretty new. Not sure how strong it is and figured the wee beasties wouldn't mind a little extra help.)
126 gm active YW levain
Process:
Friday morning:
- 7:20 a.m. Mixed 23 gm each of YW and flour (50:50 BRM AP and whole wheat) and put it out in the garage for 4 hours (temp 82 degrees). This is what it looked like at ~ 3:00. Probably not super strong yet, but it still smelled fresh and got there eventually.

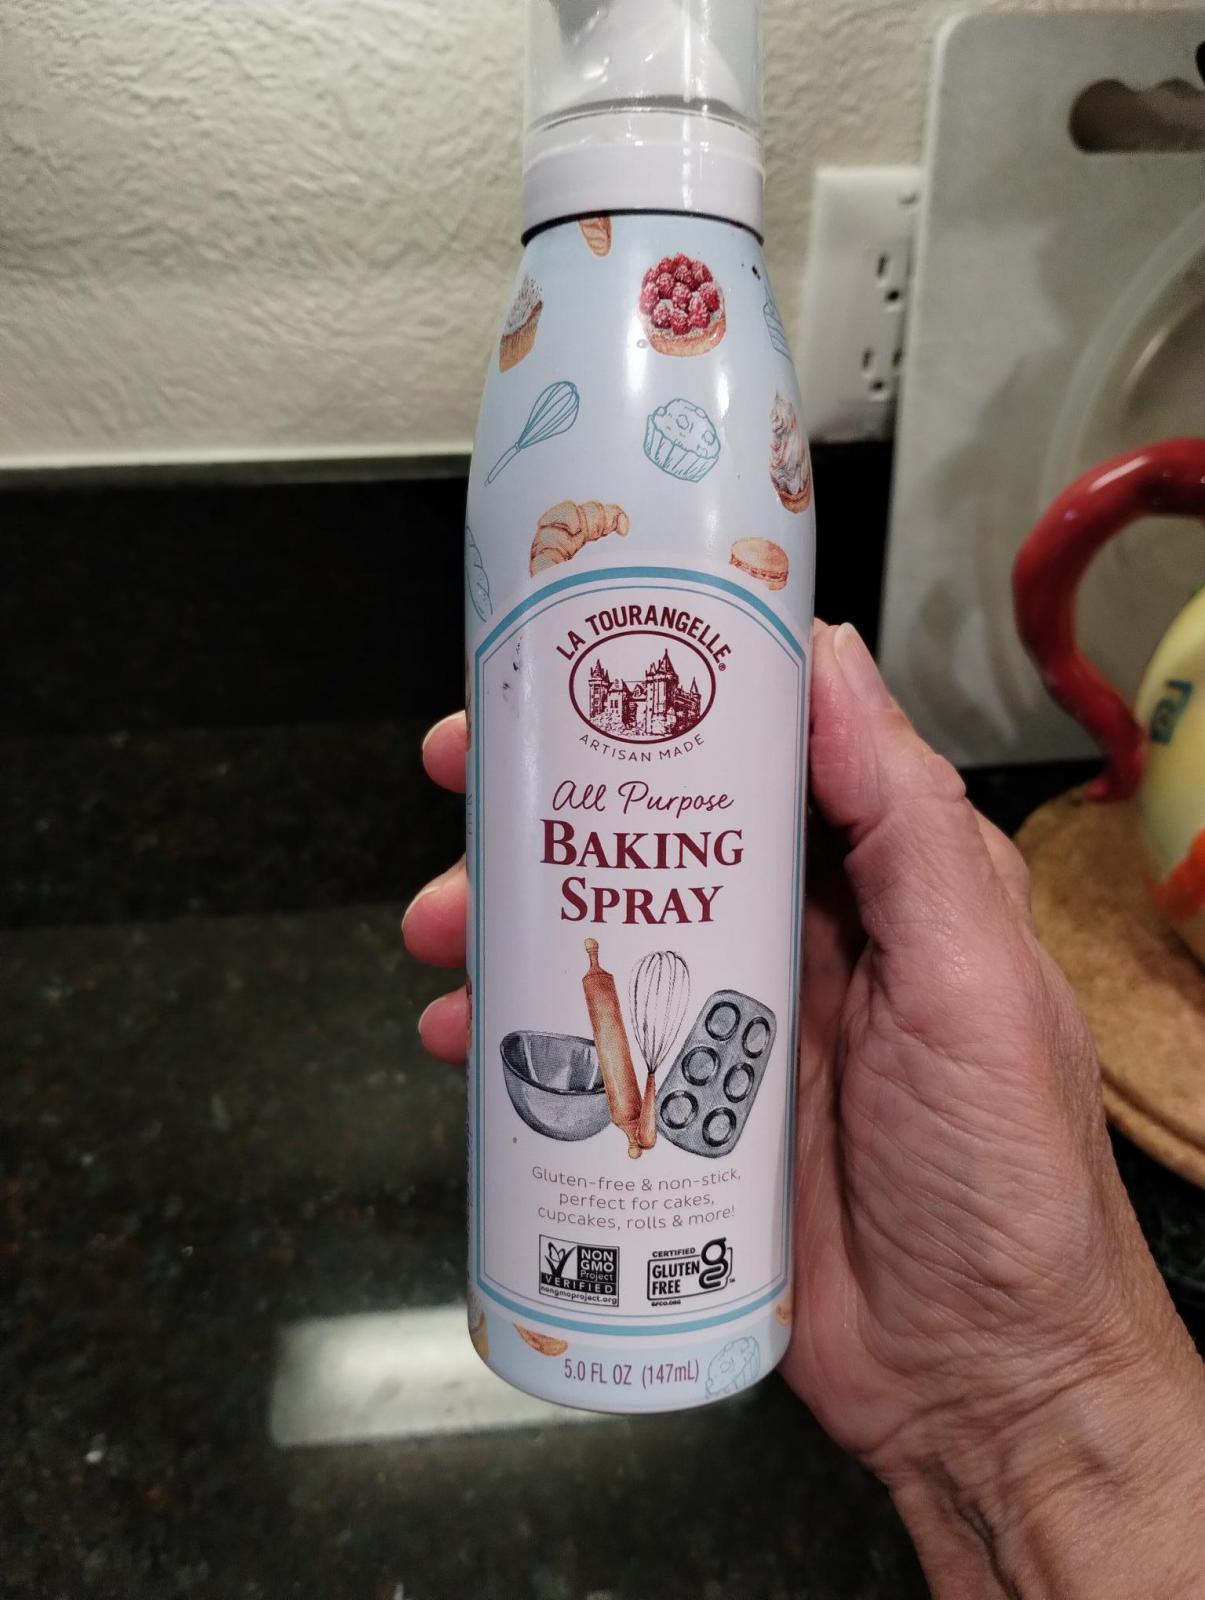
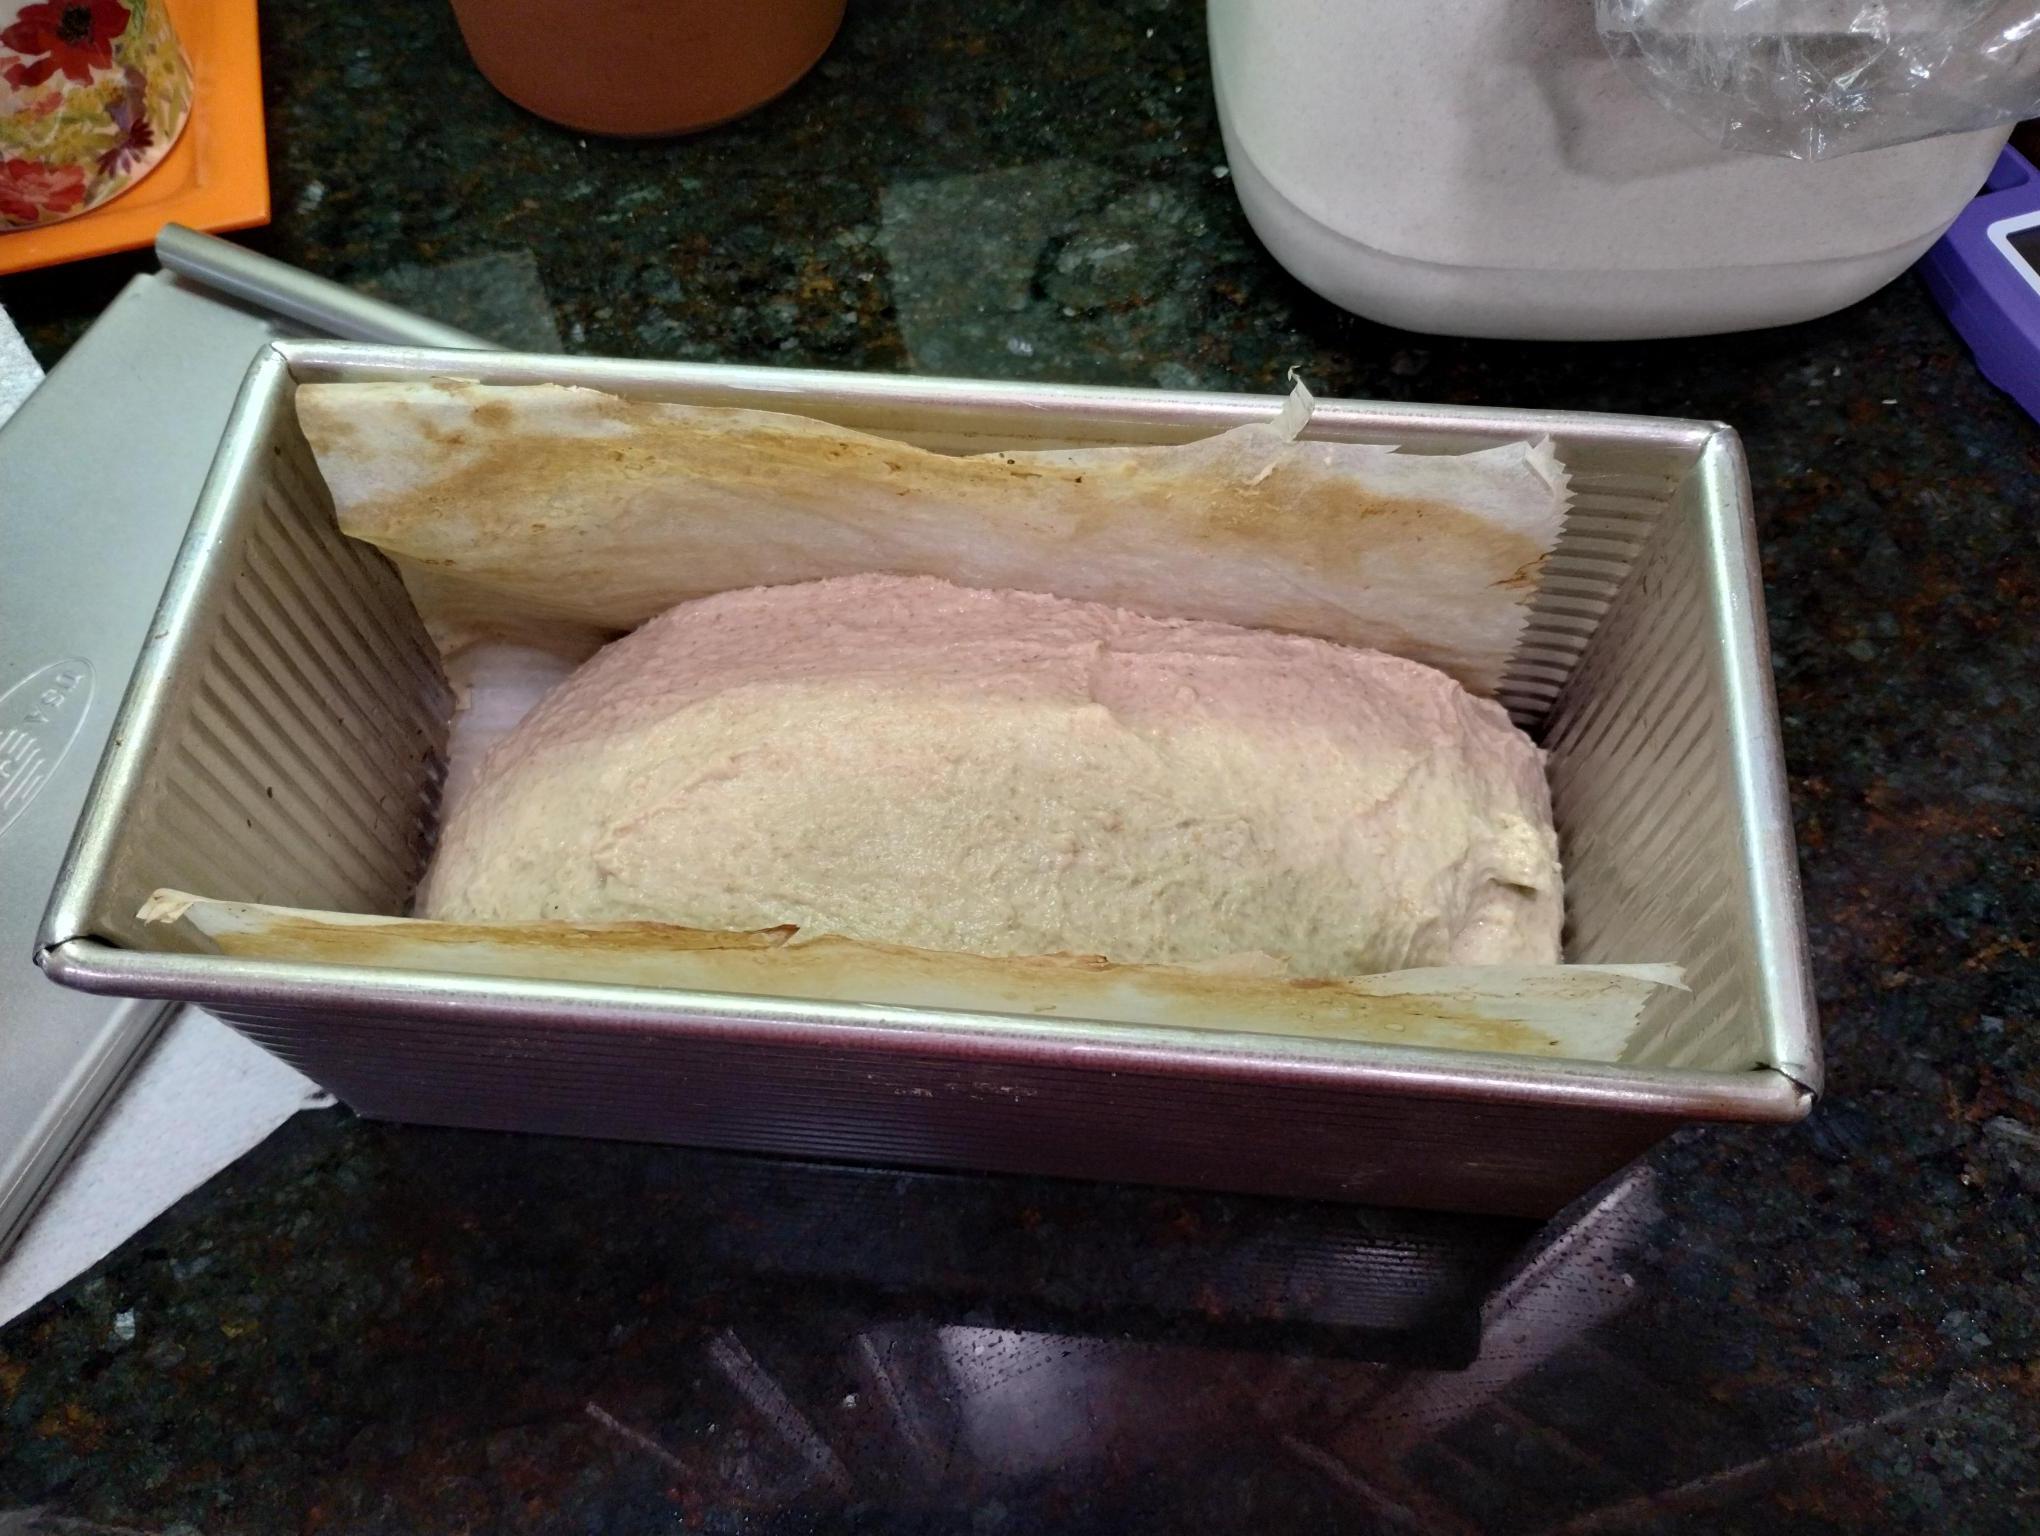
3:20 pm Mixed everything above. Mixed until everything was well incorporated, covered and rested 1 hour. Then mixed in a Bosch compact mixer for ~ 7 minutes. While the dough was mixing, I prepped the Pullman pan with some baking spray and previously used parchment paper. This spray has always served me well, nothing ever seems to stick when I use it. Still, parchment paper gives that extra layer of insurance. ;)
I had pondered holding back some of the water but my flour is always so thirsty in our dry climate that I decided to just go all in. Might not have been my best decision..... The dough was quite slack. Better than batter, but shaping wasn't going to happen. Good thing this is a loaf pan formula! I did about 50 slap and folds on the counter and that helped bring the dough together a little better. (It always amazes me how those help!) I schlorped the dough on to the parchment paper and used it as a sling to put it into the pan. DT was 78F. (Note to self - use a little less water!)
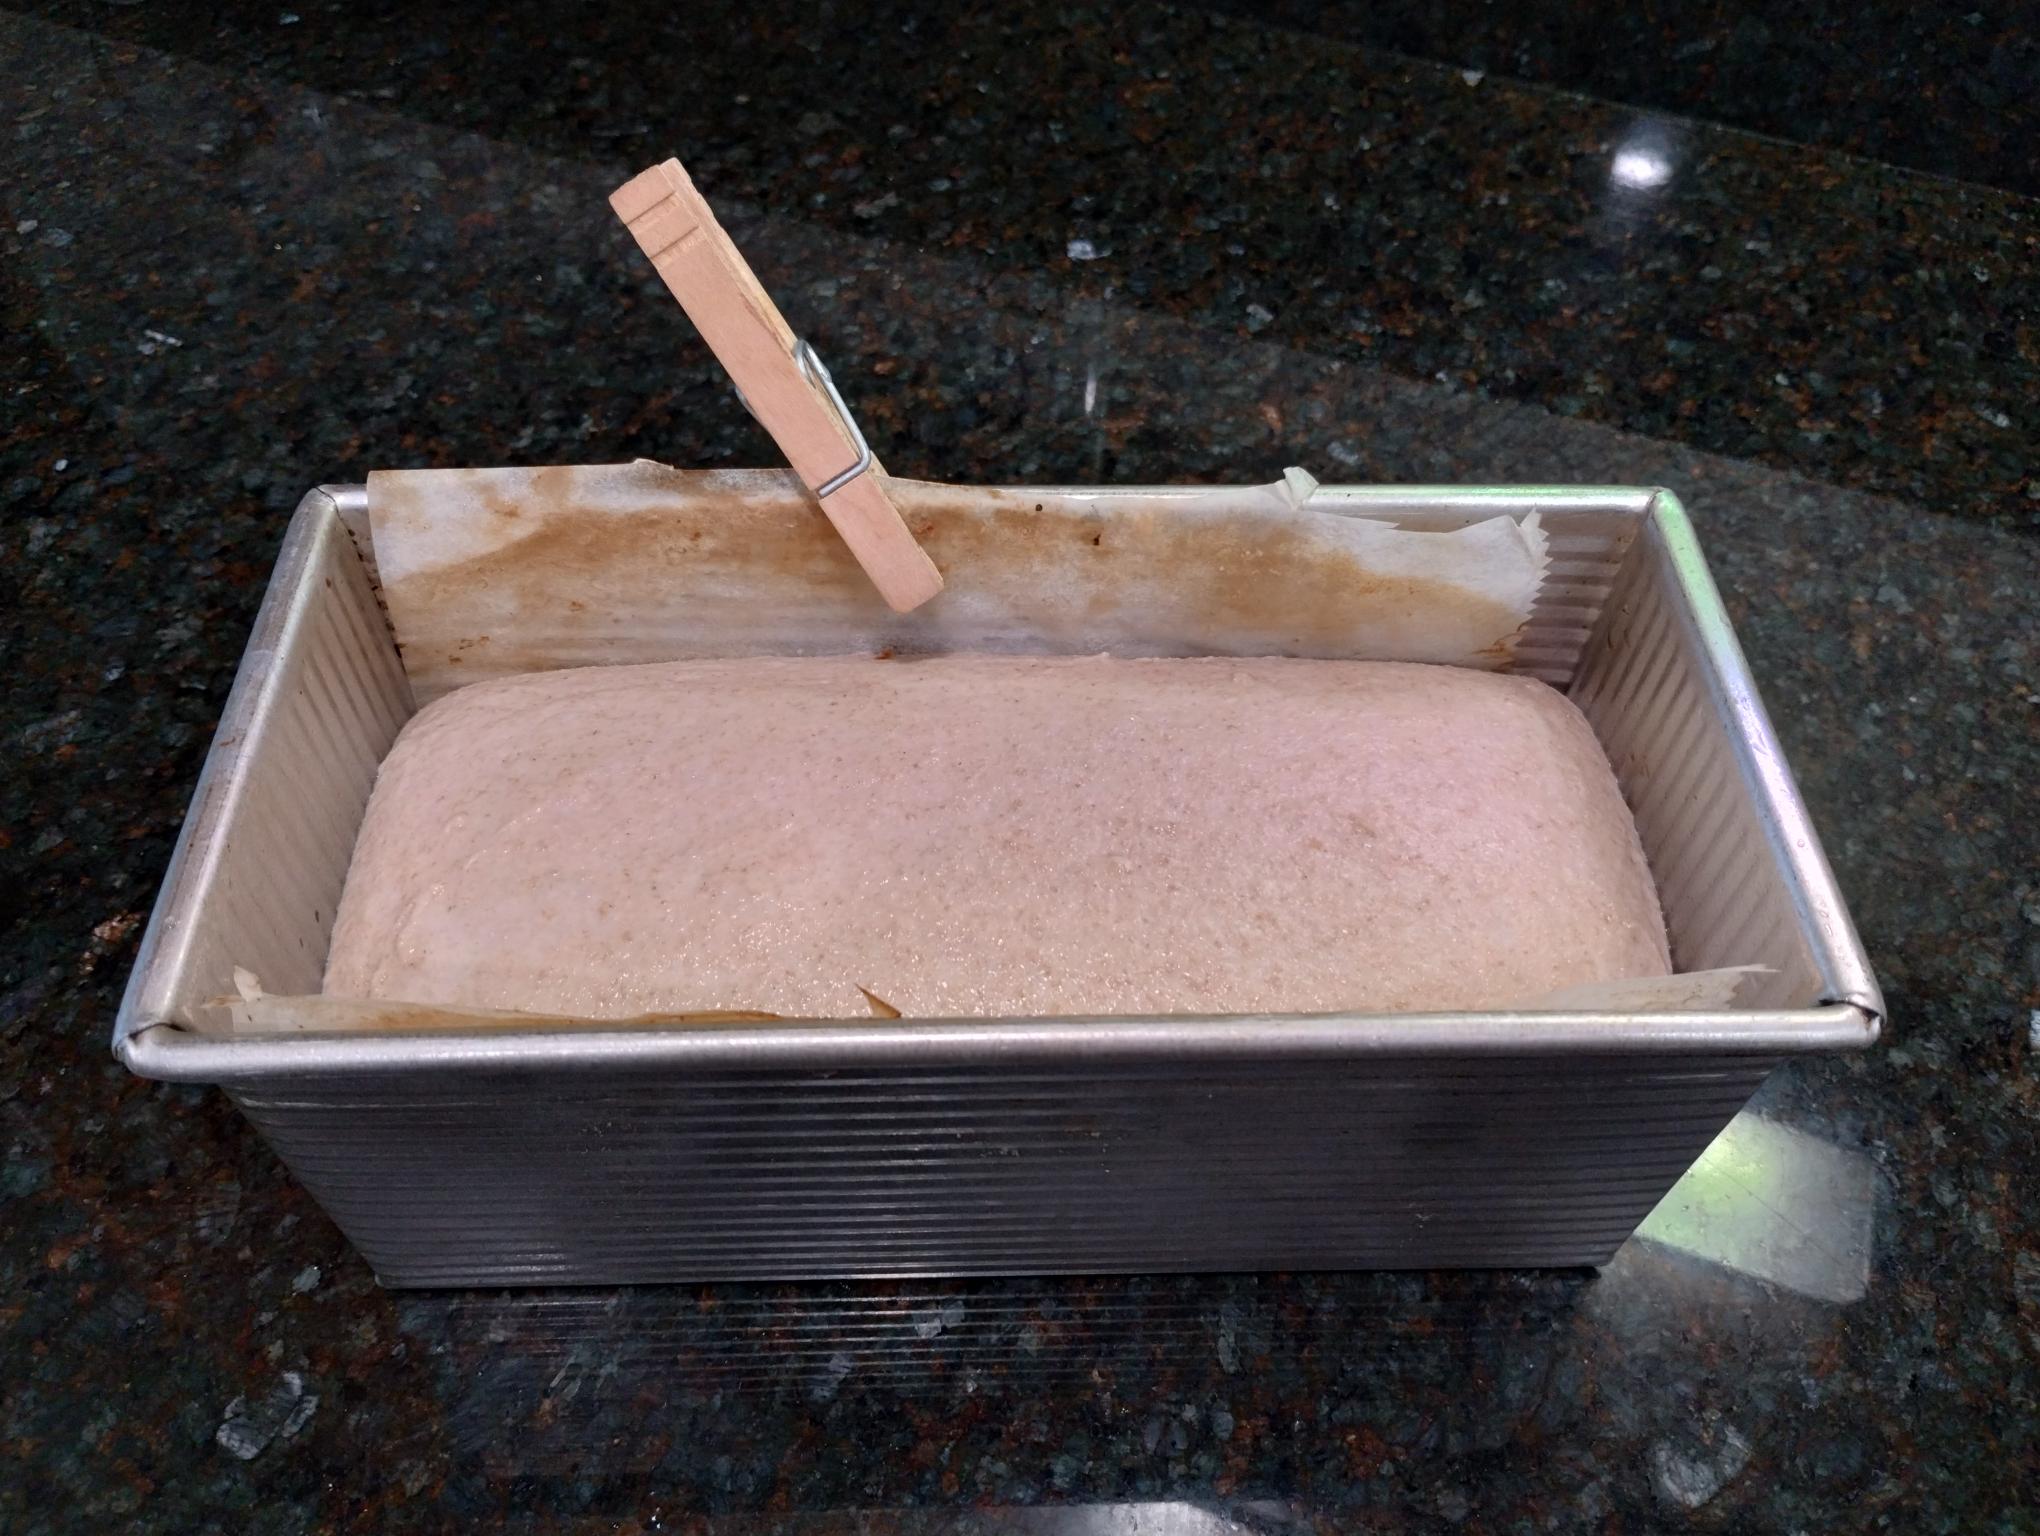
After 3.5 hours on the counter. The clips serve 2 purposes: they keep the parchment from flopping onto the dough, and also keep my trusty shower cap cover from touching the dough. Sorry for the blurry pic:

- Saturday morning. We needed bread for lunch, and I was not willing to wait any longer. Preheated the oven to 375F and once it had been at temperature for about 15 minutes, I pulled the dough out of the fridge. This is after 13 hours in the fridge:
Baked at 375F for 30 min with the lid on, then 20 min with the lid off. The crust was still not quite our preferred color and the internal loaf temp was a bit cooler than usual so it got an additional 5 min in the oven. So total bake time was 55 min, right on par with how long most of my loaves take.
After cooling for 2.5 hours, we needed lunch! It left a little gummy residue on the knife, but it was still just a little warm. No gumminess today, thankfully.


The flavor is soooo good! Creamy, sort of yogurty but not quite. Definitely not the bland flavor I associate with a simple yeast based loaf. This one will definitely go into my regular rotation! It's an easy, no-muss-no-fuss loaf. Hubby liked it too - he doesn't often comment on the flavor 2 days in a row, and this loaf received that praise. I may increase the amount of whole grains next time.
Thanks again, Caroline and Abe, for all your help getting me to this point!!
Mary