The Fresh Loaf

A Community of Amateur Bakers and Artisan Bread Enthusiasts.

Sourdough

Isand66's picture
Isand66

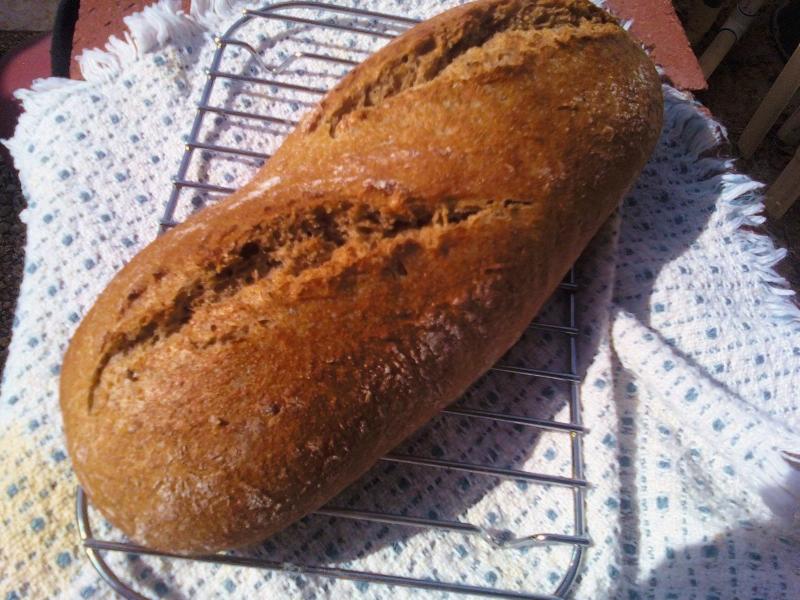
We had some left over avocados that were getting very ripe so I decided rather than throw them out I would try to incorporate them into a bread.  I used 1 ripe avocado and mashed it up with a fork until it was the consistency of guacamole.   I've also been wanting to try to add some yogurt into one of my breads and figured this would be a good combination with the avocado as well.  Just to make it a little more interesting I decided to add some barley flakes and spelt flour.

I must warn you that the addition of the avocado and the yogurt ended up making this a very wet dough.  If you prefer you can add more flour or give this a go but be prepared to work with a sticky dough.

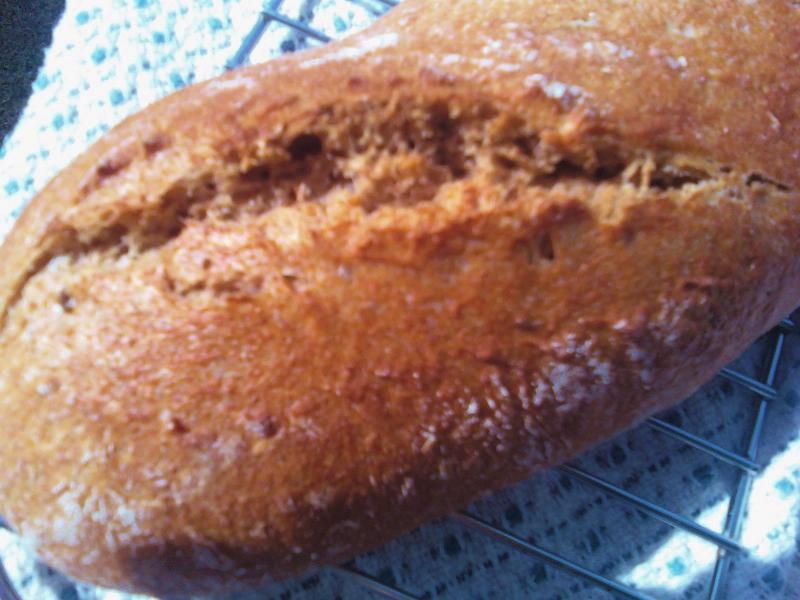
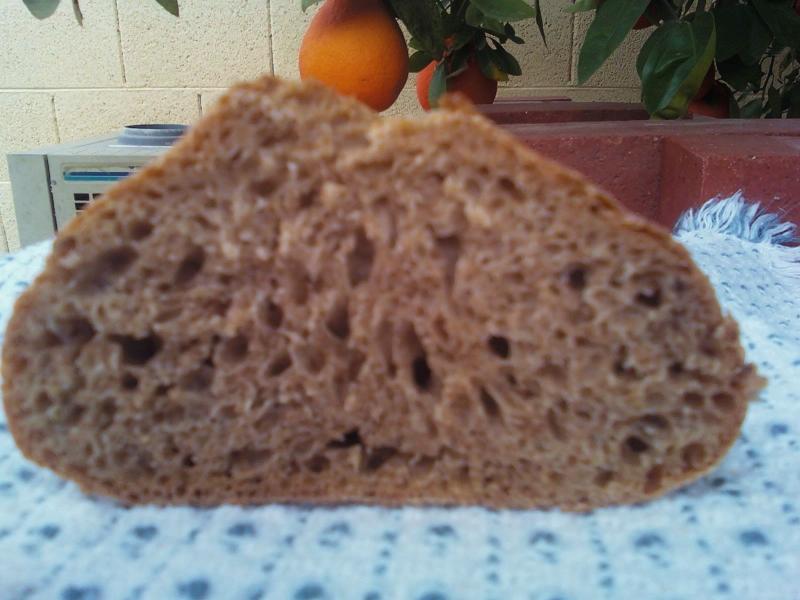
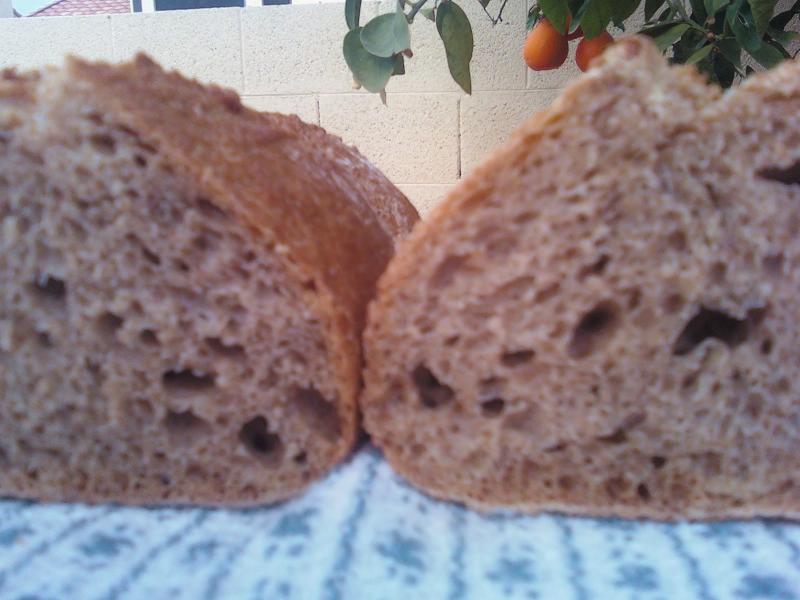
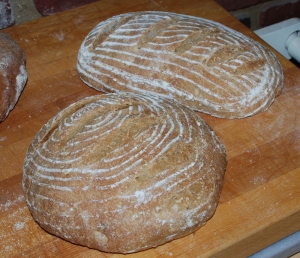
The final bread came out pretty good with a nice open and moist crumb and a good tangy flavor.  The only issue I have is that I left the final dough to rise too long and it ended up getting deflated slightly which caused the end result to be a little flatter than it should have been.  If you make this recipe and use bannetons to form your final loaves, be sure to use plenty of flour to prevent it from sticking.

Ingredients

15 ounces Refreshed Starter, 65% Hydration using All Purpose Flour

13 ounces Water (90 degrees F.)

14 ounces European Style Artisan Bread Flour (King Arthur Flour) or Bread Flour

3 ounces Whole Wheat Flour (I used KAF)

4 ounces Spelt Flour (adds a nice nuttiness to the bread--also from KAF)

1.5 ounces Barley Flakes (or rolled oats, etc.)

4 ounces Plain Greek Yogurt

4 ounces Avocado (very ripe, mashed with spoon or fork)

2.5 Tsp. Sea Salt or Table Salt

Directions

Using your stand mixer or by hand, mix the water with the starter to break up the starter.

Add the flours, salt, avocado, yogurt and barley flakes and mix on the lowest speed for 2 minutes.  Let rest for 5 minutes.

Mix for 4 minutes more on medium speed, adding more flour if necessary to produce a slightly sticky ball of dough.

Remove dough to your lightly floured work surface and need for 1 minute and form into a ball.  The dough will be very sticky so you may want to wet or oil your hands to help form it into a ball.

Leave uncovered for 10 minutes.

Do a stretch and fold and form into a ball again and cover with a clean moist cloth or oiled plastic wrap.

Wait another 10 minutes and do another stretch and fold.  The dough should start to become easier to work with at this point.  Let it rest 20 minutes this time and do another stretch and fold.

After another 10 minutes do another stretch and fold and put into a lightly oiled bowl that has enough room so the dough can double overnight.

Let it sit covered in your bowl at room temperature for 1.5 - 2 hours and then put in your refrigerator for at least 12 hours or up to 3 days.

When ready to bake the bread, let it sit out at room temperature covered for 2 hours.  After 2 hours shape the dough as desired being careful not to handle the dough too roughly so you don't de-gas it.

Place it in your bowl, banneton or shape into baguettes.

Let it sit at room temperature for 2 hours covered with oiled plastic wrap or a wet cloth.

Pre-heat oven with baking stone (I use one on bottom and one on top shelf of my oven), to 500 degrees F.

Slash loaves as desired and place empty pan in bottom shelf of oven.

Pour 1 cup of very hot water into pan and place loaves into oven.  I also spray the inside of the oven walls with water 2 times the first 5 minutes to add some extra steam.

Lower oven to 450 degrees and bake for 25 - 35 minutes until bread is golden brown and internal temperature reaches 200 degrees.

Let cool on cooling rack and enjoy!

This post has been submitted to the Yeast Spotting Site here: http://www.wildyeastblog.com/category/yeastspotting

Please feel free to visit my other blog for additional recipes at:  www.mookielovesbread.wordpress.com

dabrownman's picture
dabrownman

What a nice bread to make - and it only took half a day since I already had the starter build ready - retarding in the fridge.  It is what Phil calls simple baking which is why I chose it.  It has to simple and stress less after all these 3 day ordeals of late :-).  Rye SD with caraway is my favorite bread - by far.  This one besides being easy, is also top notch.  Phil knows his bread baking ! Lovely texture and taste, crispy crunchy crust to cut but soft and chewy when eaten.  I had it plain, buttered, toasted, creamed with cheese and it was all good.  The lox was frozen but I bet it too would have been fabulous with this fine bread.  This is a fine every day family rye that almost all will enjoy.  Here are some more pics of how I did it  - which is far away from what the pro's like Phil do and my sorry attempt proves it.  Still haven't got a decent camera, so the cell phone shots will have to do.......

I'm getting better slowly but surely.  It is a nice feeling .  Bake Phil's 40% Rye with Caraway.  You will like it.

dabrownman's picture
dabrownman

Well, I am happy as punch with the latest version of my multi grain challah bread that is baked at 450F and steamed in the oven for 20 minutes -verses the cloche.  But, I am disappointed I was not able to control my experiment to find out if the cloche or oven steaming method was better.  The higher temperature worked best for both but, this attempt, the bread rose much higher and faster than the Wagner Ware loaf even though  both were identical in every way.  The only thing I can think of is that the starter, which was the same for each, was more mature and stronger than it was the week before.

I noticed this time, during the levain build, it doubled in 4 hours instead of the 8 hours it took the last time.  This is a new SD starter that is less than 3 weeks old (started the sourdolady way).  When the loaf went into the baking pan it appeared to be exactly like the cloched loaf.  But, the version 4, did rise higher during fermentation and it also rose higher in the fridge during retard and rose higher after it was taken out of the fridge this morning - even thought the retard was 6 hours less and the final rise before the oven was 2 hours less.

All things considered, I think that either cloched or baked in a steamed oven, this bread works equally well both ways and it shows that that a fully mature and strong starter with a proper build is essential to bread making.  I had half a loaf of the clotched verion 3 to compare in the photos that follow.  The version 4 crum is far superior, lighter and open.  The crust is the same as the clotched.  I like the taste of the clotched better propably because it was hours longer in the making and developed more SD flavor.

I think I can reproduce version 4 and will figure out a way to slow it down and make the flavor a litttle better.


What can Ido to improve this bread now.  Autolayse the flour before adding the levain.  Cut down the amount of levain to extend the time.  lower the temp of the ferment and post retard?  Any thing else?

Here are the pics before retard.


After retard

After poor slash - My worse bread making skill by far

In the oven

20 minutes later steam comes out

Oven off and door craked open - temp 205 F

Version 4 twice as high as version 3

crumb shot and others


Joyful Whisper's picture

What is it with San Francisco sourdough?

February 7, 2012 - 6:05am -- Joyful Whisper

Read several articles but none really tell me what makes San Francisco sourdough so special. Some say it is REAL sour dough, others say it is just a hint of sour. Several say it is the delightfully crunchy crust that make it special, others it is all about the crumb.

If San Francisco Sourdough is the ideal sourdough bread I would love to know what it is that makes it worth striving for.

dabrownman's picture
dabrownman

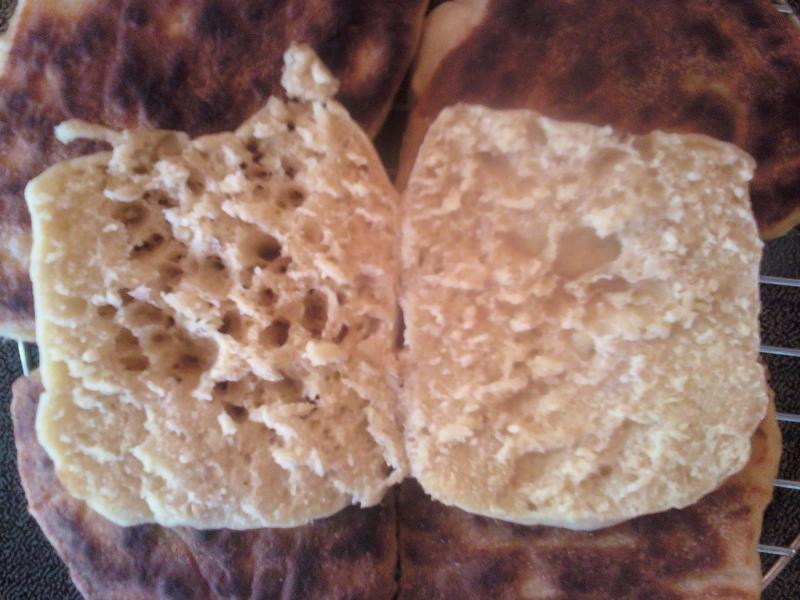
Inspired by kjknits EM recipe I decide to try it out.  I don't have a cutter so I just cut them into square shapes with my dough scraper.  They turned out nice.  My wife, who eats the Thomas brand regularly, also seemed to like them too.  Thanks to kjkniots for the recipe.  They came out with holes on one side after slicing for some reason.  Maybe the side that hit the hot pan first got bubbles or cause them to go away?No I don't think I will be buying an EM cutter either - unless I find one at Goodwill.

These are delicious toasted with butter and home made 6P Jam ( prickly pear, pineapple, plum, pear & pomegranate)  Can't buy that at the store :-)


tfranko29's picture

starting a second Country Bread, but first a question

February 5, 2012 - 7:42am -- tfranko29

Hi Gang,

I recently made the Tartine Country Bread and it was very fun to make and eat.  I'd like to do it again, but I need a little help.  In step 4 of my recipe, Chad says, "Save your leftover leaven; it is now the beginning of a new starter.  To keep it alive to make future loaves, continue to feed it as described in step 2."  Can I feed it once then start another loaf tomorrow?  or does he want me to feed it until it predicably rises and falls, perhaps another 15 days?

dabrownman's picture
dabrownman

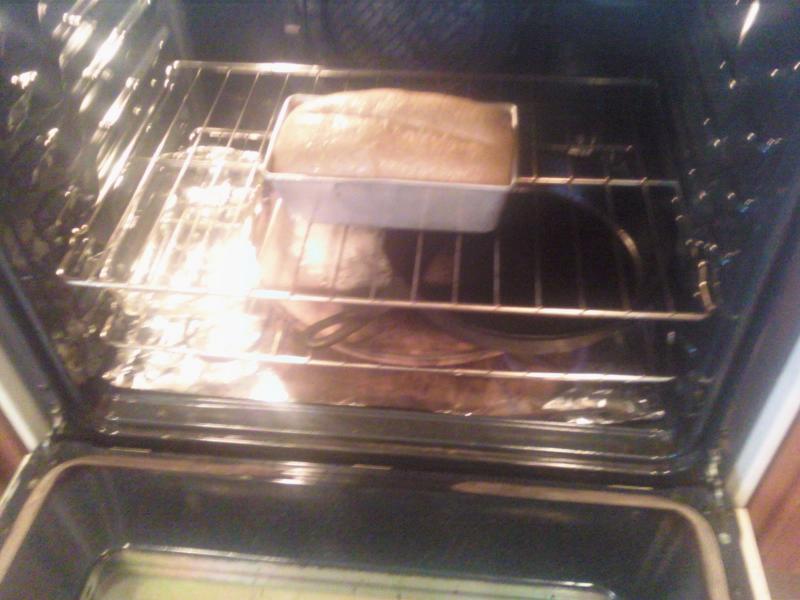
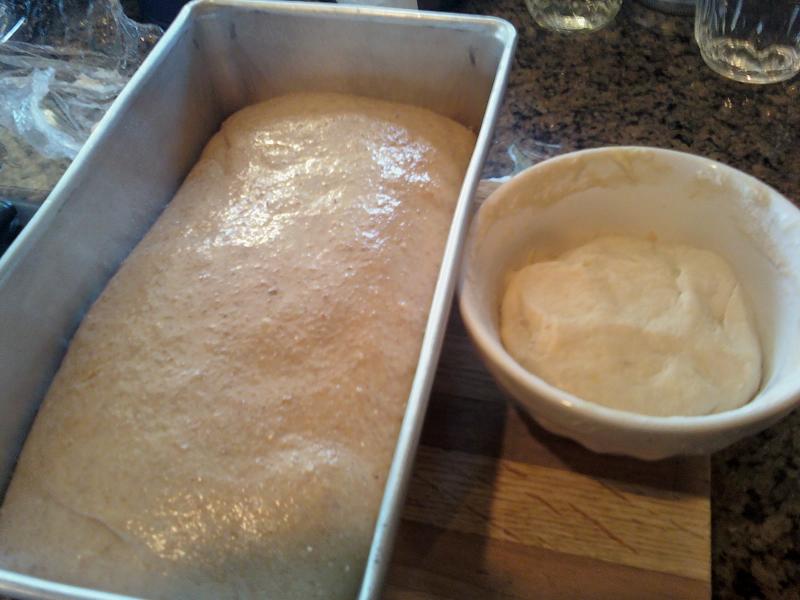
After changing my Multi grain Challah recipe to make it a S&F long ferment and retard bread, I decided to see if baking it in a cloche would make for an even better every day sandwich bread.  My Mother In Laws old Warner Ware Roaster 13" X 10" X 8" high seemed to be the only thing we own that might fit the bill.  I also has a nice rack to hold the bread pan off the bottom.    I heated the oven to 500 F (convection on) and put the entire roaster in the oven to heat up for 45 minuted.  No normal steam at all.  Once the roaster was hot ,I easily dropped the loaf pan in with oven mitts on and baked the loaf in the covered roaster for the first 20 minutes, turning the temperature down to 450 F convection.

The loaf, before it went into the roaster, had doubled in size from the overnight retard even though it still only came half way up the pan.  I was making a small test loaf.  The spring was an additional 100% as the finished loaf doubled again in the roaster.  After 20 minutes I took the roaster out of the oven, took the bread out of it and put the bread back into the oven to reach 200 F in the center of the loaf.  I then turned off then oven, cracked the door open and allowed the crust to dry.

The only thing I can say is that this might be the best loaf of this bread I have ever baked.  The crust was very dark brown with light brown specks.  Just beautiful!!  It was crispy crunchy yet still chewy.  The crumb was moist, light and also speckled with light brown flakes.  It tasted fantastic.  I bake this bread every week and this was by far the best.  I will bake it this way from now on.  The previous attempt I baked at 350 F with steam so the higher temperature played a big part I am sure.  So I will bake it next time the old way, No Cloche, but at the higher temperature to see what effects that has on this bread.

And who wouldn't want this bread to sop up a nice Garbonzo Bean Soup?

dabrownman's picture
dabrownman

Here are a couple of shots of the SD Raspberry Pancakes made for breakfast a couple of days ago.  The spring was incredible !!! I used a starter that had been refreshed 3 days before some it wasn't in peak form.  Made the batter the night before and let it sit in the fridge overnight.  Very tasty too.  Another blog on TFL, sorry I can't remember which, inspired me.

Isand66's picture
Isand66

I have about 100 recipes and counting I want to try from old cookbooks as well as new cookbooks, not to mention all the recipes I have saved from various blog posts and websites.  Having said that I decided to experiment on my own instead and came up with a variation of Peter Reinhart's San Francisco sourdough using durum flour, stone ground barley flour and some roasted wheat germ as well.  I was very happy with the results with the exception that I didn't do a great job of shaping the loaves and they became slightly misshapen.  I do have to say though that the malformed shapes fortunately did not affect the taste.  The crumb was a little tighter than I would have preferred, but overall the bread had a nice nutty sweet flavor and went well with my wife's bow-tie pasta and chicken in a cream sauce she made tonight for dinner.

If anybody decides to try this for themselves, I would love to hear about your results.

Ingredients

15 ounces 65% Hydration Starter Refreshed

2.5 ounces Stone Ground Barley Flour (I use King Arthur Flour)

10 ounces European Style Flour from KAF (or Bread Flour)

5 ounces Extra Fancy Durum Semolina Flour (King Arthur Flour)

2.5 ounces Roasted Wheat Germ

14 ounces Luke warm water, 90 - 95 degrees Fahrenheit

2 1/2 Teaspoons Sea Salt

2 1/4 Teaspoons Instant Yeast  (you can omit the yeast if desired and let the dough sit for 1 1/2 hours to 2 hours before refrigerating)

Directions

Using your stand mixer or by hand, mix the water with the starter to break up the starter.

Add the flours, salt, yeast (if using), and mix on the lowest speed for 2 minutes.  Let rest for 5 minutes.

Mix for 4 minutes more on medium speed, adding more flour if necessary to produce a slightly sticky ball of dough.

Remove dough to your lightly floured work surface and need for 1 minute and form into a ball.

Leave uncovered for 10 minutes.

Do a stretch and fold and form into a ball again and cover with a clean moist cloth or oiled plastic wrap.

After another 10 minutes do another stretch and fold and put into a lightly oiled bowl that has enough room so the dough can double overnight.

Put in your refrigerator immediately for at least 12 hours or up to 3 days.

When ready to bake the bread, shape the dough as desired being careful not to handle the dough too roughly so you don't de-gas it. (If you did not use yeast, let it sit in your bowl for 2 hours before shaping).

Place it in your bowl, banneton or shape into baguettes.

Let it sit at room temperature for 2 hours covered with oiled plastic wrap or a wet cloth.

Pre-heat oven with baking stone (I use one on bottom and one on top shelf of my oven), to 500 degrees F.

Slash loaves as desired and place empty pan in bottom shelf of oven.

Pour 1 cup of very hot water into pan and place loaves into oven.

Lower oven to 450 Degrees and bake for 25 - 35 minutes until bread is golden brown and internal temperature reaches 200 degrees.

Let cool on cooling rack and enjoy!

This post has been submitted to the Yeast Spotting Site here: http://www.wildyeastblog.com/category/yeastspotting

Please feel free to visit my other Blog for older posts at: http://www.mookielovesbread.wordpress.com

dabrownman's picture
dabrownman

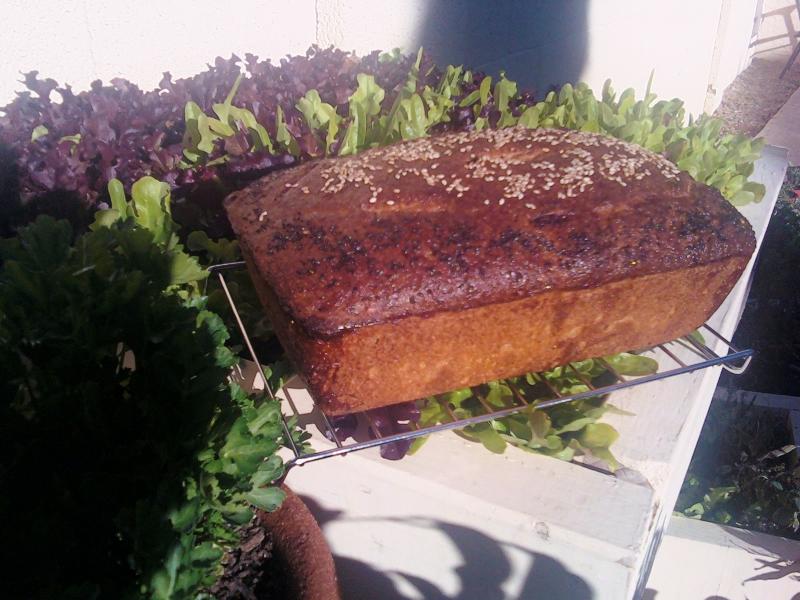
Before TFL came into my world, I had a multi grain, seeded, SD challah that I baked every week for my daily sandwich loaf. I called it my made up name Brachflachen Mehrere Vollkombrot. It was the standard; mix about 20 ingredients, kneed for 10 minutes let rise, punch down, let rise in the loaf pan, egg wash, slash and bake a 350 until 205 F. It took about 8 hours from start to finish - and I thought that was slow bread!! After finding out the slow bread was really 3 days - not 8 hours, I converted my old recipe to make it take nearly forever to make - instead of just a really long time :-) Now it is a 12 hour levain build, long S&F ferment, long retard and long after fridge rise bread. I really like the way it came out. Nice dark crispy, crunchy crust with Nijella and sesame seeds, soft, moist, small holed crumb with subtle SD taste that made great tasting toast too. It is still my favorite sandwich challah loaf .

The second shot of the crub says a lot about me and my foodie nature.  Home made; challah, dijon mustard, pickles, cheese, meat and home grown; lettuce and tomatoes.

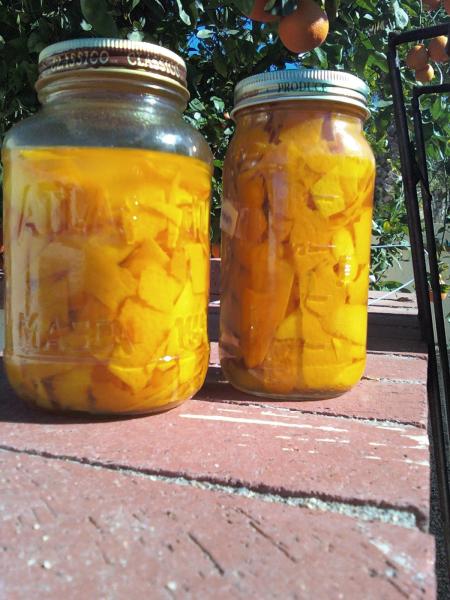
The 3rd shot means it is home made Aranchello, Minneochello and Limochello time too !!!!!

Pages

Subscribe to RSS - Sourdough