The Fresh Loaf

A Community of Amateur Bakers and Artisan Bread Enthusiasts.

Sourdough

PiPs's picture
PiPs

As the holiday season rapidly approaches I decided to squeeze in what’s likely to be my last ‘real’ rye bake of the year before concentrating on the light and sweet Christmas goodies.

Andy’s fascinating and instructive posts on Borodinsky, Auerman Formulas and other high rye breads have kept me fascinated and entertained while perched in a bus to and fro from work. At first I found the list of ingredients overwhelming and that was before even fully digesting the multi-stage processes … I was going to have to be present and pay attention, plus top it off with a little planning. This was even more apparent with the amount of time needed to translate this formula to the blog …

I settled upon Andy’s Borodinsky – The Auerman Formula [or thereabouts anyway] but tweaked it slightly … um … quite a bit - sorry Andy :)


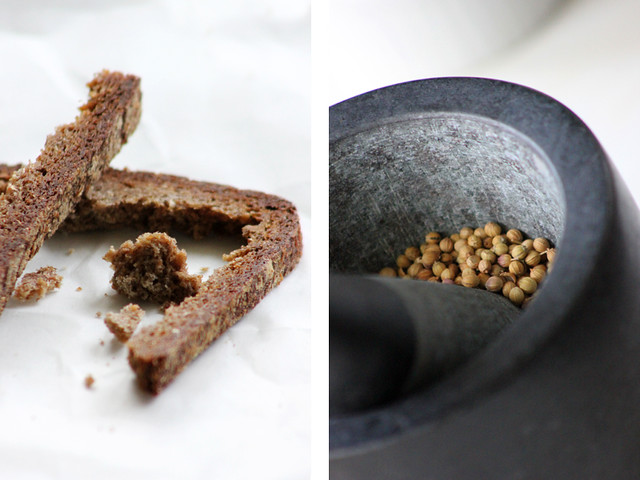
Altus and coriander (I love to chew on the altus crusts)

The dark ryes I have baked up until now have been a one stage process with a rye sour built and fermented before being added to the final ingredients. This formula is a tad more involved and uses a three stage process. A rye sour is built and fermented. With the sour fermenting, a scald of boiling water, flour, and other ingredients is produced. The sour and scald are then combined into a sponge which is fermented further until it is mixed with the remaining ingredients for the final shaping, proving and baking.

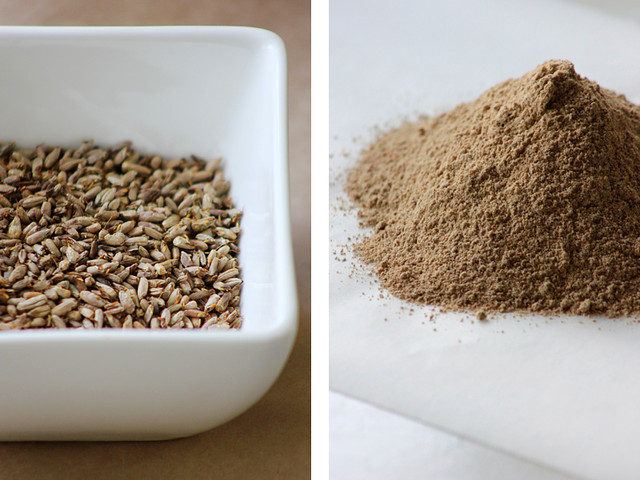
I deviated/strayed from Andy’s formula in a few ways. Firstly I have altus which I planned on adding to both the sour build and scald. Instead of the red malt asked for in the formula I used roasted rye malt that I had produced earlier in the week. It is richly coloured flour with a bright sweet roasted flavour and was bound to add some flavour to the finished loaf.

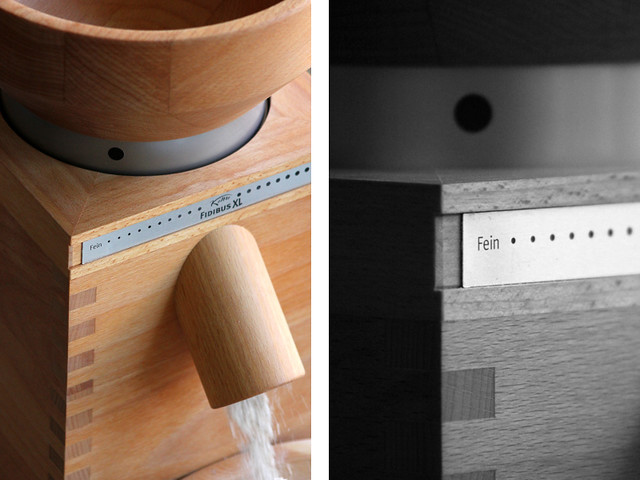
I kept the overall hydration level the same, but altered the hydration of the sour and scald builds to allow for a small amount of water to autolyse the wheat flour used in the final paste. This is a tip I received from minioven that allows the gluten in the wheat flour to develop before being mixed into the final paste. Finally, I sifted the final addition of rye and wheat flour.


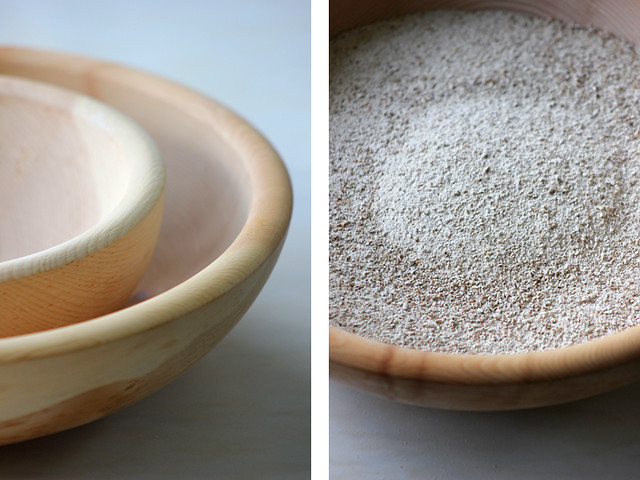
Roasted Rye Malt


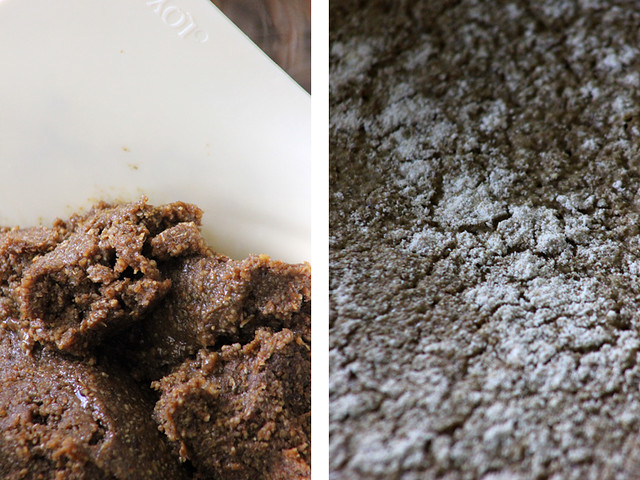
Scald and sponge


Further abroad Borodinsky

Overview

Weight

% of flour

Total flour

1405g

100%

Total water

1195g

85%

Prefermented flour

702g (30% +20%)

50%

Desired dough temperature 25°C


1. Sour build – 18 hrs 24°C


Starter (Not used in final dough)

21g

1.4%

Fresh milled rye flour

421g

30%

Altus (100% rye sourdough)

50g

3.5%

Water

492g

35%

Total

963g


2. Scald


Coarsely milled rye

281g

20%

Roasted rye malt

70g

5%

Blackstrap molasses

84g

6%

Altus (100% rye sourdough)

50g

3.5%

Freshly ground coriander seed

14g

1%

Water

492g

35%

Salt

21g

1.5%

 Total

1012g


3. Sponge – four hours @ 25°C


Sour from (1.)

963g

68%

Scald from (2.)

1012g

72%

Total

1975g


4. Final paste – one hour @ 25°C


Sponge

1975g

140%

Fresh milled rye flour sifted

423g

30%

Fresh milled wheat flour sifted

210g

15%

Water

210g

15%

Total

2818g


Method

  1. 4:00pm day before, prepare the rye sour.
  2. 10:00pm day before, prepare the scald. Grind coriander seeds and combine with remaining dry ingredients. Measure the molasses into a saucepan cover with boiling water and bring to a rolling boil. Quickly stir in the dry ingredients with a wooden spoon and remove from heat and cool. Weigh scald and add further boiling water if necessary to account for evaporation.
  3. 9:00am following day, combine and mix the sour and scald and ferment a further four hours.
  4. 12:00pm combine sifted wheat and final water together and mix thoroughly with wooden spoon or whisk and allow to autolyse for one hour.
  5. 1:00pm add autolyse dough, remaining portion of sifted rye flour to the sponge and form the final paste.
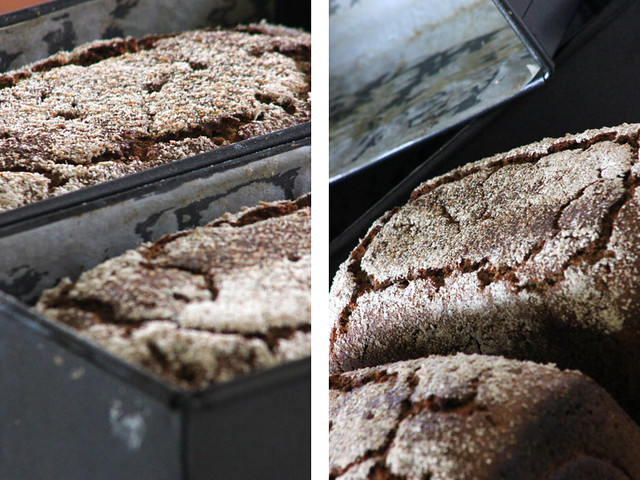
  6. Shape and place into greased tins (mine were 8 x 4 x 4 Pullman) seam side down.
  7. I proved these for one hour before docking and placing into oven with lids on for 15 minutes at 270°C  then a further hour at 210°C

The final paste felt drier than the dark ryes I have baked recently – perhaps the molasses or malt flour? It was still a paste but felt it lot easier to handle. I as a little worried that the rye flour was absorbing too much water which may be a sign of excessive starch damage …

As seems to be the case with the rye breads I bake using freshly milled flours the final proof was exceptionally quick. I am hesitant to take my eyes from these breads during their final rise … the first sign of readiness and its straight into the oven … I don’t even debate myself anymore.

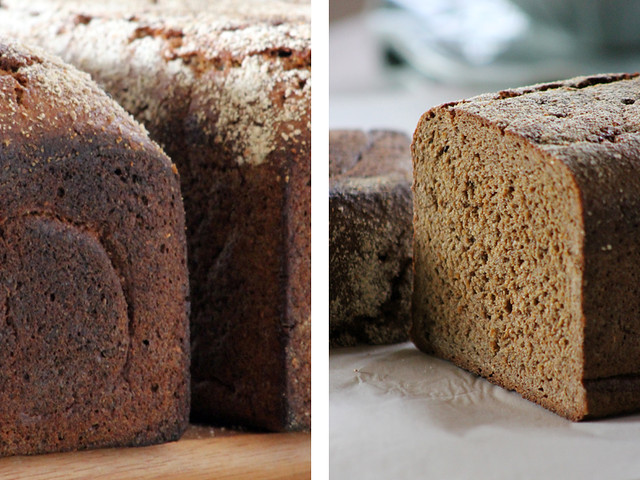
When pulled from the oven the bread felt soft and springy to the touch … the crust a dark brown with red hues. After cooling they were wrapped in a tea towel before storage in a plastic bag for a day … with me looking on longingly – all the time fingers crossed. I still lack confidence in my rye baking …

Finally I could slice – it was a cinch with a crust that was soft and smooth. The crumb was still moist but that will decrease over the coming days. A slice could be folded in half without breaking … did I mention it was soft?

The flavour is bright and I can pick the brightness of the coriander and tartness of the molasses. On the first day the molasses seemed stronger but by the next it had equalled out to rich round flavour. Most of all I am struck by the gentle mouth feel. It does not feel like a heavy rye bread and I look forward to the flavour developing throughout the week.

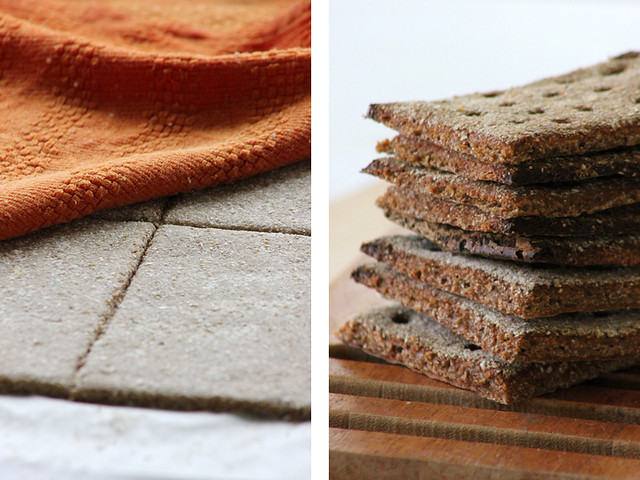
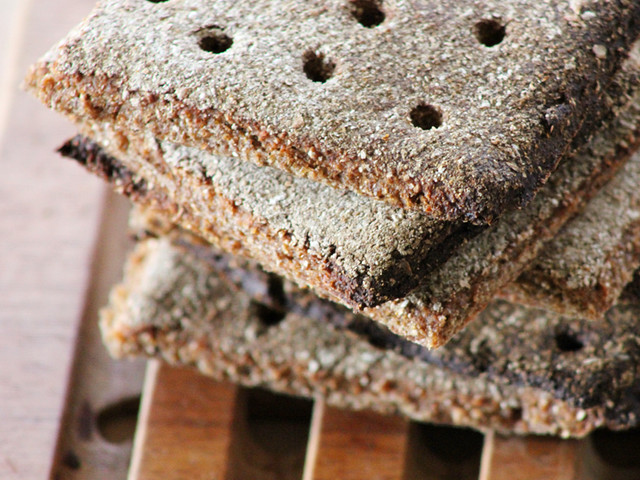
I also started playing with a rye crsipbread based on the formula in Dan Lepard’s Handmade Loaf. I omitted the commercial yeast and added some flavours inspired by his sweet rye formula – honey, ground cardomann seed, aniseed, and lemon zest. They are crunchy on the edges with a chew towards the centre. I love this combination of flavours …

All the best and best holiday wishes,
Phil

Breadboard's picture

Sourdough boule in cast iron

December 15, 2011 - 9:51pm -- Breadboard

Still hot this evening fresh from the ceramic oven so I'll wait until tomorrow morning to slice.  I'm baking in cast iron and I'm feeling very satisfied with results.   This is a basic sourdough made by my very own apple peel starter.   The bail on the Dutch oven sure comes in handy when moving the heavy pot in and out of my ceramic oven.   I'm testing out a few things---  The new apple starter,  the Dutch oven, a signature slash to the top of the bread and the quality of the bread.  Will do the taste test tomorrow morning!

loydb's picture
loydb

I used to have a problem with my crackers, but then I took an arrow to the knee...

For the last month or so, I've been turning all my extra sourdough starter into crackers. With a couple of exceptions, they've been disappointing: not crisp enough, too crisp and burnt, no flavor, too much salt, etc. etc. That all changed a couple of days ago, mostly by accident. I've since successfuly reproduced the recipe three times, and may have it down now.

When I play Skyrim, I play it *loud*. What's the point of hurling your enemies off of a mountaintop with the power of your Shout if it doesn't make the pictures on the wall shake? As a result, I didn't hear the kitchen timer, and only remembered I had crackers in the oven when the smell of "Hey, that smells like something baking" penetrated my dragon-killing frenzy. Instead of the 15 minutes I'd intended to cook them, I ended up cooking them 40 minutes. Fortunately, I'd been experimenting with the pasta machine, and had both made them thicker than normal, and set the oven cooler than normal (350 degrees F instead of the 375 I'd been using). They were perfect.

So I set out to make them again, this time intentionally.

Start with a cup of leftover starter at 100% hydration. Add 1/4 cup oil (I use walnut oil), a tablespoon of softened butter, a teaspoon of salt, and roughly 5 oz of whole wheat flour. You're shooting for fairly stiff. Spray it with olive oil and let it set under plastic for anywhere from 3-6 hours.

Roll it out to about 1/4 inch thick, then sprinkle with a pinch of kosher salt, and a pinch of whatever dried herb takes your fancy (I used dill in one batch, thyme in another). Then fold the dough over on itself and roll out again.
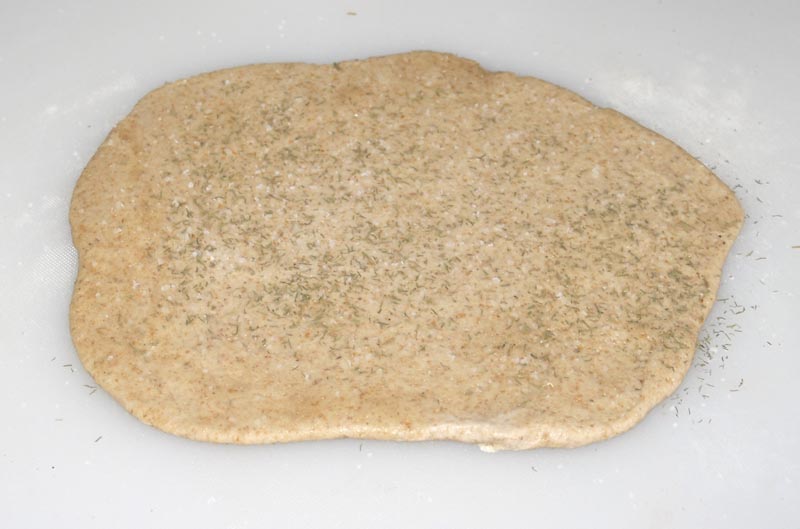
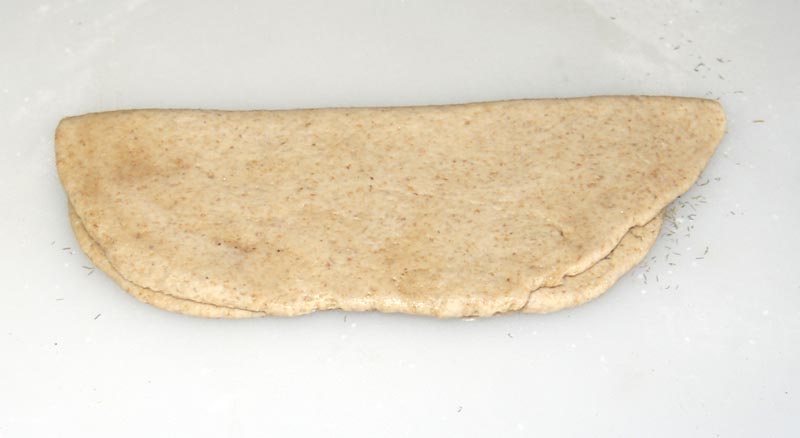
Add the seeds of your choice on half of the dough. I used black seasame seeds and brown mustard seed. Fold over again and roll out.

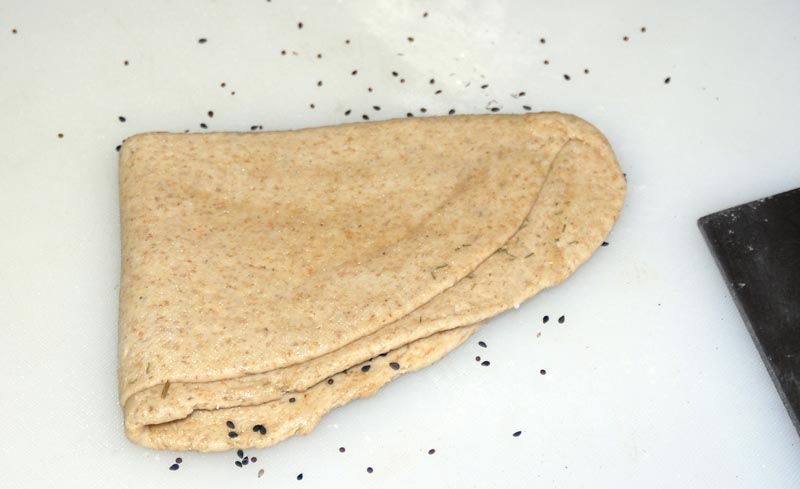
 Chop into smaller pieces, and run it through a pasta machine on the widest setting (#0 on my Atlas). Fold again.

Run these through on #0 again, then on #1, then finish on #2.
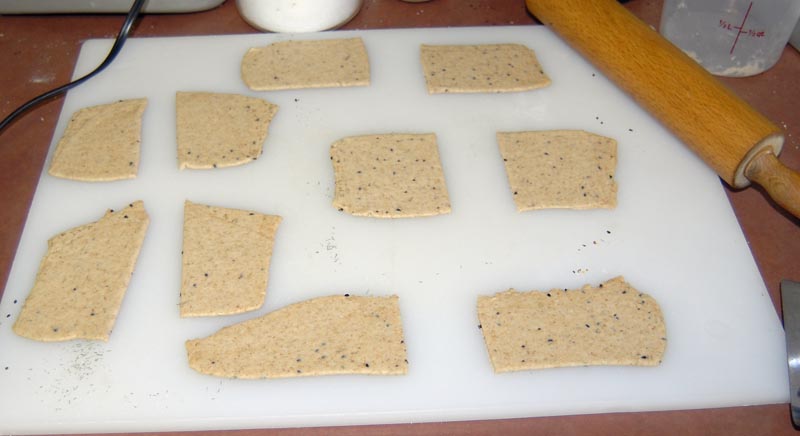
Put them on parchment paper, spray with olive oil, and sprinkle with kosher salt and more seeds. Gently roll them again with a pin to seat the seeds, then dock many, many times with a fork.
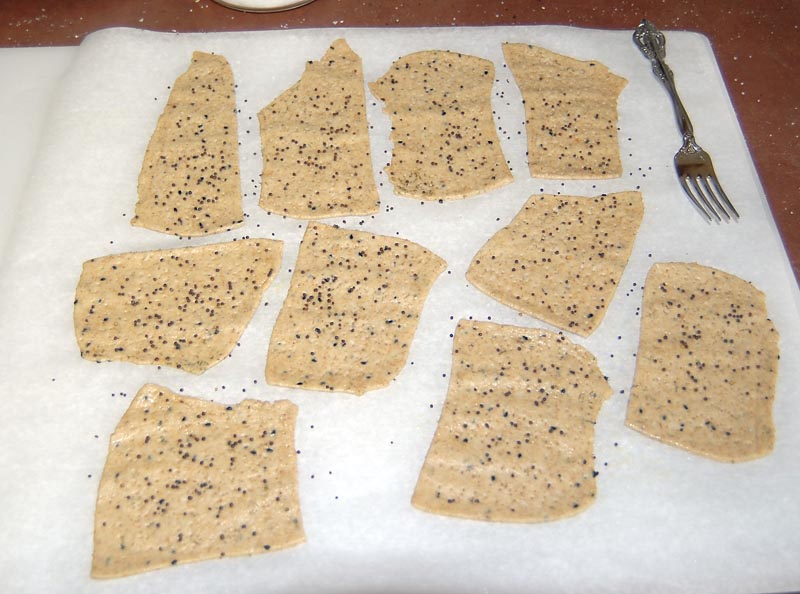
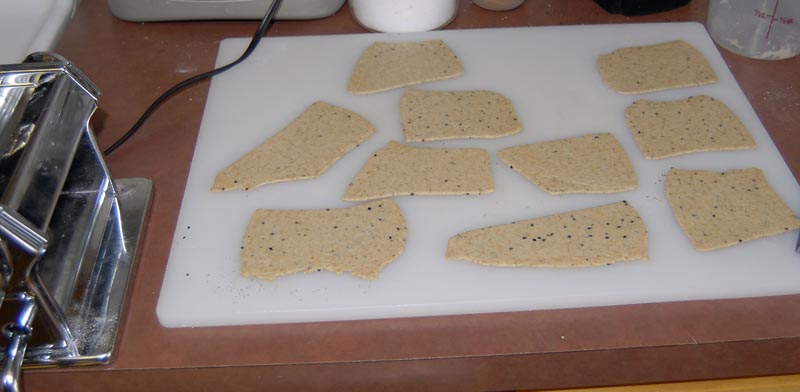
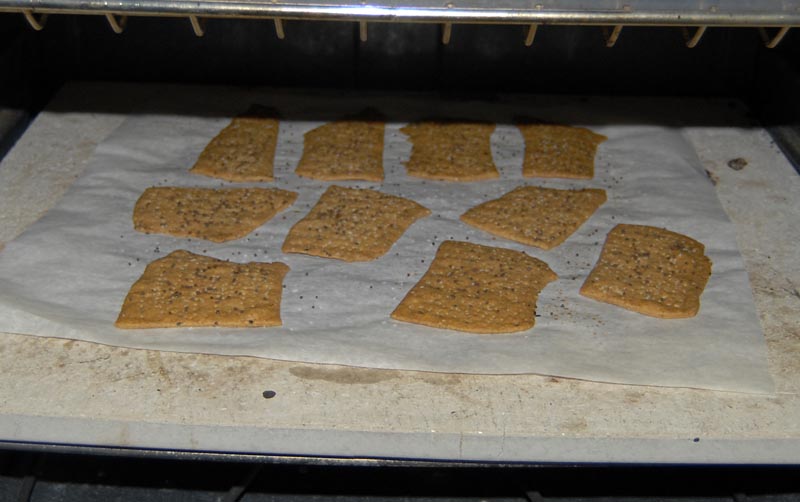
Cook for 30-40 minutes at 350 degrees F. Then turn the oven off, crack the door, and let them sit for another 10-15 minutes, watching to make sure they don't overbrown. The picture shows them at the end of 30 minutes. The final color can be seen on the plate, above.
Move to a cooling rack and let sit (the ones on the rack below are the ones from the original Skyrim batch. The ones on the plate at top are from a subsequent test batch.) Break into smaller pieces as desired.

 

Breadboard's picture

Organic apple peel sourdough starter

December 13, 2011 - 8:13pm -- Breadboard

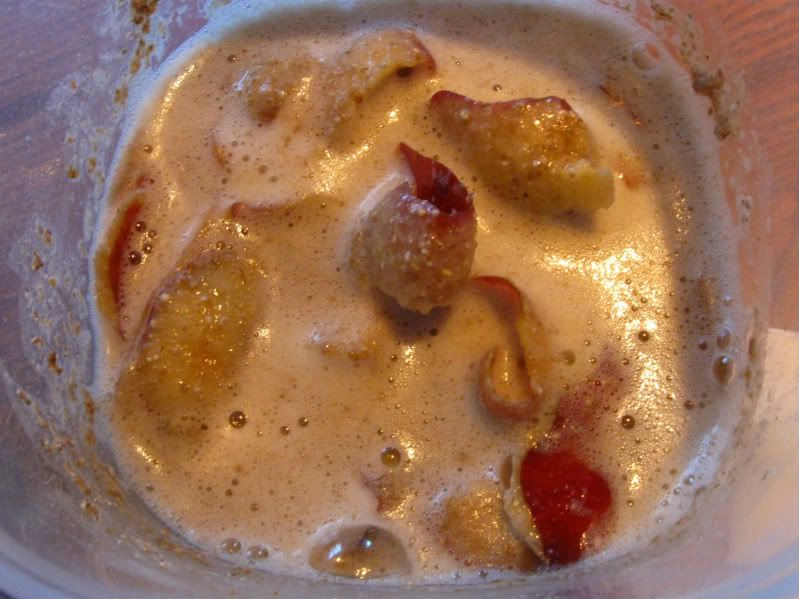
I saw this on New Scandinavian Cooking.  A wild yeast starter made from organic apple peels.  I was intrigued and thought I'd give it a try.

So far so good.  In here are the peelings of 4 apples along with spring water to cover and two tablespoons of dark brown sugar at day 3.


And here is the baby starter, peelings removed and feeding everyday with bread flour at day 7.   Antisipation....

sweetbird's picture
sweetbird


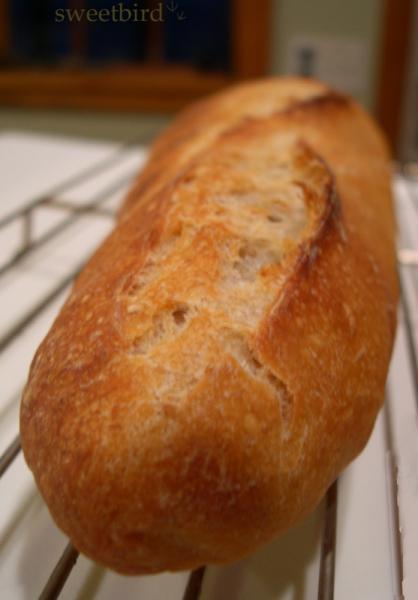
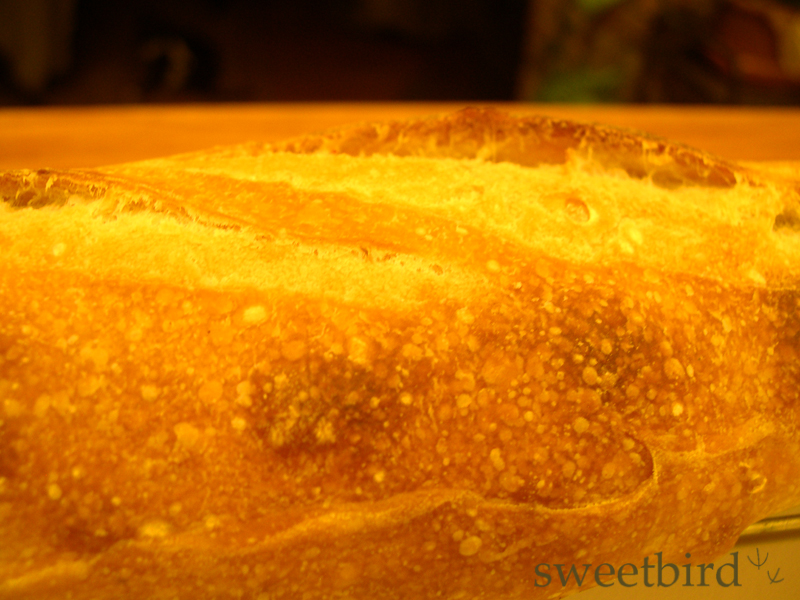
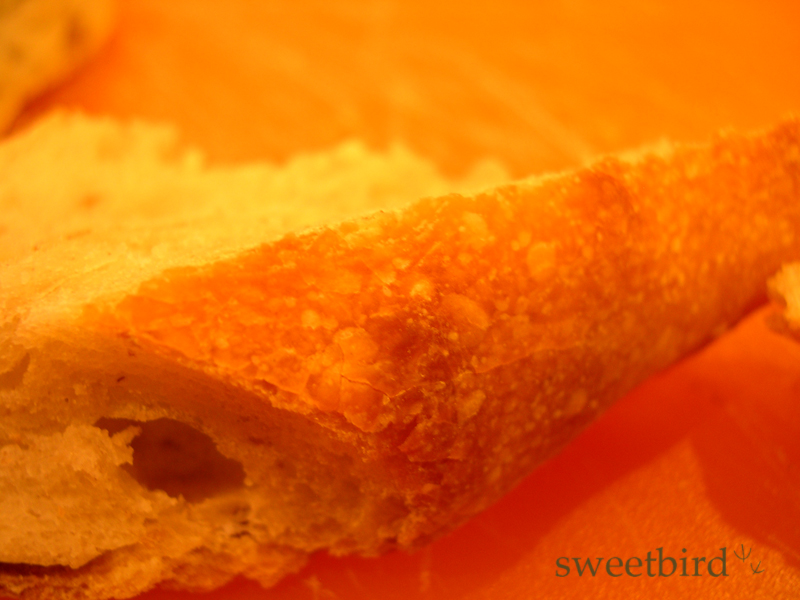
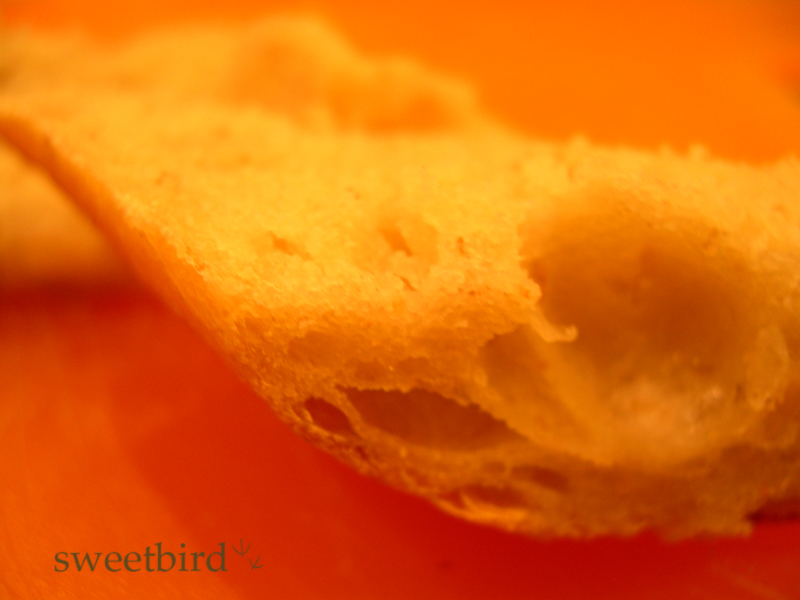
I've loved this site from the sidelines for so long and have been nourished again & again by everyone's passion and generosity, so I thought it was high time to stop being an innocent bystander and post something. I pulled two beautiful breads out of the oven tonight based on this formula by txfarmer: http://www.thefreshloaf.com/node/19830/36-hours-sourdough-baguette-everything-i-know-one-bread. What wonderful bread!

My plan was to follow the formula exactly but my starter was pokey on the morning that it was destined to meet the cold autolyse, so I had to leave the autolyse mixture in the refrigerator for 5 hours longer than planned, for a total of 17 hours. Finally the starter was ready (after getting a boost from a fresh feeding) and I worked it with the salt into the cold flour & water mixture. I almost wanted to apologize to it for the shock of the cold! Because the two mixtures seemed to resist being joined, I decided to do a Dan Lepard-style stretch & fold every 10 minutes for the first half hour, then settled into the s&f every half hour in tx's formula. That worked well. Then the dough went into the refrigerator for its 24-hour cold rise.

But because the extra-long autolyse threw my timing off (and because I had to bake today, not tomorrow), I realized that I would have to take the dough out today before the full 24 hours had passed, judging that it was also going to need some time at room temp. I took it out at around the 18 hour mark, gave it about 2-1/2 to 3 hours at room temperature and then went on with the dividing, pre-shaping, resting & final shaping. It was a lovely, soft, active dough.

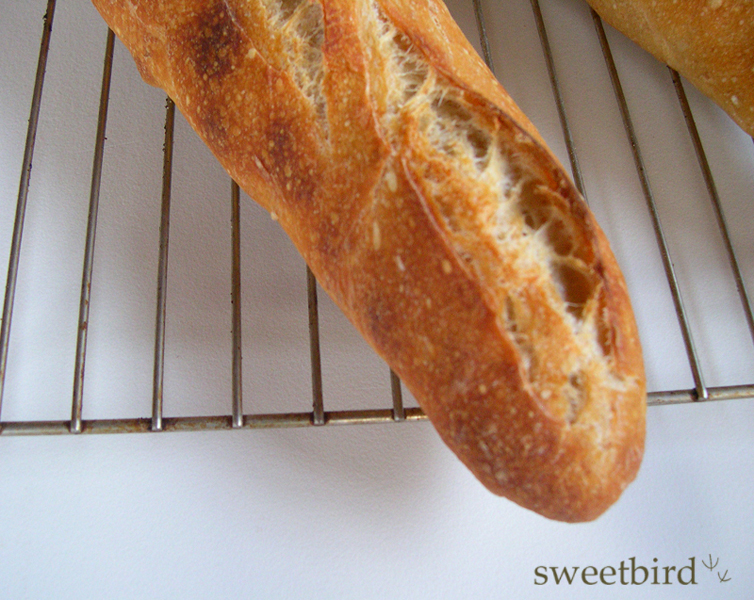
My shapes are somewhere between baguettes and batards because of the constraints of my oven and baking stone. I tend to make mostly boules and now realize I need to work on my shaping and scoring of this type of bread! Because they were a little fatter than tx's baguettes they needed a longer bake time, and at the end I turned the oven off and left the door ajar with the baguettes still on the stone for about 5 more minutes. As it turned out, I could have left them a little longer to allow the interior to dry more. But . . . wow . . . the flavor!

Crackly crust, creamy crumb, weak-in-the-knees flavor. My husband and I had planned on Indian food for dinner but couldn't resist some slices before dinner.

My camera tends to turn everything into a golden wonderland in low light, but here are some more photos. I hope I haven't made them too huge. Tried to follow the 800 x 600 px rule but they seem absolutely gargantuan.  I'll need to work on that for next time.

Thank you for this bread, txfarmer!! And thank you all for your constant inspiration.

All the best,  Janie

loydb's picture
loydb

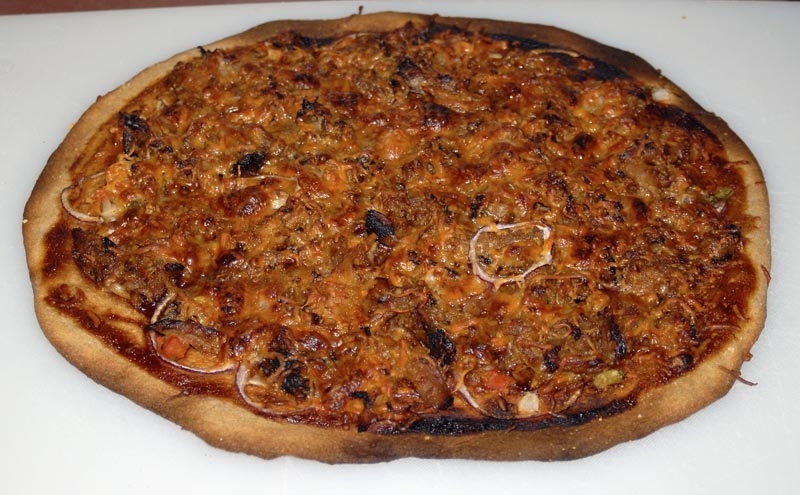
I'm revisiting my Pulled Pork Sourdough Pizza. I toned down the heat a bit -- I still used habenero bbq sauce when I pre-heated the pork, but use a sweeter sauce on the actual dough. And instead of serranos, I used jalapenos for the pico. It still had a kick to it, but didn't leave my wife in tears...


subfuscpersona's picture

Experiments with Autolyse

December 6, 2011 - 12:09pm -- subfuscpersona

A heads up to all bakers who use an autolyse in their bread baking -

Teresa Greenway (a home bread baker of consummate skill who has been sharing her knowledge on her blog  - http://www.northwestsourdough.com/discover/ - for many years) has posted two entries exploring the effect of an autolyse (the technique of mixing water and flour from your bread recipe and allowing it to rest for a period of time in order to develop the gluten in the bread dough).

Pages

Subscribe to RSS - Sourdough