The new recipe for Salzburg Wheat Germ Rye by Markus Farbinger in Hamelman's Bread 3rd ed intrigued me, It's so different from the German detmolder ryes so close to Hamelman's heart. The bread involves a rye starter focusing on lactic prominence, a hefty dose of wheat germ, a cold pre-soak of just the wheat portion, and a mixture of aromatic spices (toasted coriander, fennel, caraway), along with toasted rye malt,.
Upon first glance this new bread seems close to the Russian tradition. I can't help but wonder if this kind of spiced malted bread from Farbinger's youth was either an inspiration for the famous Borodinsky, or itself inspired by it. Looking at the ingredients, in broad terms, you can see the two breads are in the same universe:
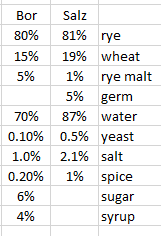
In comparing the two, both have a strong coriander flavor. What's missing in the Salzburg is any sweet note: no sugar, no syrup, and no "sweetening" of the malt. The Salzburg Weizenkeimbrot uses a cold soaker, whereas with the Russian breads, the spices and malt are scalded with boiling water with some of the rye, then mixed with sourdough for a scalded sponge ("zavarka"). Here things are more straightforward: the coriander and other spices are given a cold soak with the entire wheat component (white flour, whole wheat and the wheat germ) several hours before baking.
Another distinguishing feature of Salzburg Weizenkeimbrot is its focus on lactic acid. Since my location in Arizona is currently 115F outside and in the 80s inside, I was attracted to the fact that the levain builds at 83-85F and ferments at around 82F--the temperature in my laundry room! Alas a silver lining to record heat, is I can experiment with lactic fermentation.
Formula:
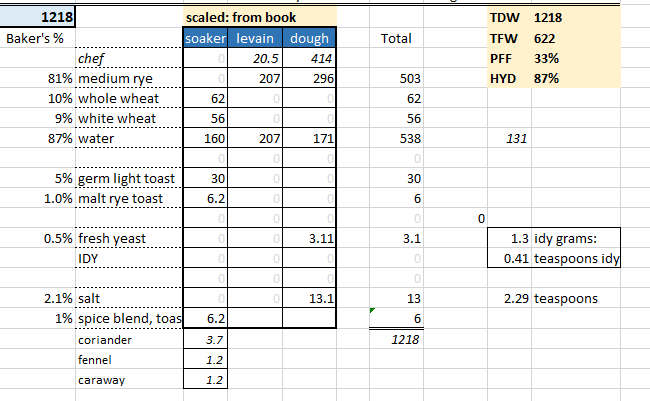
Sourdough: Last build: 1:10:10 at 100%, 82-85F for about 4 hours. "The high hydration, warm environment and short duration all favor lactic as opposite to acidic flavors to develop." [I used whole rye, and raised hydration to 115%. At 85F it took 6.5h to get light and fluffy. It was only slightly sour, with no sharp tang.
Toast, Blend and Soak. Several hours before mixing, lightly toast the spices and grind fine. Lightly toast the wheat germ. Lightly toast the rye malt and grind fine. [I used C90.] Combine with all the wheat flours, and add an equal amount of water, and cold soak till ready to mix. I added a pinch of the total salt since my house is so warm.
Mix. Mix everything: the final water and sourdough, and soaked wheat, germ, and spices. Add in the last bit of rye flour and salt, and mix well. [I used 40g less water in the final dough because I had increased the sourdough hydration 40g to loosen it up. And, again, I used whole rye instead of medium.]. No stretch and folds needed with rye.
Bulk Ferment. 40 minutes.
Pan and Proof:: Press into 8.5X10 loaf pan, with untoasted whole coriander seeds on top and bottom. Proof 45-60 minutes till it reaches the sides.
Bake: Dock with holes down the center. 450F covered, then another 45minutes at 400 uncovered, then 5 minutes at 350. I let sit for 12 hours to cure wrapped a dishtowel before cutting to equalize the moisture.
I used a loaf pan rather than free form, and I did not coat with the roasted starch glaze in the book.
Assessment. The bread tasted good. It had a moist firm but soft texture, the crust was dark but still somewhat soft after curing. The flavor wasn't as far from Russian breads as I'd imagined, definitely with a family resemblance. The lack of scald was noticeable, but not wanting. FWIW I didn't taste the toasted wheat germ at all--which surprised me. (Note to self: toast it a little more next time?) The spices were equally strong as in Russian breads; If I had to summarize it, I'd say it's overall profile as a muted, mellow Borodinsky, Moscow, or Litovsky rye.
Aside from the background "lactic" rye odor and taste, the the spices were the main noticeable feature. I'm used to coriander, but I found the additions of toasted caraway and anise added a subtle sophistication to the whole loaf that complimented the sour notes. (These spices are common in German and Austrian breads but new to me.) The relatively muted lactic acid mellow sourness again provided a more subtle background than I'm used to with the “in your face” more sweet-and-more-sour Russian and East European and German breads. In short. if Borodinsky and its ilk are breads of extremes, Salzburg Rye is a mellow, balanced, adult loaf. If I had to pick one word to summarize Salzburger Weizenkeimbrot it is "sophisticated".
Take Aways for baking other breads:
- I need to play around more with personalizing my own rye spice blend. The one here is quite balanced (at 60% toasted ground coriander, 20% toasted ground caraway, 20% toasted ground fennel), and a nice change of pace from the straight raw coriander I'm used to. Most German spice blends have much less coriander relative to the caraway and fennel. Some add fenugreek or even cardamom. Which spices go with which breads? Will it work with wheat and spelt breads? Toasted versus raw?
- Pre-soaking the wheat portion in an 80 or 90% rye is something I'm going to start doing. This allowed the wheat to form some gluten on its own, which was easier than trying to form the gluten later after it's mixed with a bunch of rye flour and water at the last stage. That small wheat portion needs all the help it can get!
- Using only the lactic stage of Detmolder is intriguing way to make the rye less sharp without sacrificing digestibility, and is worth exploring with other breads. (Reminds me a bit of the Italian method of "washing the madre".) Given my house gets into the mid 80s in summer I need to find breads that favor extreme heat like this one to adapt to the times.
- I also wonder how this bread would change with a more traditional two-stage Detmolder elaboration; Since Hamelman uses a long 14 hour at 70F at 83% refresh for his starter, the main difference would be elaborating the second (final) elaboration 1:3:3 instead of 1:10:10. In other words, the "acidic" part would be a third of the final starter rather than a tenth. My guess is it would be on a small distinction in flavor, and I'm even wondering if the two-stage Detmolder process is what Farbinger had in mind all along. Or maybe even a Berlin Short Sour?
.


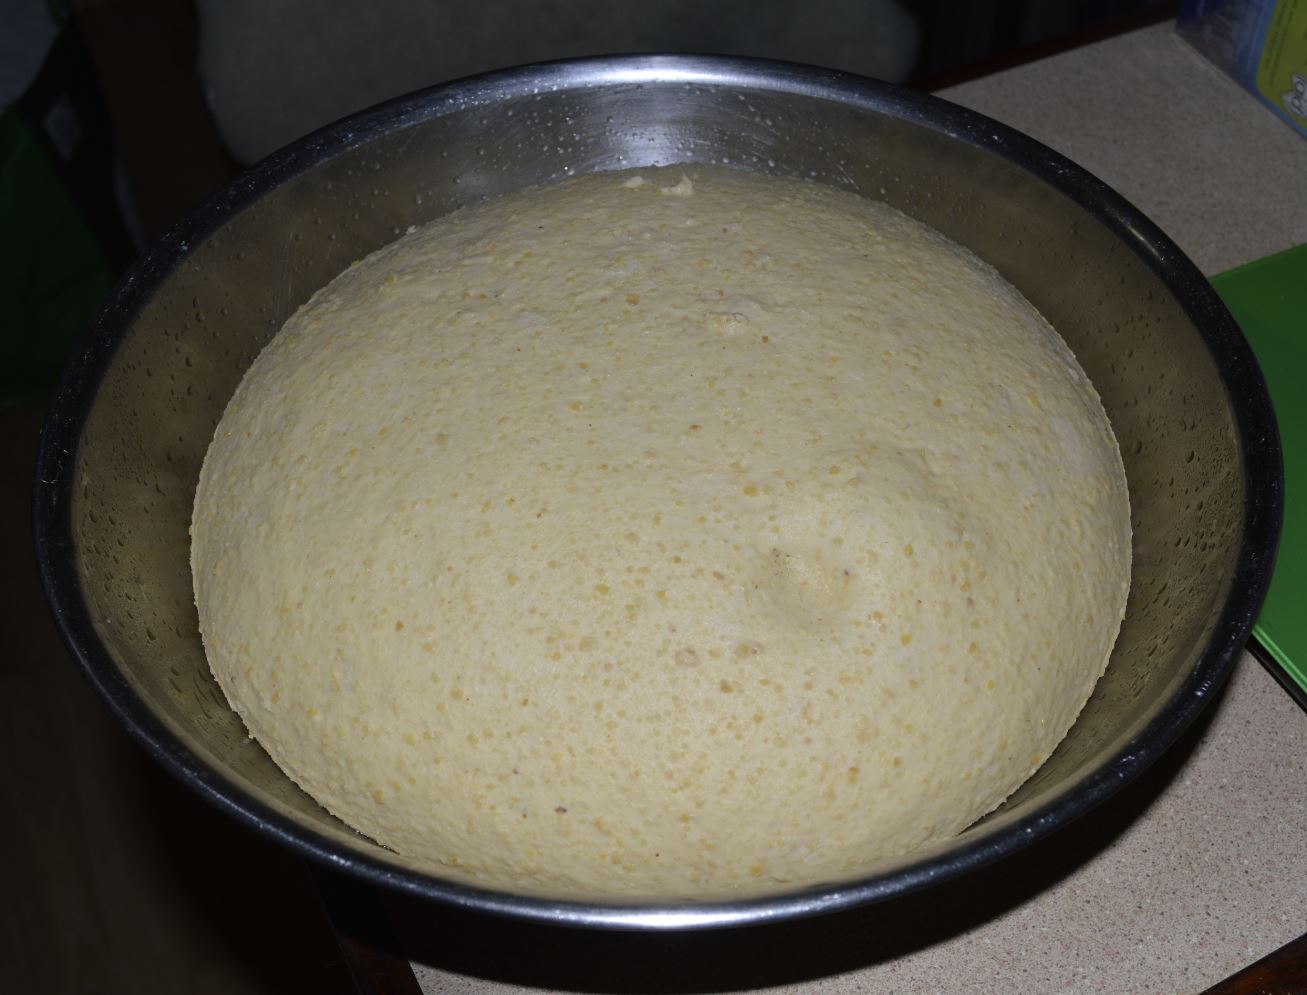
 dough after mixing completed
  dough now nicely risen
 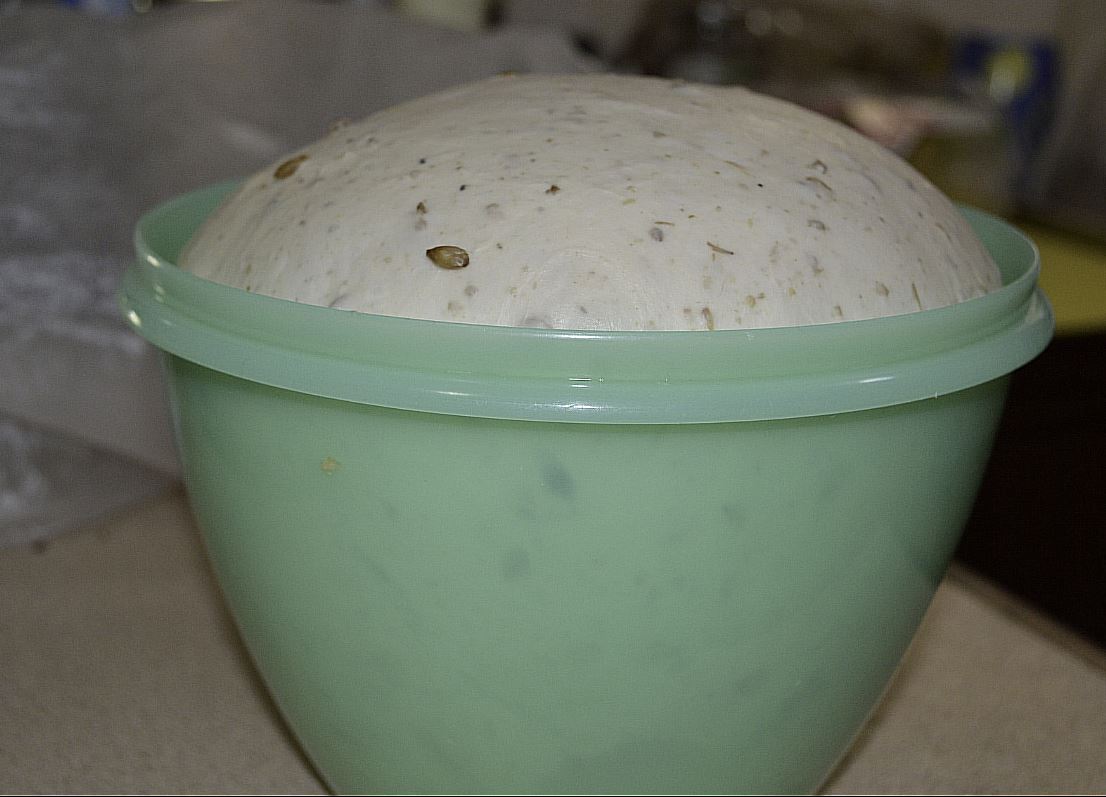 another shot of the BF
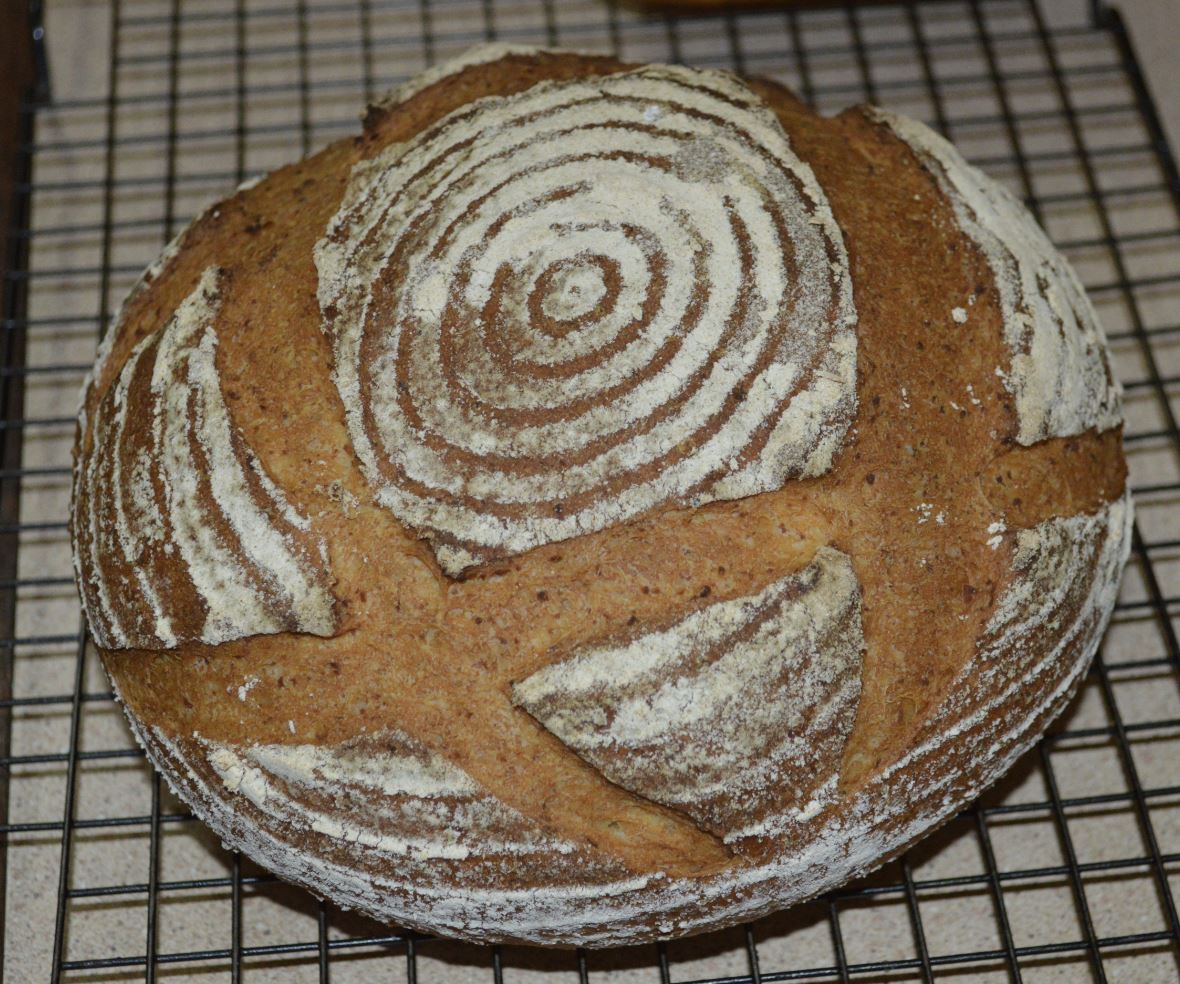
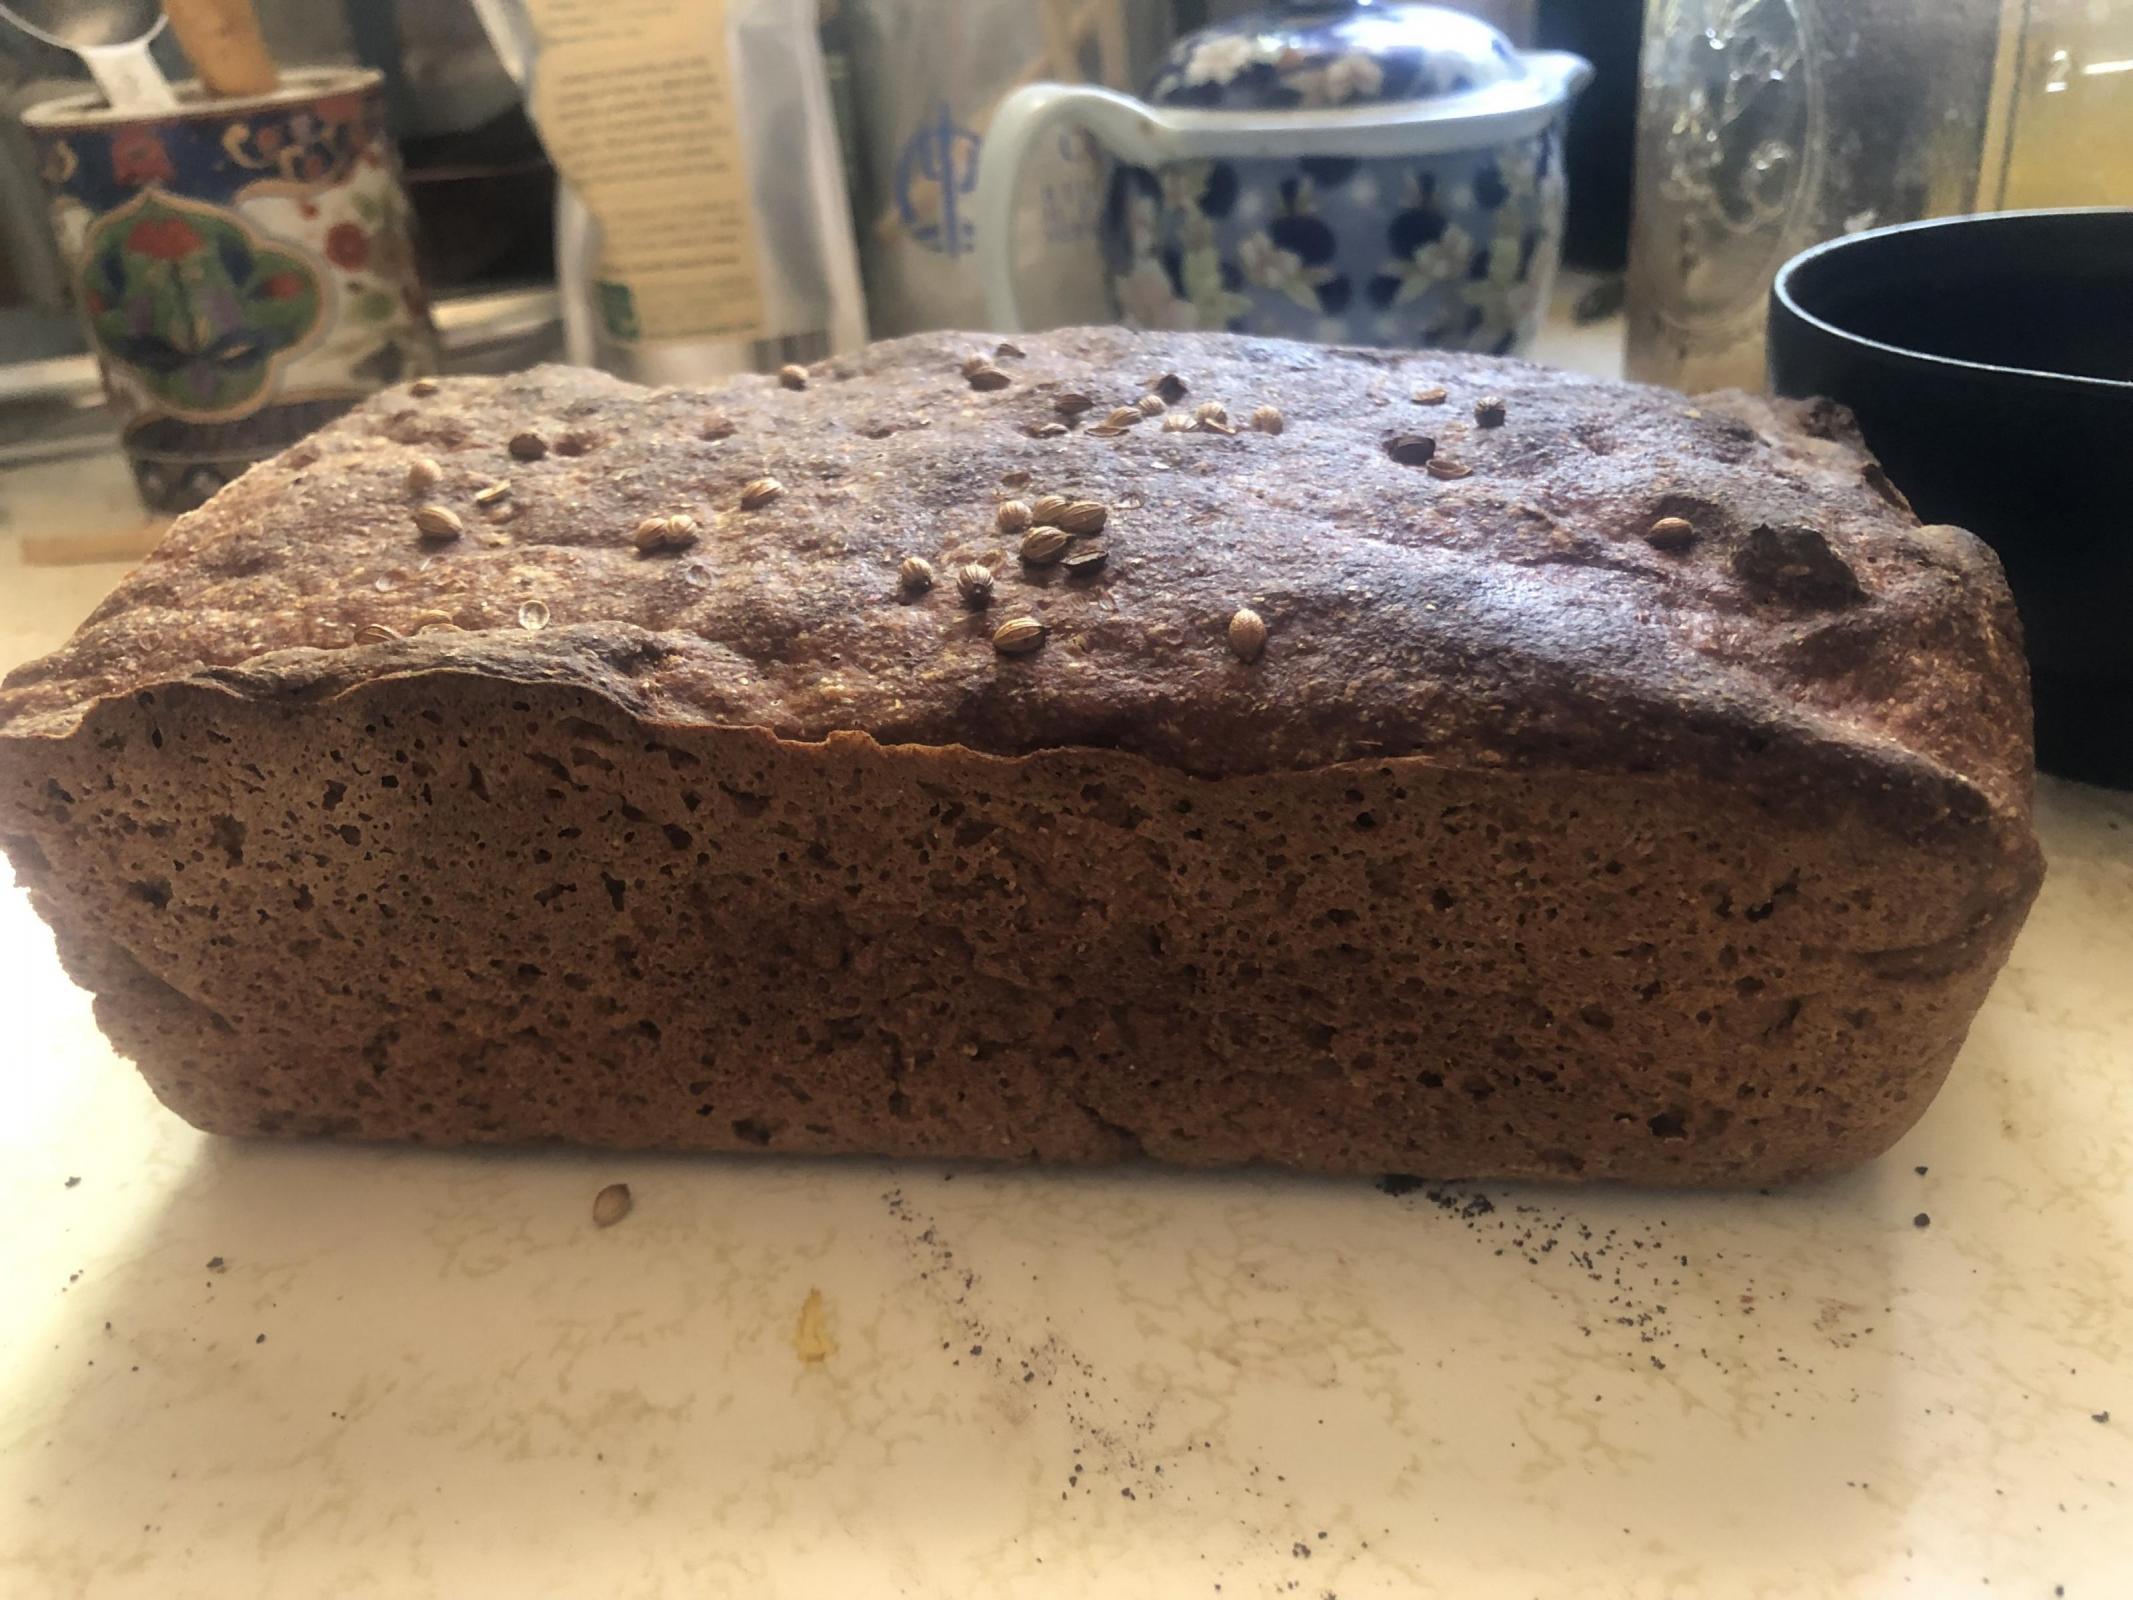
 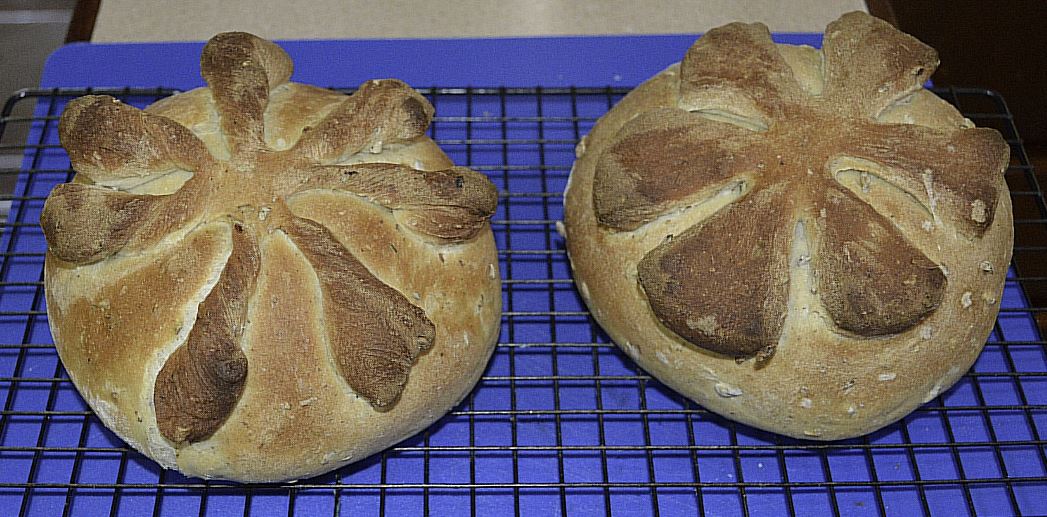 the 2 baked loaves
  the spent grain bits showing up in the loaf
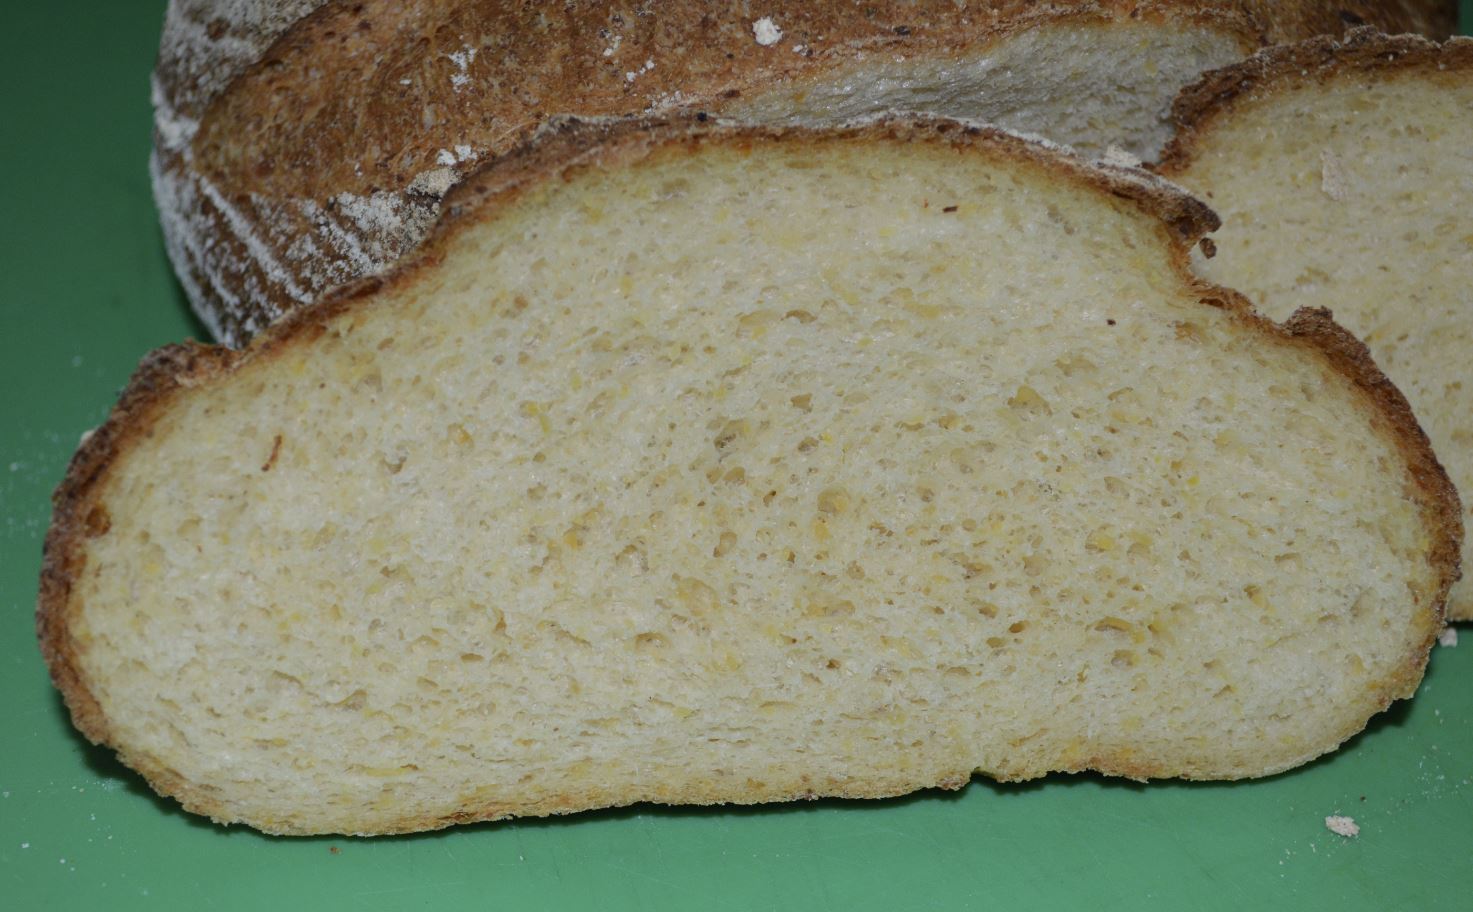
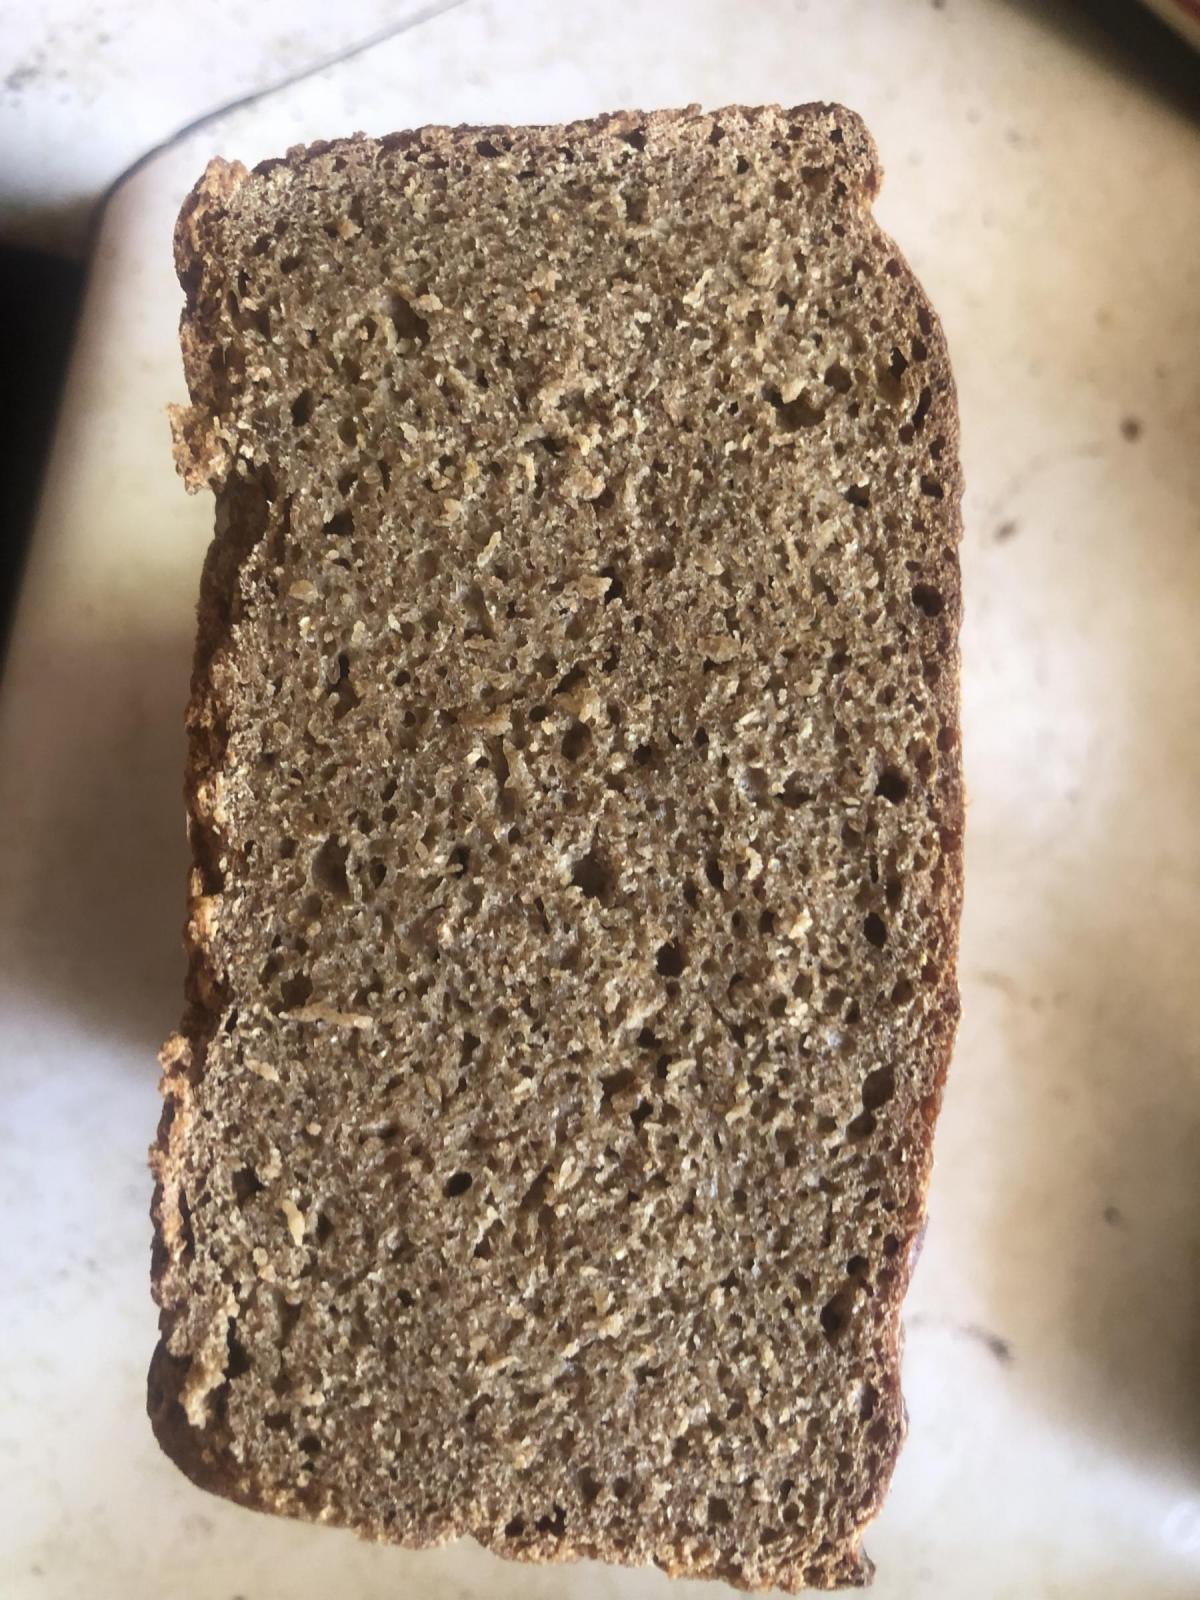
  The slice revealing the Spent Grain Footnote i just reviewed my previous Spent grain post,


 so here we have a 2 hour bulk fermented dough ready to take