"No Oven" bread, a fun experiment
This video popped up on my computer several weeks ago and it looked intriguing to play with. It definitely isn't going to win any awards for appearance or presentation.
I tweaked the flour a bit (she uses 100% AP) and added a few seeds. I didn't take time to weigh some of the ingredients, this loaf was "flying by the seat of my pants" in some respects, lol.
Flour 280 gm (48 gm AP, 48 gm KA bread flour, 185 gm sprouted spelt)
Instant Yeast - 1 tsp
Salt - 1 tsp
Sugar 1 – tsp
Hulled hemp seeds - 1 rounded Tbsp
Sunflower seeds - ~ 2 Tbsp
Lukewarm water 250 gm
Olive oil (or any really) for the pan. (Video says 1 Tbsp but that was a bit much for my pan.)
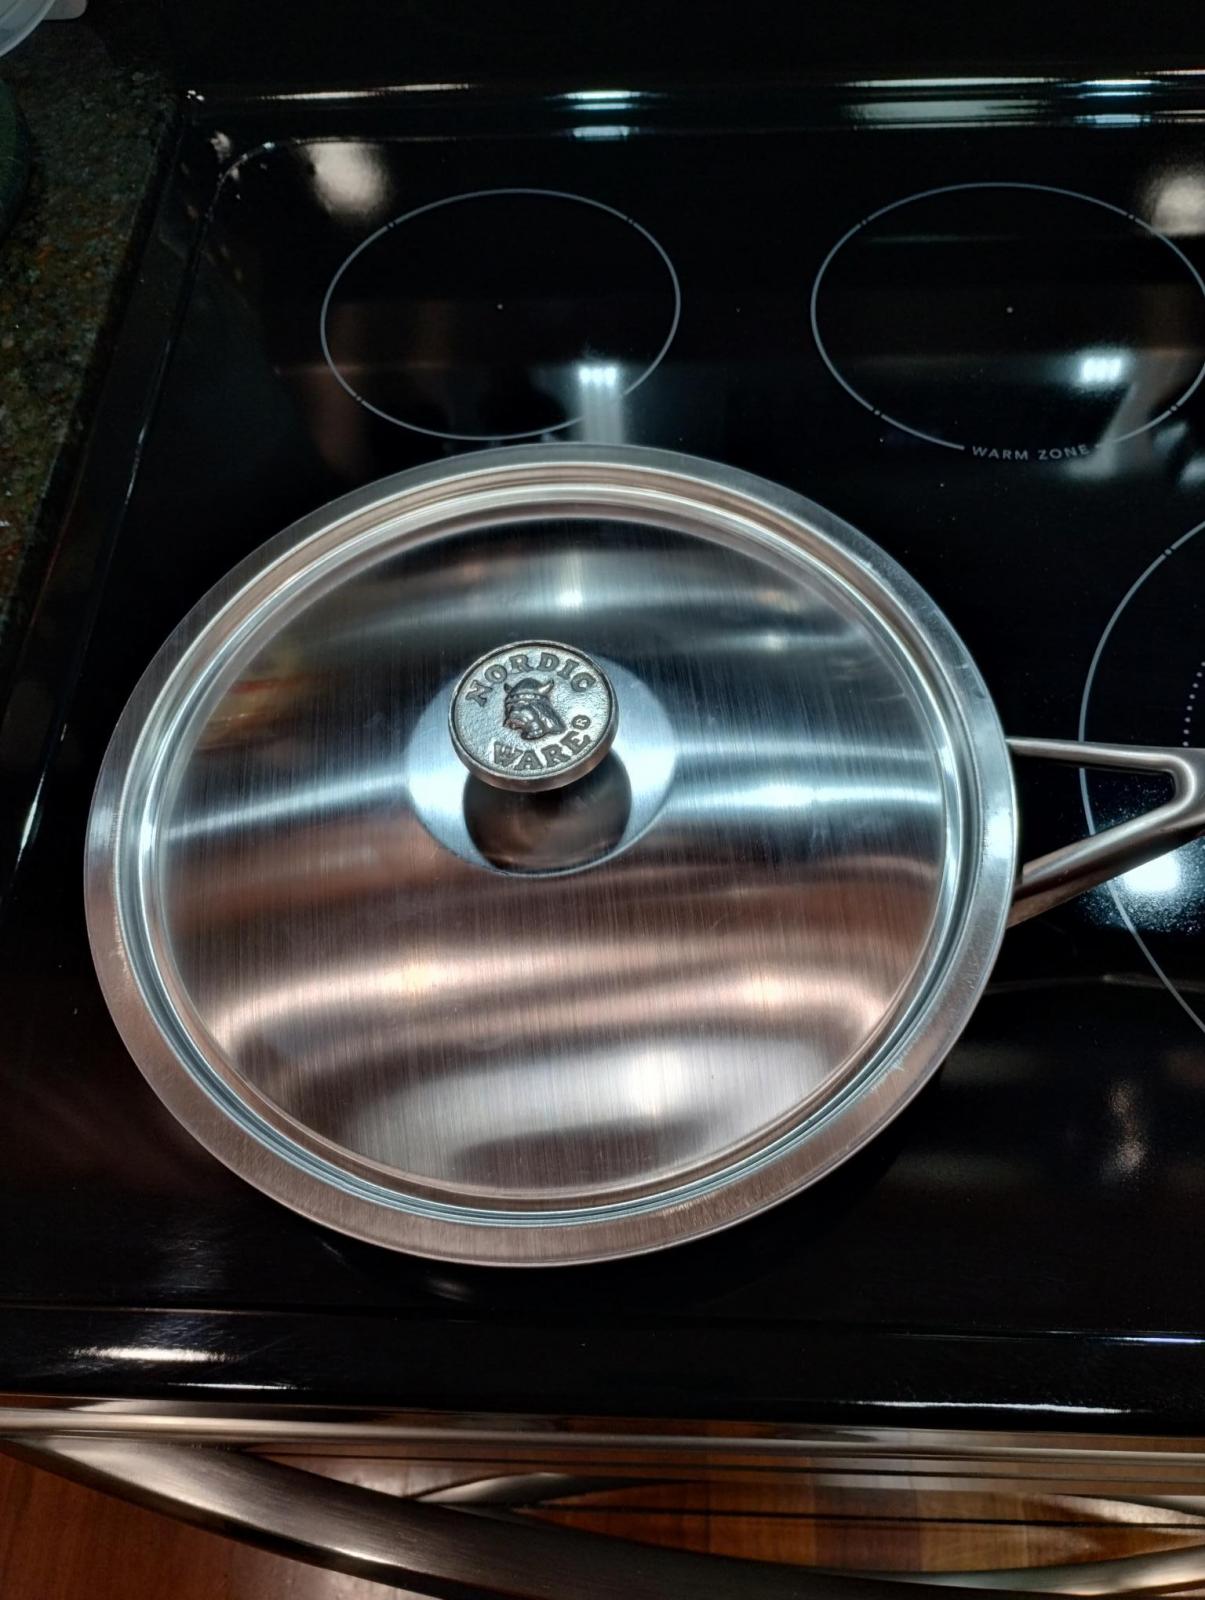
Side note... my frying pan is a Ninja Foodi Neverstick 10.25 in frying pan. Finding a lid that would fit was a bit of a challenge, but thankfully Amazon came through. The lid needs to be domed just a little, and the multi-pan lid we have dips down into the pan enough for the bread to stick to the lid when cooking.
Process:
1) Mix the dry ingredients and inclusions.
2) Add water and mix until no dry flour remains. (After the initial hand mix, I let things rest for about 15 minutes then gave it a few S&F for good measure. Probably not needed, but I do take pleasure in handling the dough just a bit....)
3) Cover and let the dough rise for about an hour.
4) Grease the (room temp) frying pan with olive oil.
5) Degas dough by rolling the dough with a spatula.
6) Sprinkle with flour and roll a few more times.
7) Put the dough in the (room temp) frying pan.
8) Cover and let the dough rise for 30 minutes.
9) Cover and cook over low heat (20-25 min). A little bit of moisture condensed and dripped onto the top of the bread, but it didn't seem to do any harm.
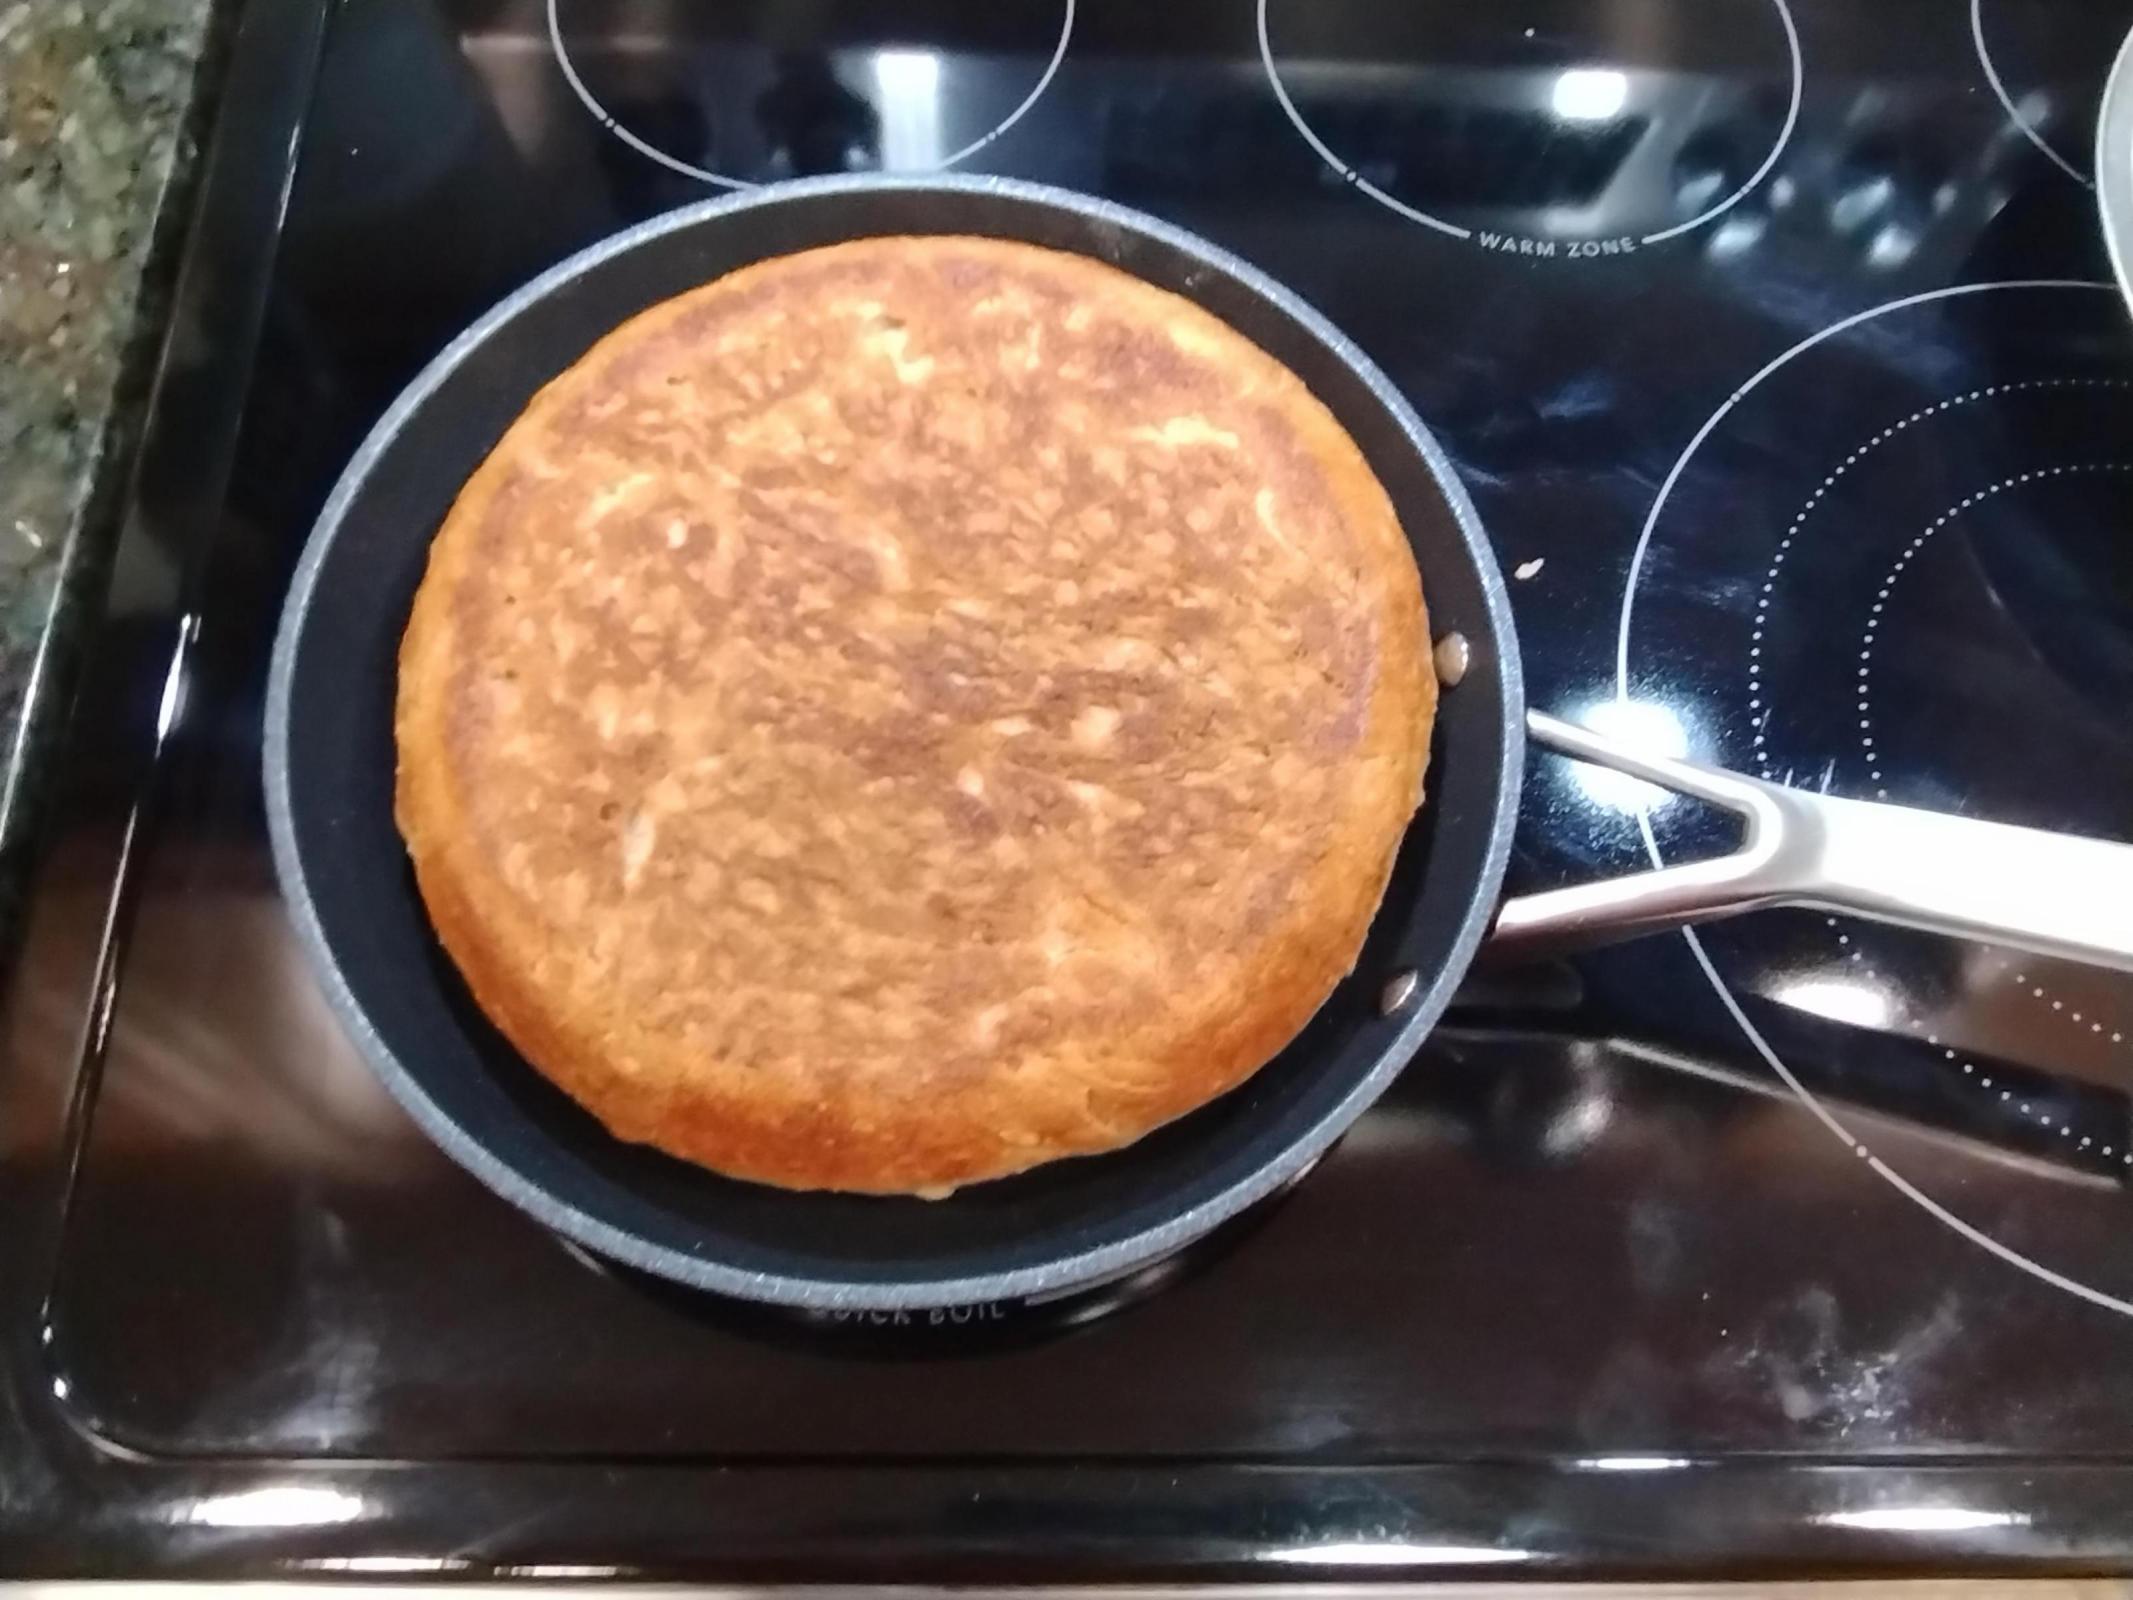
10) Turn over and cook for another 15 minutes without the lid. I checked at the 10 minute mark and there were areas that were still a little "doughy". Your time may vary...
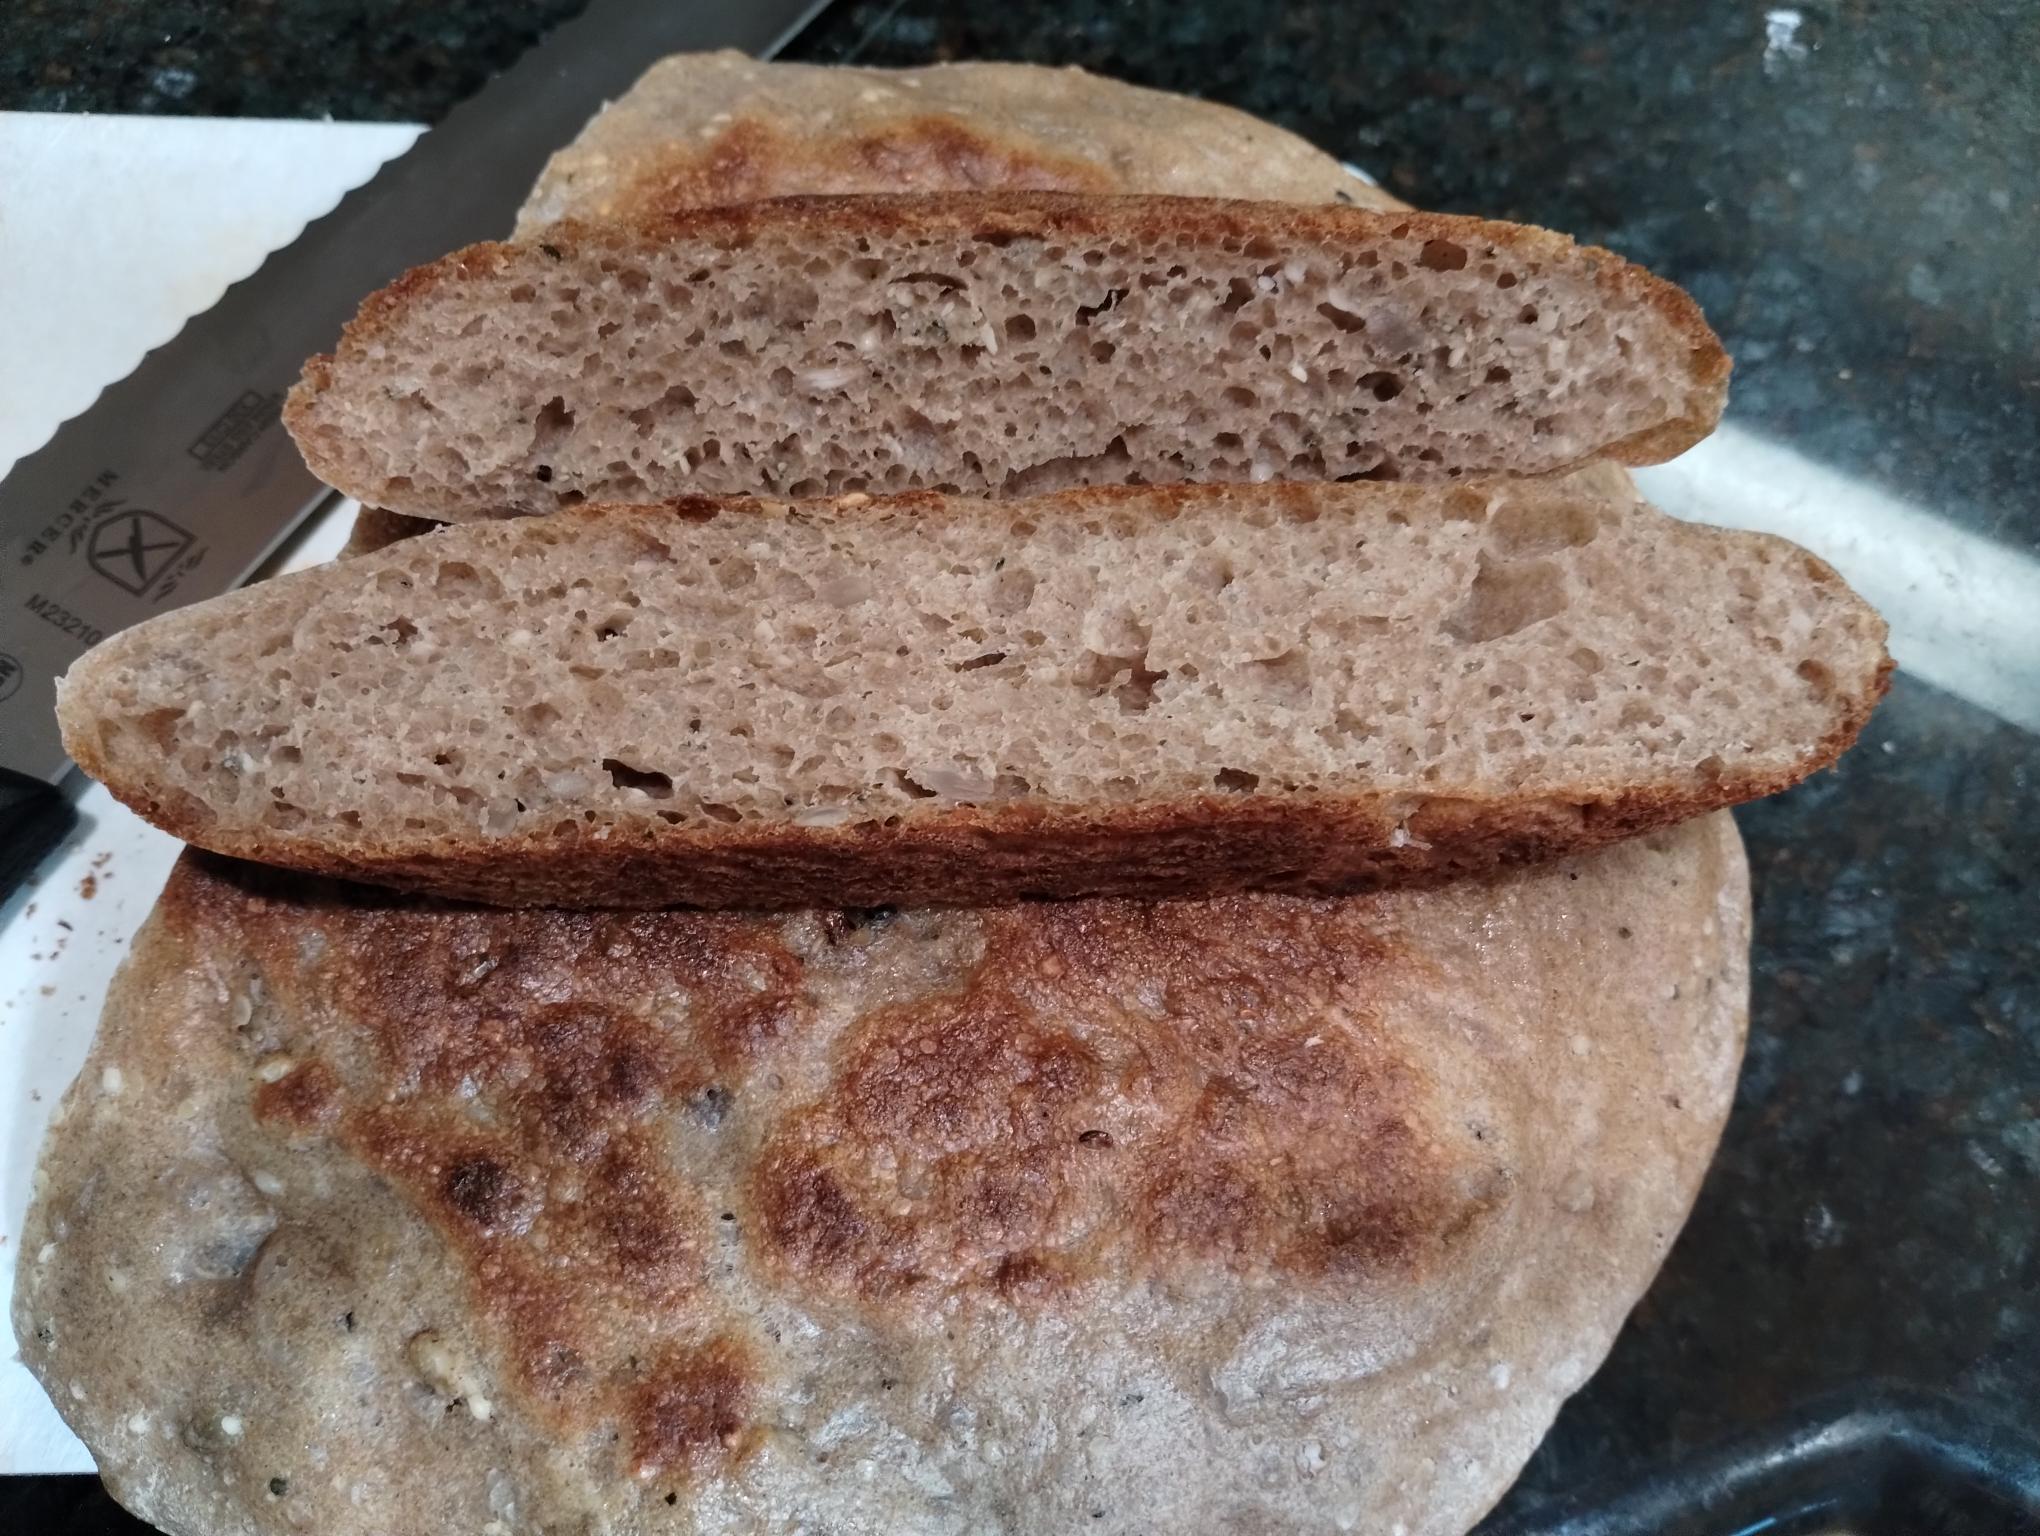
This was mostly cooled and ready to eat about 45 min after cooking.
I've made it several times now. It was quick and easy, with very little handling. Bonus, it didn't heat up the kitchen. It might be fun for making with kids, camping (RV or other), or a variety of other uses. My 95 y.o. mother-in-law (who made her first loaf of bread ever about 2 years ago) thought she would like to make this. It definitely came in handy after being gone for a couple weeks. After only a couple of hours after getting home, we had fresh bread ready to eat... another plus while my starter was getting back up to speed. I suspect it will come in handy again at some point.


Comments
Or to have with soup. Not having an oven is no excuse anymore. There's always some inventive way of making a "loaf" of bread. I have seen people "baking" in big pots by putting something down on the base of the pot (so it doesn't burn and there's more circulating heat) then resting a loaf pan on top. Can't remember if they put a bit of water in too. So it's a loaf pan inside a pot on top of the stove. Perhaps another thing to try if you have a large enough pot.
. . . as s side, for snacking. It comes out just thick enough to slice across the thin edge and be able to make sandwiches.
I don't have a big enough pot to re-create that approach you describe. I do enjoy having more than one way to get fresh bread in a variety of flavors. I might try adding some discard to change the flavor a bit.
Thanks, Abe!
A bunch of baked-on-the-stove bread recipes showed up on Youtube for me a while back. I've also seen at least one post here of bread baked in the microwave, and I myself have baked banana bread in a slow cooker. Sometimes you gotta make do with what you have. Your bread looks delicious!
It was quite tasty!
I have seen some of those slow cooker ideas as well. Not sure if I would care for the crust on a microwave bake, at least not from what I am picturing.... 🤔 Maybe if it was finished in the oven.
It basically had no crust at all, and I think that was part of the point. I've been thinking of trying it for my son who hates crust.
That turned out better than I would have expected, nice way to bake without heating up the kitchen in the hot summer months Mary.
Benny
I was a little surprised as well. And the results were repeatable. It's nice to have multiple approaches, especially if it can be done easily when traveling.
It's always fun to try some different like this, isn't it? There are a number of similar breads made around the world. One of them is a yeasted Algerian bread called kesra rakhsis. I adapted it to the general formula of the recent Infinity Bread Community Bake here on TFL-
https://www.thefreshloaf.com/node/73128/community-bake-infinity-bread#comment-526729
The one thing about this kind of bread, especially if it has a lot of liquid, is drying out the insides. You need to cook it at a relatively low temperature, and a lid could prevent the drying out. I didn't use a lid for my Community bake version, and I still had to cook it for way longer than these breads usually need. Of course, that was a relatively unusual and wet dough.
Nicely done, jks.
You're right - your bread is similar, but looks like an even better flavor profile. I may give that a go in the future, next time I get have some buttermilk on hand (minus the extra hydration 😉). I'm partial to "grain heavy" breads.
Thanks for the idea!
Check out other bakes from that Infinity Bread Community bake, then. Grain-heavy is what you'll find! I have three other entries myself, all wildly different from each other. And there are dozens of worthy submissions.
Soup is what I immediately thought of to go perfectly with it but it would make nice open-faced sandwiches too.
I remember the old days, it's still in my name. :) My favorite way was baking bread over pebbles in a clay pot.
I have been trying to find out about making pizza in a frying pan and came across this video about making Greek pita bread in a frying pan. It is in Greek, but easy to follow without understanding the commentary.
The trick seems to be to add a little water under the grease-proof paper when cooking both sides with the lid on and then crisping up the bread with the lid off at the end. A little oil is added to the water for the first stage and then slightly fries the bread once the water has evaporated.
Remember that Greek pita doesn't have a pocket. You don't need to fuss if you don't get one.