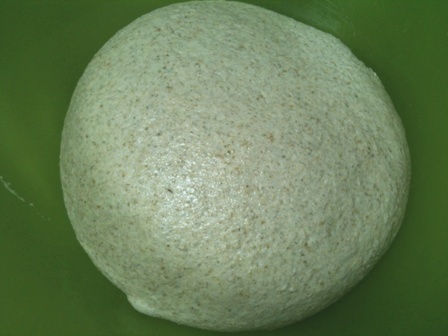
Eye opening techniques
I know when I first started baking I nodded dutifully when I was told to knead until the dough will pass the window pain test. If you can't stretch a piece until it is translucent and you can see light through it, knead some more. This advice is found through out the industry help and how to books and is considered to be a core understanding by many. Far be it for me who is a lowly novice in terms of time in the flour bin to question the conventional wisdom, however. There are a few misconceptions that have become accepted as gospel that I believe hinder the new baker and for that matter any baker who wants to truly understand what their potential is in the kitchen. The techniques I address here are not my ideas or content. These things were presented to me by others here on the forum in pieces over the last few years and together represent the basis of my capability today.
The first bit of advice I have is to stop what ever you are doing and watch this video. If you're like me it will take a few times to get the hang of what the poster is doing. This is Richard Bertinet doing a demo for Gourmet magazine. He is making a sweet dough but it doesn't matter. The technique is key. When I learned this move and method of handling dough, my results instantly went from unpredictable to reliable. 10 or maybe 15 seconds with your hands in the dough and that's it, you're done. No more kneading is required. You might do a couple folds every 20-30 minutes during the primary ferment. This will work with sourdough or yeasted recipes and white or whole wheat with the caveat that WW will need a fold or two during the ferment. Once I learned to do the French Fold, I have rarely used my mixer. When you understand how the dough is supposed to feel with your own fingers it is much easier to produce a dough that will perform to your expectations.
Further EDIT: A regular contributor to this forum has produced some really terrific video training aids that can be seen HERE. Mark Sinclair is the owner of The Back Home Bakery in Kalispell Montana. He is remarkably clear in the message he sends about how to handle several dough types and shaping.
Mark demonstrates how easily you can mix, stretch and fold and shape dough. His style is easy to follow and well done. I highly recommend you take a look at these instructional videos. He just posted a new video on shaping a high hydration baguette that is excellent. Many of his recipes are search-able here or if you email him he will probably send them to you. His bakery products are beautiful and the photography is inspirational.
Mark now has 2 DVD's for sale that take you from end to end with 3 different breads and another on technique. There are lots of places to get information on how bake good breads. Marks Video's are reasonable and very helpful to the new baker.
There is another video that should be included is the Julia Child/Daniel Forester baguette demonstration. This is a 2 part video that shows how to put together french bread dough by hand and uses the frisage method. Frisage is something that once seen, always understood. You can read about it repeatedly but it won't make sense until you see it in action. See it http://www.pbs.org/juliachild/free/baguette.html here.
Added by Edit: A great video is now available that I think is the essence of dough handling and shows how easy it is to mix dough without a mixer. If you can chew gum you can make great bread using Richard Bertinet's video HERE.
Secondly, Da Crumb Bum posted a concept that goes against all the common wisdom concerning pre heating your oven and using a stone for a thermal battery. Who hasn't thought that to get good rustic bread one must bake on a pizza stone or a tile surface? There are some instances where a stone and preheat is required like pizza and bread sticks but for the greatest majority of your baking, no stone or preheat is required. A link to the original post is http://www.thefreshloaf.com/node/1843/no-knead-preheat#comment-12597 . Most are skeptical this will work at first but trust me on this, you won't believe it until you see it with your own eyes. It is expensive to maintain 450F in a steel box both in terms of wasting money and by wasting the energy and resources of our planet. The minimal effect that preheating has on the crust is absolutely not worth the additional energy.
I share these thoughts and techniques as a way of thanking the many posters who have helped me to become at least a competent home artisan baker. The host of The Fresh Loaf (floydm) is top on the list with his lessons and frequent examples of solid baking. Hundreds of community members, posters, are here to answer your question or help with an issue. This is a great site because of the members. Don't be afraid to jump in, we are just like family.
ADDED EDIT:
It's been a while since I made this post and I wanted to come back and add a few things now that I have some experience under my belt.
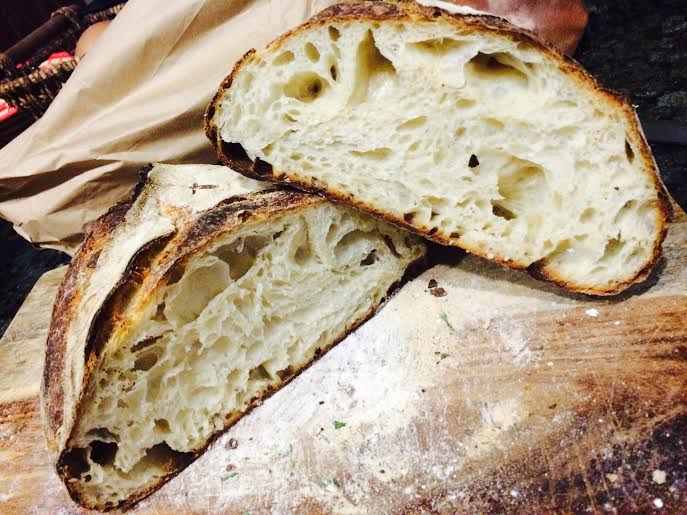
1.) I still almost never use the mixer. A brief hand mix to break up the dry clumps of flour followed by a 30-60 minute rest and stretch and fold or French folding as per the top video will develop the gluten just fine. Stretch and fold every 30-60 minutes for the duration of the bulk ferments. Time will be your friend here. Be patient. If you use a very small amount of starter for inoculation or yeast, you slow down the bulk ferment. If you increase the hydration slightly, you will find you can fold every 40-60 minutes for about 4 hours. The dough will be perfectly satin smooth and will easily windowpane.
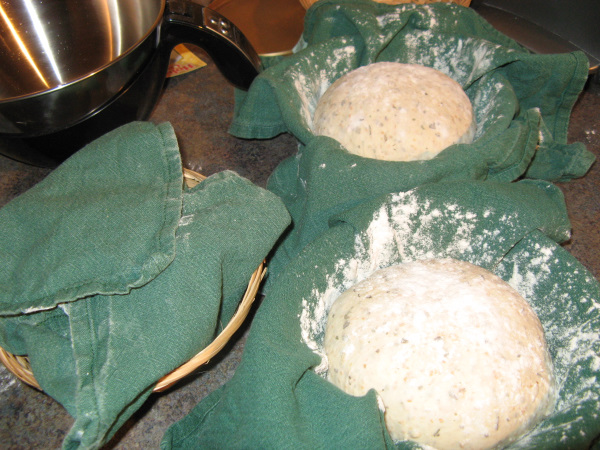
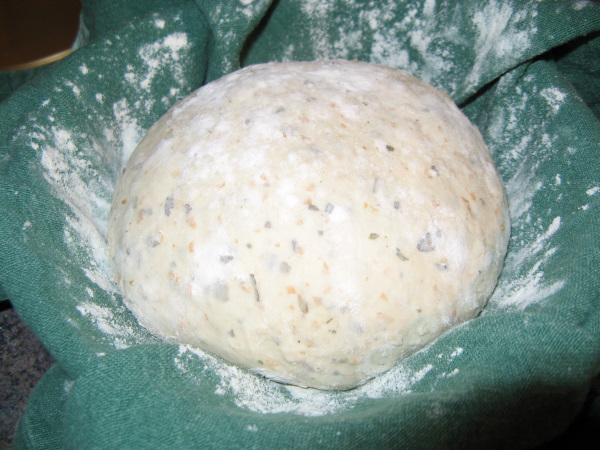
2.) Instead of starting from a cold oven, I now am starting the oven when the dough looks ready and the proof is about done. The dough is proofing on parchment, covered with a floured towel or a moist tea towel. When it looks like the proof is done, turn on the oven. My electric will go to 450 in 7 minutes. Slide the dough in, steam for a great crust. I rotate after 20 minutes.
3.) I think many people over ferment and over proof. Try fermenting for 60 minutes at 78F, shape and proofing for 45-60 minutes. Remember, the warmer it is where your dough ferments, the faster the dough will rise. Temperature matters.
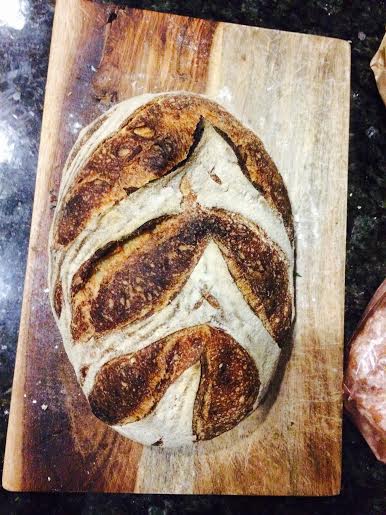
4.) Make your slashes deeper than a 1/4 inch. You might be better to go back and retrace your initial slashes to make them just a little deeper. Be modest in the pattern. Remember what the purpose is of slashing.
5.) Not so much a technique but a suggestion. Adopt a basic formula that you can make in your sleep. Nothing fancy, a basic yeast or sourdough bread your family likes and work from that. You will be surprised at how many different types of bread you can make using your basic master formula by adding one or two ingredients or changing the handling slightly.
Have fun and learn at your own pace. The collective knowledge at The Fresh Loaf is being plugged into your own private baking school.
Eric
"It's not you he wags his tail for, but, your bread".


