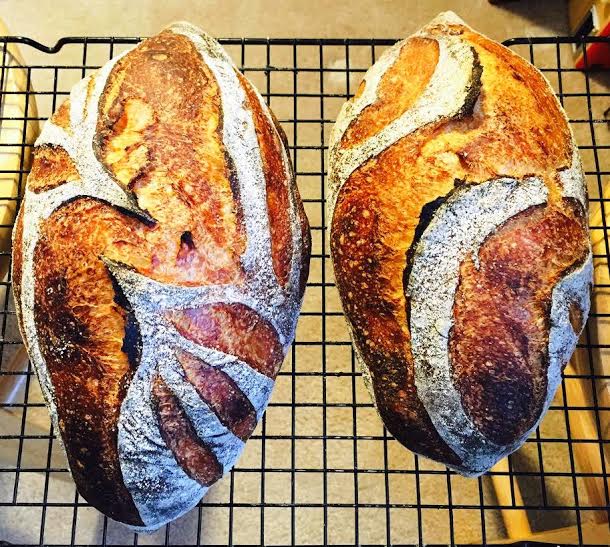
Yet again, it's been way too long since I last posted. I won't dwell on the reasons, because we all have them...the important part is that I've still been baking, even in these crazy North Carolina summer temperatures!
I'll focus on posting some photos of bakes from the last few months, but I also wanted to share a few thoughts I've been mulling recently
1) Bulk fermentation:
-I've been transfixed by the question of "ideal % rise during bulk fermentation" for standard flour SD loaves. I've actually settled at more rise/development than many sources suggest. Rather than 20% or 30% rise, I like 50%-80% rise. That is the amount of development that gives me confidence that my dough "has life." Actually, my weird metric has come to be this: The ideal bulk fermented dough is voluminous and vibrant, but doesn't form multiple bubbles when poured from the container for shaping; the ideal bulk fermentation develops the dough JUST BEFORE the big bubbles form, but doesn't cause them to bulge and pop during shaping.
-I've had to comet to terms with the fact that I prefer redarding during bulk fermentation to retarding during the final proof. With my hectic work schedule, i just feel more able to control my baking when I retard during bulk. And to that end..
-I have to again reiterate my "freezer trick." When I realized that I would be doing most of my final proofing at room temperature, I started wracking my brain for ways to create a "mock cold proof" environment. My solution is to place loaves proofed at room temperature in the freezer for 15-20 minutes at the end of proofing. I have done amateur controlled experiments and found those that spent a bit of time in the freezer to have better ovenspring -- and to be easier to score. And on that note...
2) Scoring -
- I have been experimenting with proofing about 10 minutes less than I would normally in hopes of achieving better ears (especially since most of my loaves are quite high-hydration) and I have had good results.
-I have been thinking a lot about my perspective on the scoring of bread. I know that the focus among serious bakers is on the flavor of the loaf, and I absolutely agree that flavor should be paramount. But as a home baker who sees bread-baking as a whole process...from initial mix, to final mix, through scoring and baking...I can't let go of the idea of making a loaf beautiful via scoring pattern. I've seen so many friends thrilled by receiving loaves with creative patterns...and I myself have experienced the thrill of seeing the way a new scoring pattern bloomed in the oven. So I guess....I absolutely think that the appearance of bread should never be the ultimate focus...but I think it's relevant. And fun. And lovely.
My next challenge will be controlling better for ambient temperature at various stages!
Before I share my photos, I'll share one formula I've developed in the last few months.
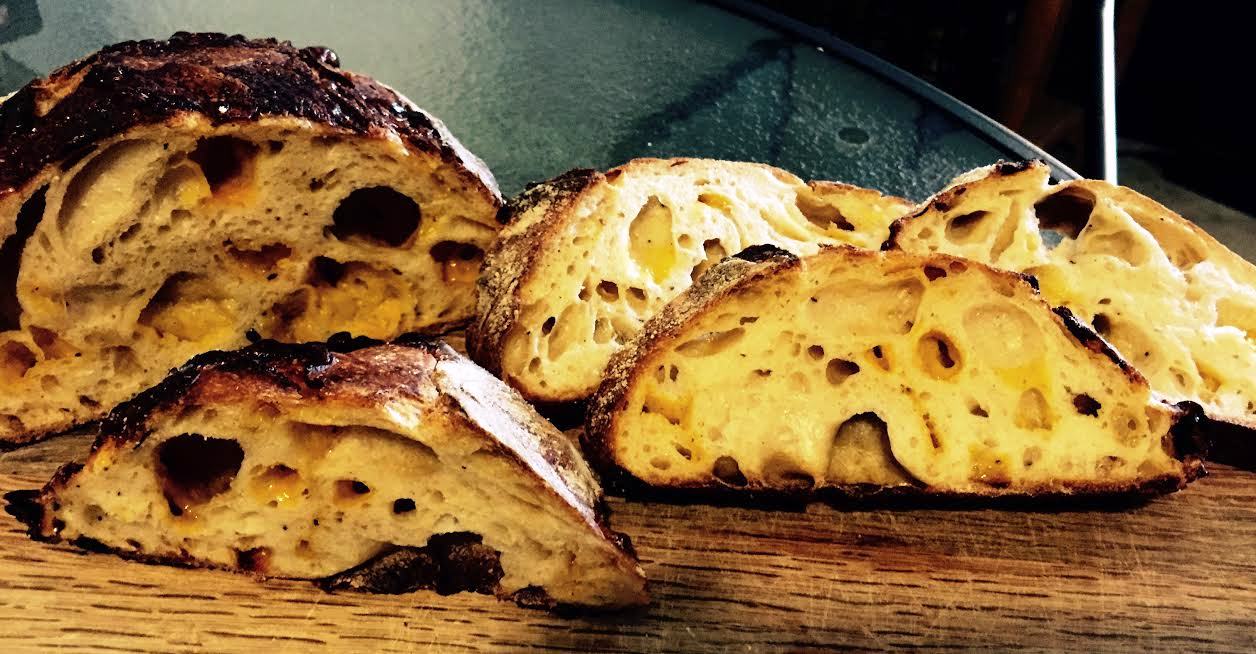
Sourdough with Super-Sharp Cheddar and Cayenne
(Or, Cheese Straw Sourdough!)
This formula was inspired by a delicacy that everyone from the Southern U.S. has had at least once: The Cheese Straw. I wanted to create a loaf with a flavor reminiscent of that extreme tang and mellow heat on the back end of the flavor. I think I got there with my most recent attempt, so I'd like to share the formula. Perfect for lovers of spice, cheese, and serious tang...
NOTE: To make the final dough a bit easier to handle, you can reduce the amount of levain/starter to 100 g. Simply increase the initial flour to 450 g and the initial water to 325 g, keeping the hydration at 75%, but allowing more of the flour and water to develop gluten during the autolyse. I find that I can get to 80% hydration easily if I reduce the levain % enough. Remember that you will have to increase bulk fermentation time if you reduce levain %.
Ingredients:
425 g bread flour (or all-purpose; substituting in 75 g of whole wheat is also an option)
300 g cool water
150 g mature 100% hydration starter
10-11 g salt (to taste)
5 g non-diastatic malt powder (can substitute honey) 1/4 tsp black pepper
1/4 tsp paprika (smoked, if you have it!)
1/4 - 1/2 tsp cayenne pepper (I recommend trying it once with 1/4 tsp and seeing if you want more heat; I prefer the mellow kick that 1/4 tsp imparts!)
120-140 g extra-sharp cheddar cheese, cut into very small cubes
Method:
1) Feed your starter or create a separate levain; however you want to do this is fine; just make sure to have 150 g of 100% hydration starter by time you're ready to mix the final dough.
2) Combine the flour and cool water in a large food-safe container with a lid, and mix very well with a fork or dough whisk. Don't be afraid to pick the mass up and punch it down to well-incorporate all of the flour. (Make sure to mix this until every last bit of flour is well-hydrated, or it will be difficult to add the levain and other ingredients to mix the final dough!) Allow the flour and water to autolyse at room temperature for 2-10 hours. In my experience, the long autolyse contributes to both a more open crumb and a darker, more complex crust.
3) Add your levain and all of the other ingredients, and squish between your fingers until all of the spices, salt, honey, and cheese cubes seem to be well-incorporated, and you don't have any obvious lumps (other than cheese). You do not need to develop any gluten at this stage.
4) Stretch-and-fold the dough every 30 minutes for 2 hours (4 times total). Your first two folding sessions should be longer and more vigorous. Don't be afraid to really slap the dough against the
container during your first fold -- just be sure not to allow the dough to tear. Stretching -- even really far -- strengthens the gluten. Tearing will weaken the structure you've been building.
5) Allow the dough to rest at room temperature for 30 minutes to 1.5 hours, or until it has increased in volume about 40%. You will want your ultimate bulk fermented dough to have increased about 60-70%, but no more. The rest of bulk fermentation will take place in the refrigerator.
6) Place the container in the refrigerator for at least 6 and up to 24 hours. If you know you are going to retard for 24 hours, you can give it less time at room temperature before retarding.
7) Remove the container from the refrigerator. Shape the loaf or loaves however you desire; you can see that I shaped two small batards, which is my all-time favorite in terms of crust-to-crumb ratio and crumb texture, but the sky is the limit here!
8) Allow to proof at room temperature. The timing will vary widely; my apartment is quite warm in the summer, so I allow for 2 hours for one large loaf, 40 minutes for small batards, 30 minutes for baguettes. Allow the loaf to rise 40-50% in the final proof.
9) OPTIONAL: Place proofed loaf/loaves in the freezer for 10-15 minutes before scoring. This helps greatly with smoothness of scoring and ovenspring with high-hydration doughs, I find!
10) Bake at 475 f for 15 minutes with steam, then 20-25 minutes without steam. I baked my loaves directly on the stone, using a turkey roaster lid to create steam in that first 15 minutes. If you are baking on a stone, I suggest laying parchment paper under the loaves, because the melted cheese will make its way (rather seductively!) onto your baking surface.
ENJOY!
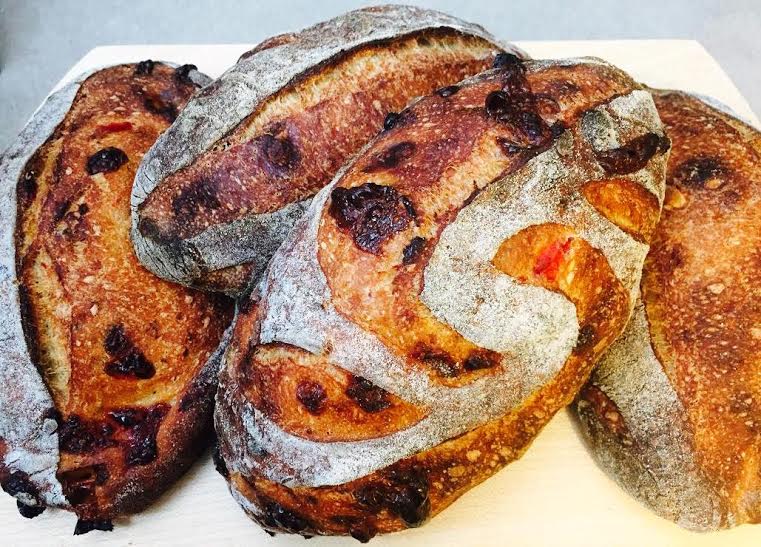
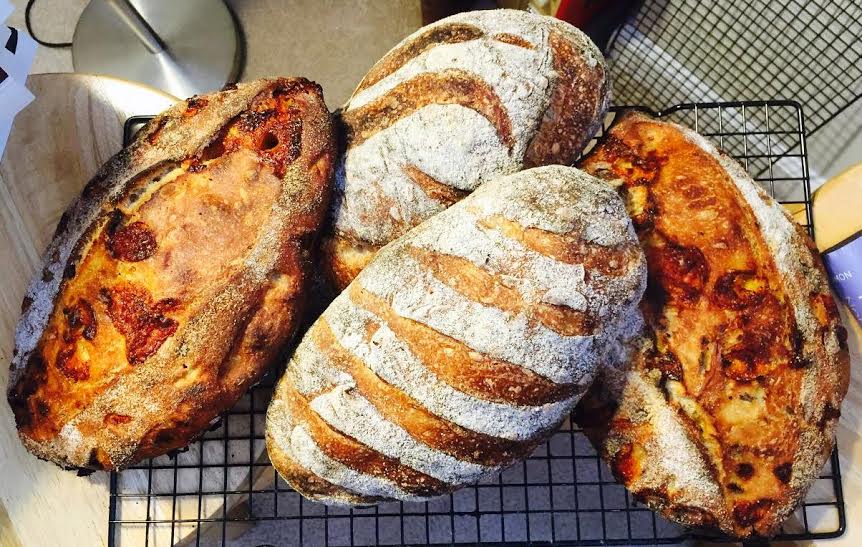
I realized that I didn't include pictures of my cheese straw sourdough in the original post, so here they are:

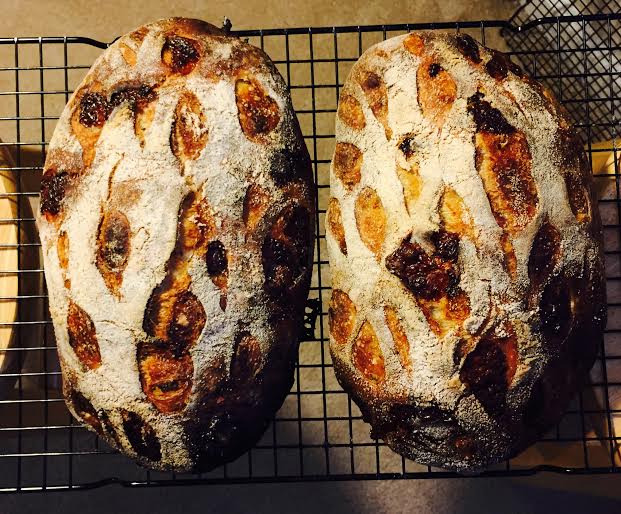
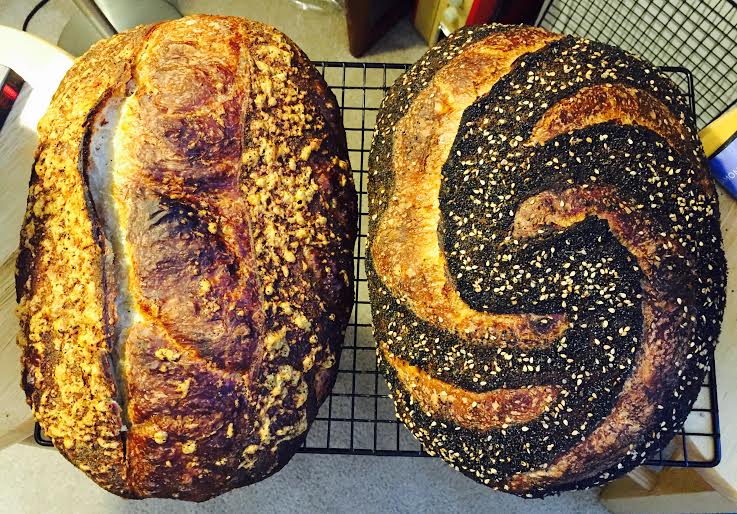
And here are some of my loaves from the last few months...
