Although it may not have been readily apparent from this website, I am a chocolate fiend. If it is made from or with chocolate there is a good chance you can get me to try it. I like making chocolates truffles, filled chocolates, and chocolate desserts. I really prefer the term chocovore, to chocoholic... It isn't that I'm addicted, it is more just that is what I was born to eat! Now, in addition to chocolate, I love hazelnuts. Coming to the natural conclusion here, I love gianduja, if you've never had it you should really do your best to find some and try it. Gianduja is a combination of finely ground hazelnuts and chocolate. I may or may not have a shrine to chocolate and hazelnuts in my closet.
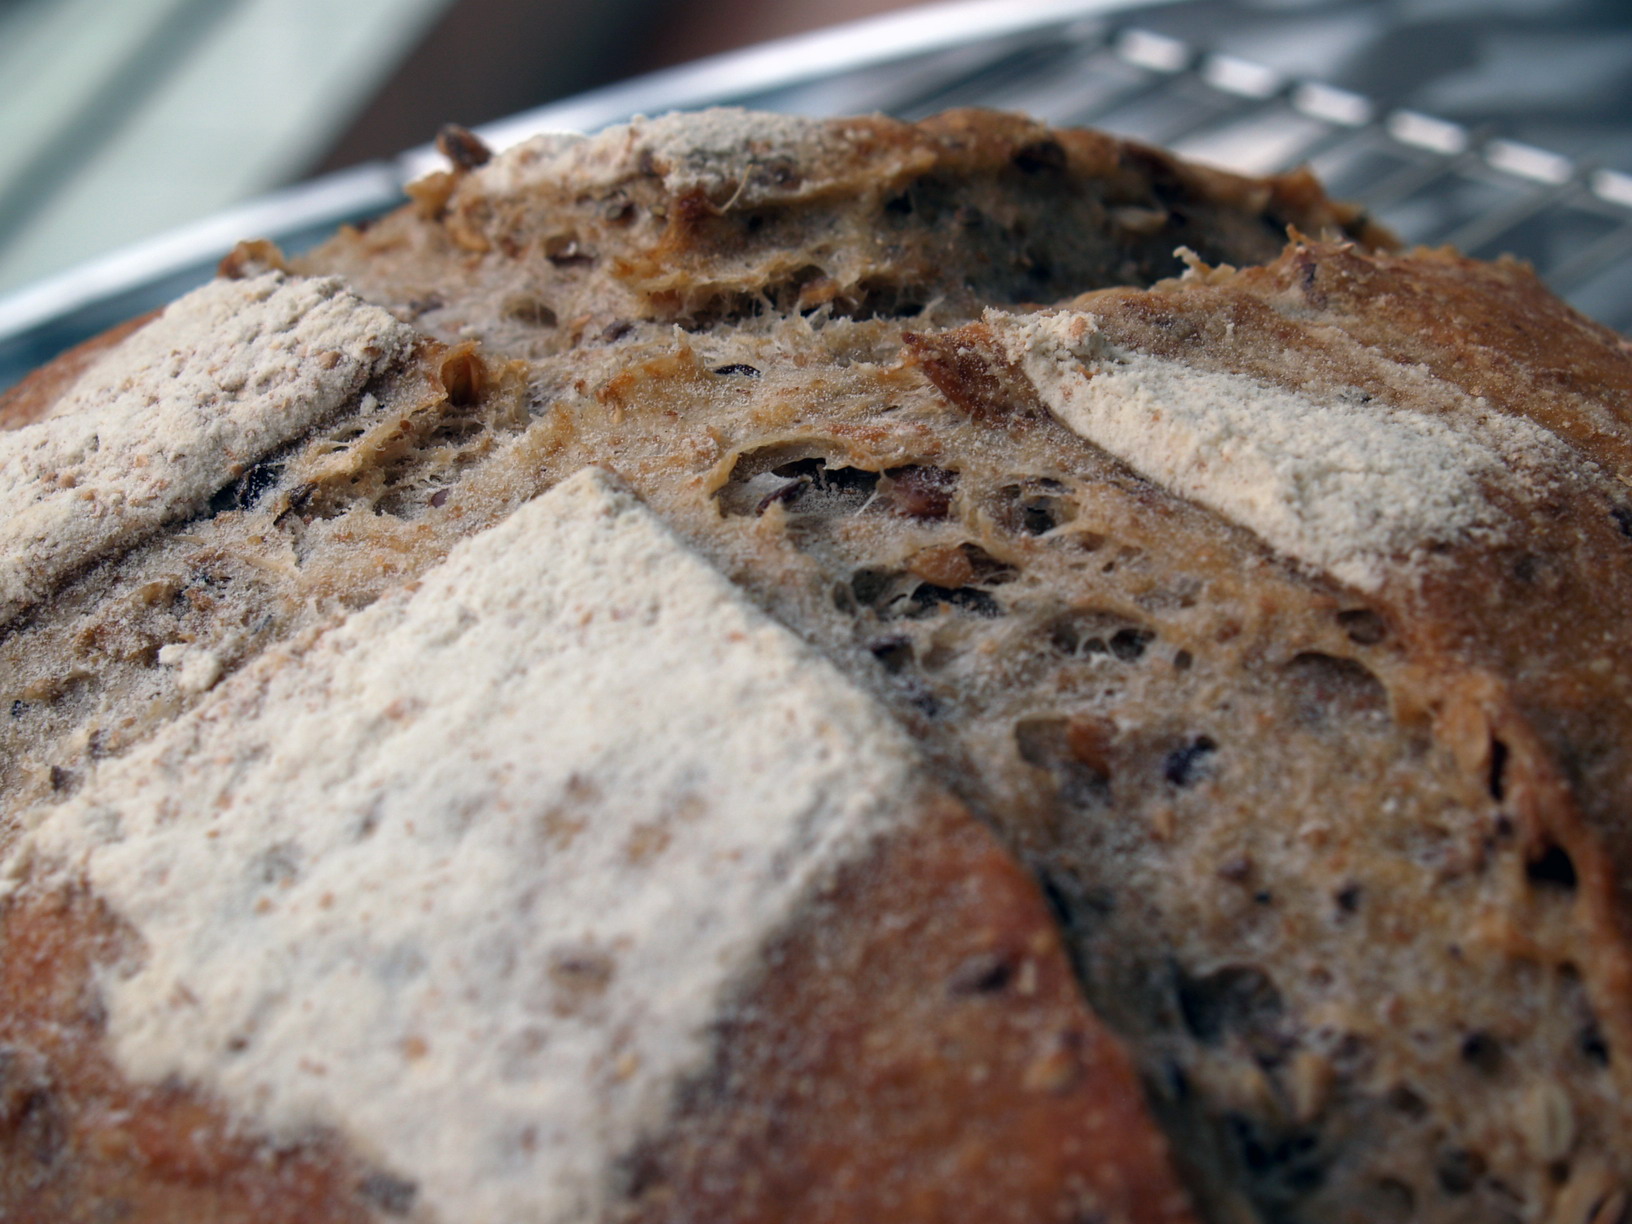
I had offered to send a friend a loaf of bread for her Christmas present (a prospect to which she agreed), and she had told me to make whatever I felt like for her, no real request. Knowing that she is also a fan of chocolate, I decided to create a chocolate bread for her, and this is the result! The bread includes both chocolate and hazelnuts in the dough (as cocoa powder, hazelnut flour, and hazelnut butter) and as inclusions in the dough (chocolate chunks, chopped hazelnuts, and whole hazelnuts). All of this comes together in a delicious (if a bit heavy from all the inclusions!) loaf of bread. The dough, and the finished loaves are very fragrant, and filled the kitchen with a lovely chocolate scent you don't quite expect when making bread. I've already made a second batch, and discovered this bread makes for delightful French toast (if you leave out cinnamon or other spices and put cocoa powder in the batter, the batter is excellent on banana slices this way too!).
Pane alla Gianduja
Makes: 2 medium, or 3 small loaves
Time: Day 1: Elaborate starter. Day 2: Mix final dough, fold dough shape, proof, and bake.
Ingredients:
| |
Ounces |
Grams |
Percent |
| Starter |
|
|
|
| Bread Flour |
8 oz |
230 gm |
100 |
| Water |
5.25 oz |
150 gm |
67% |
| 66% Levain |
3 oz |
85 gm |
38% |
| Final Dough |
|
|
|
| Starter |
16.25 oz |
461 gm |
80.2% |
| Bread Flour |
17 oz |
482 gm |
81% |
| Cocoa Powder |
2 oz |
56.7 gm |
9.5% |
| Hazelnut Flour |
2 oz |
56.7 gm |
9.5% |
| Water |
14.5 oz |
411 g |
69% |
| Honey |
2 oz |
56.7 gm |
9.5% |
| Hazelnuts |
4 oz |
113.4 gm |
19%% |
| Chopped Hazelnuts |
3 oz |
85 gm |
14.3% |
| Hazelnut Butter |
2 oz |
56.7 gm |
9.5% |
| Chocolate Chunks |
7 oz |
198.5 gm |
33.3% |
| Salt |
.3 oz |
8.5 gm |
1.4% |
| Final Weight |
|
|
|
| |
70 oz |
1986 gm |
333.6% |
Directions:
- Elaborate your starter however you choose, but ending up with the same flour and water weights. (or make a commercial yeast preferment) Allow it to rise overnight.
- The next day cream the starter with the water for the recipe, then add in the honey and hazelnut butter.
- Mix together the flours, cocoa powder, and salt, then mix in the starter, water, honey, and hazelnut butter til the dough just starts to come together as a ball. Let the dough sit covered in the bowl for 20 minutes
- Lightlyy dust your counter or work space with flour and scrape the dough out. With lightly floured hands, give the dough a stretch and fold and then flatten it out into a rectangle. Spread about one third of the hazelnuts and chocolate chunks over the top of the dough, and fold the dough into the center again. Give it another fold to incorporate the additions and then repeat with the rest of the chunks and hazelnuts. Briefly fold some more or knead the dough to more evenly distribute the addtions, just a few turns.
- Leave the bowl covered for 40 minutes to an hour, turn the dough out (seam side up) and give it another stretch and fold, then return it to the bowl. This, plus the folding during the addition of the chocolate chunks and hazelnuts should develop the gluten plenty.
- Let the dough rise until nearly doubled, and turn it out again onto your work surface.
- Prepare well floured brotforms, or flour a towel you can use for the final proofing of the bread. Treating the dough gently, seperate it into however many pieces you want loaves. Either shape the loaves into boules, or do a letter fold and stretch them tight for brotforms. Place the shaped loaves in brotforms or on the towels (seam side down)
- Leave the loaves, covered, to proof, for me this was about an hour and a half.
- Preheat the oven to 500 degrees with your baking stone (on the middle rack) and steam pan inside and heat 2 cups of water to just shy of boiling.
- Very gently grab loaves rising on a towel, and move them to a peel with flour, cornmeal, or parchment paper. If using brotforms, just invert the loaves onto parchment or a peel. Just before you load the loaves into the oven give them a few shallow slashes. Load the loaves into the oven and carefully pour the hot water into the steam pan. Be careful of the window and light bulbs in your oven. As soon as the loaves are loaded, turn the oven down to 390
- Bake for 15 minutes, turn loaves 180 degrees and remove parchment paper if using. Continue baking for another 10-20 minutes. It may be a bit hard to tell if these are done when judging by color, you'll have to rely on the feel of the loaf, it should sound nice and hollow. Remove finished loaves to a cooling rack and let sit for at least 1 hour before cutting.
I tried a stencil again with this loaf, following the advice from MC of Farine, I removed it part way through the bake, sprayed with water and dusted with flour. The stencil this time is one version of the Mayan glyph for chocolate: kakaw(a)! This stencil was a bit more tricky as the center piece is connected to the rest by only very small pieces, and there are many small details. I think it came out pretty good looking though!
Now for some pictures:


