The Fresh Loaf

A Community of Amateur Bakers and Artisan Bread Enthusiasts.

Most bookmarked

Floydm's picture
Floydm

Norm's Onion Rolls

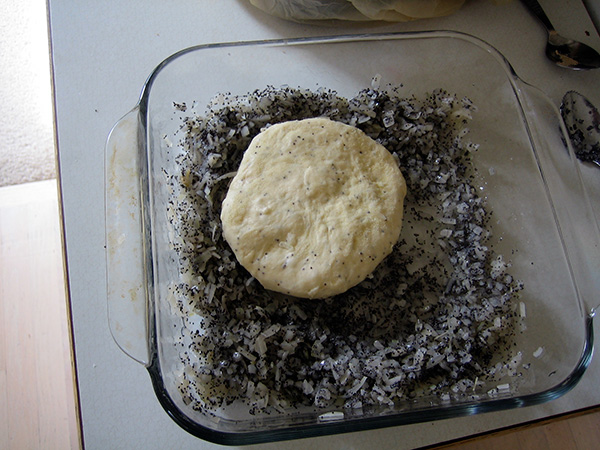
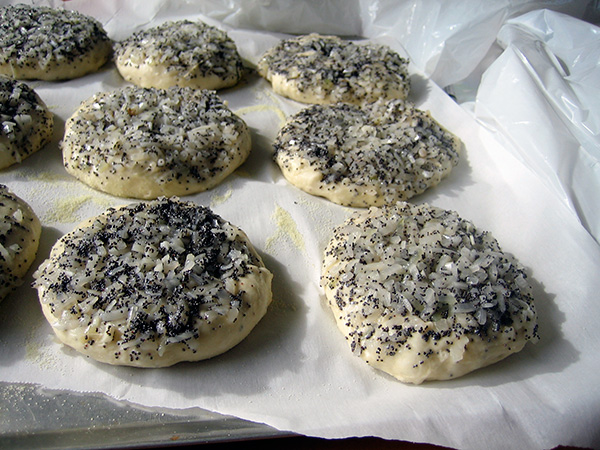
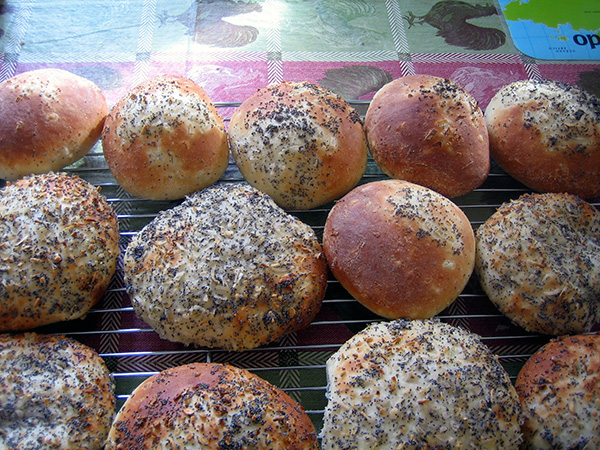
I too have baked a batch of Norm's Onion Rolls. They are wonderful.

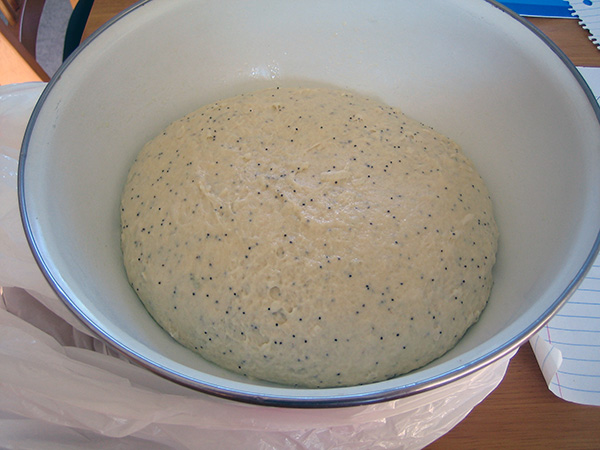
I added 1 tablespoon of poppy seeds to the dough as well as an extra quarter cup or so of rehydrated dried onions. Otherwise, I followed his recipe.

I may have gotten a little too carried away with the poppy seeds and onions, but they were awfully tasty.

redcatgoddess's picture
redcatgoddess

Ciabatta - Italian Slipper bread

This recipe is listed in baker's yield.  You can increase the recipe to however large you want.  I did include the measurement in grams for 4 large ciabatta. This recipe will have the charactic large holes & heavy flour top that ciabatta is known for.

This is the traditional, true artisan bread, so no mixer needed!  All you need is a large mixing bowl, pastic bow scraper, and a table cloth or cloth napki.

Liquid preferment (also called 'sponge')

67% Bread flour   480g

83% water         600 g

1% instant yeast  7 g

Final Dough

3% salt              22 g

33% bread flour  240 g


  1. Mix the liquid perferment at room temperature, cover, let stand in room temperture for 1 hr 
  2. Mix the final dough mixture then toss into the sponge, squeez it to fully hydrate the flour.
  3. Cover & letferment in room temp for 20 minutes, then use a plastic bowl scraper, gently life the side of gooy dough and drap across the center of the dough. 
  4. Repeat step 3 twice at the increasement of 20 minutes (3 folds in 60 mintues)
  5. Cover, the let dough set in room temp for 30 minutes.
  6. HEAVY flour on the table cloth or napkin.  Make sure you put a GOOD layer of flour onto it to provent sticking.
  7. Gently guiding the dough onto the floured cloth with bowl scraper.
  8. HEAVY flour on the now top of the dough.
  9. Use a knife, cut the dough into quarters. Don't worry, you can't really 'cut' through the dough, this is just a guide for you to move them.
  10. Coat your hands with heavy flour, then slowly & gently move the cuted quarters to the 4 quarter of the cloth and let rest for 10 minutes.
  11. Move your hand gently to the back of the bread and gently make them into square shaps if you can.
  12. Let stand in the room temp for 20 minutes (resting)
  13. Preheat your oven to 475 degree F
  14. Gently invert the shaped dough onto your hand then place onto a parchment paper.
  15. Bake until lightly browned.


This is the quick photo that I took before I box it up & set it out to the neighbors.
ciabatta
dmsnyder's picture
dmsnyder

Krupnik - soup to eat with rye bread, onion rolls, pumpernickel, etc.

Sour Rye Bread (Norm's formula) with Krupnik

Sour Rye Bread (Norm's formula) with Krupnik

 Krupnik is an Eastern European beef and barley soup that is a meal in itself, with some good rye bread. There are many versions. Mine is an old family recipe, although I have seen almost identical versions in Jewish cookbooks. Unlike the version Floyd makes, mine is strictly meat - no milk products, since it is a Jewish version. I know that it has been altered somewhat from generation to generation, depending mostly on the tastes of family members. The version I will give is as close to that my maternal grandmother made as I can remember.

Recipe for Krupnik

  •  1 lb lean chuck trimmed of fat and cut into 1 inch cubes
  • 2 carrots cut into 1 inch long pieces
  • 2 stalks celery cut into 1 inch pieces
  • 1 large onion, coarsely chopped
  • 2/3 cup dried brown lentils
  • 2/3 cup pearled barley
  • 1/2 cup dried baby lima beans (optional)
  • 1/2 cup dried navy beans (optional)
  • 1 large russet potato, peeled and cut into 1/2 inch dice.  (optional)
  • Salt and pepper to taste (I like lots of pepper, but each person can add this at the table to personal preference.)
  • 2 bay leaves
  • Water to cover ingredients by 2 inches. Plan on adding more as barley and lentils swell to achieve a thick but not solid final consistency. 
Notes on ingredients
  • When I was a child, I hated beans in this soup, so, for many years my mother omitted them. My tastes changed as an adult, and I now put them in. 
  • My grandmother used a variety of cuts of beef, often short ribs. As we have tried to cut down on fat in our diet, I began using top chuck.
  • My wife's grandmother made krupnik with lamb rather than beef. We have made it this way many times, using lamb neck, and it is equally delicious.
  • Many recipes also add some dried porcini/cepes. I love mushroom-barley soup, but I don't put mushrooms in krupnik.
  • My wife likes krupnik with some tomato, so we now usually add a small can of coarsely chopped tomatoes. This is definitely not traditional, however.
Procedure
  1. Trim and cube chuck and place in a 8-10 quart soup pot. Add 3 quarts of water. Bring to a gentle boil and skim any scum that rises to the surface. 
  2. Turn the fire down to achieve a steady simmer and simmer for 1 hour.
  3. While the meat is simmering, cut up the onion, carrots and celery (and optional potato) and measure out the other ingredients.
  4. After the meat has simmered for 1 hour, add all the other ingredients and additional water, as needed.
  5. Cook at a steady simmer, stirring frequently for 1-2 hours until the beans are completely cooked and the meat is very tender. Add water to thin it if the soup is getting too thick. When thick, it tends to stick to the bottom of the pot if not stirred very frequently.
  6. Adjust seasoning to taste.
  7. Serve with  rye or pumpernickel or other bread of your choice. 
This soup is even better the next day, but you almost always have to add more water as you re-heat it. It also freezes well.  Enjoy!  David 


Anonymous baker's picture
Anonymous baker (not verified)

unbromated flour vs. regular flour

Hello,

About two months ago I discovered "unbromated" flour. I had never heard of this before nor did I know what it meant. So I did a little research about it and found out what the difference is. Based on what I learned, I decided to buy a bag of it to try. I made a focaccia using some of this and was really amazed at the difference. The focaccia came out soft and chewy (but firm). I was really happy with the results. A week prior to this I'd made a focaccia using what I'll call "regular" flour and the results weren't as good. The crust was rather hard and crunchy (kind of hard to chew).

So I guess I'm wondering if anyone else here uses unbromated flour? What your experience is.

Please let me know. Thanks.


Tory 

verminiusrex's picture
verminiusrex

I've Gone Semi-Pro, Update 2

I've been selling bagels at the local Farmer's Market for about 6 months, in another month we'll be closed for the season (darned Kansas winters!) But I though that I'd give a quick update.

I sell about 12 dozen or more bagels every Saturday (which takes me most of Friday to bake), I have a slew of regulars who rave about my bagels, and people love everything bagels over most other flavors.

I just sold my 2000th regular sized bagel on Sept 27th, and so far this year I've used over 450 lbs of flour baking all of the bagels and breads.

Here's a picture of my humble little booth, sporting the FRESH BAGELS banner I scored on eBay for only $20.

Bagel BoothBagel Booth

Anonymous baker's picture
Anonymous baker (not verified)

Rising in cooler -- why didn't I think of this long ago?

Maybe this is a well-known trick but I'm still patting myself on the back for thinking it up recently, and I want to make sure you all know about it:

Let your dough rise in an insulated cooler! I have a small soft-sided one that works great, but any small cooler would work. The yeast generates heat as it eats and multiplies, and the cooler holds it in, keeping the dough nice and cozy (but not so warm that it speeds up the action to the detriment of the flavor, as happens when you put it into a warm oven). I used to wrap towels around the bowl, but the cooler is easier and more efficient. Do not stick dough that you've just removed from the fridge into the cooler, though, or you'll just be keeping it cold. Wait until it warms to room temp and then place it in the cooler. Happy baking! bluesbread

Chavi's picture
Chavi

Sourdough Starters

Hi,

I just had a question on sourdough starters.

I was just wondering if there is any real difference in using liquid starter in place of a stiff starter and just adding more flour in the final dough to compensate. I feel like converting my liquid starter is a pain. Hehe, didnt mean to make that pun ;)

Anyway, if anyone has a recipe for a simple sourdough boule that requires liquid starter, do share. Thanks and happy baking!

Chavi

berryblondeboys's picture
berryblondeboys

What is the yield for wheat berries to cups of flour?

I guess there are two ways to look at it, 5 lbs of flour is the same as 5 lbs of wheat, but what is the yield? Like, how many cups of flour do you get from a cup of wheat berries?

Or, for baking purposes (and I do use my scale a lot), is it better to just weigh my wheat berries and then grind them and use that as my guide for making a loaf?

Consensus seems to be either use it IMMEDIATELY or have it wait a few days (more than three?)

I don't have a mill right now, but have been thinking about it for YEARS and now that I'm baking daily AND i make cakes, I'm wondering if it's more economical in the long run to grind my own wheat?

Melissa


SteveB's picture
SteveB

Croissants and Pain au Chocolat

For any who might be interested, I've detailed my latest foray into croissants and pain au chocolat here:

http://www.breadcetera.com/?p=117

Please note that the post is video intensive, so it might take a while to load.

SteveB

Stephanie Brim's picture
Stephanie Brim

Yet Another White Sandwich Bread

I've been experimenting lately with sweet baking and haven't done much bread unless we needed it. My daughter's birthday is coming up and I'm trying to find a chocolate cake recipe and another flavor that will appease the non-chocolate folks. I've also been trying out cookies by the gross. I didn't know how much it would limit my bread baking time. Add to that the fact that I've had a cold for most of this week and it pretty much means that I haven't wanted to bake anything at all. Add to *that* the fact that I still don't have a decent digital camera and taking all the photos with film and then developing them later on in the week once I have a full roll is a little frustrating when you want to share things right away. But this thing is so tasty that I wanted to share. Had to.

I love butter. Butter makes almost anything better. I'm finding out that it makes bread especially tasty. I wanted a recipe today that gave me the taste of butter in the bread as well as on the outside of it.

This is what I call my Buttery White Bread. It's moist on the inside without being too dense. It's strong enough to hold up to tomato slices. The crust is soft without being overly so. It's soft enough to go well with about any sandwich filling. It's about the perfect sandwich bread for us.

Only took me a month of trying to come up with the right recipe. :p

You Will Need:

3.5 cups of unbleached bread flour (I used Gold Medal as I'm trying to get rid of it)

2.5 teaspoons yeast

2/3 cup milk

1/2 cup water

1/4 cup butter

salt to your taste

Directions:

In your bowl, combine the flour and yeast. I used active dry that I knew was good. Make a well and add your milk, water, and butter. Comebine to form a shaggy mass. Knead until a coherent ball of dough; about 7 minutes. Rest for 20-25 minutes. Stretch your dough a little bit and sprinkle on your salt. Depending on your butter being salted or not, adjust to your taste. Knead the salt in for about 7 minutes. Rise twice. Shape into loaf and put in greased loaf pan. Bake in a 400 degree oven until a thermometer reads 200 degrees. Cool. Cut. Eat.

This is the first loaf that I'm really proud of. Now it's time to work more on artisan breads. :)

Pages