
DOUBLE COOKED Crusty Lean Loaf

This is perhaps one of if not the CRAZIEST idea to make bread. I don’t know what struck me to think of this but it worked! I just posted my most decent lean bread that I made a few days ago yesterday with good results but I want the top crust to be crisp just like oven baked bread so I made another experiment.
My problem with breads of this type when baking in a clay pot is pale tops and burnt bottoms; so I then thought, what if I cooked the bread at a lower temperature to cook the inside and set the structure then finish at high dry heat to just develop the crust? The high heat necessary for the second cooking isn’t a problem with my pot (it turns bread into charcoal :P) so the only problem is the first cooking method.
I’ve read that steam is necessary for the crisp crust of lean hearth breads but only at the beginning of the baking process so I thought of separating the process; steam the bread in the steamer then finish the crust in my clay pot, easy right? The bread is already cooked and only surface browning is what I’ll be looking for so no risk of raw dough and burnt crust. Not really, the uneven heat in the pot will only brown one side of the bread, so I then thought that one side’s crust should be already developed before going into the pot.
I suddenly remember my favorite treat from Chinatown, Shanghai fried siopao! Outside my country I think it is known as ShengJian Bao/ShengJian Mantou. Buns are fried until crispy at the bottom then hot water is poured to steam the top. I think it will solve my problem so I went to make the bread.
I made the usual 70% hydration 50/50 Bread and all-purpose flour mix and made a cold autolyse for 24 hours! I originally planned to have a 16 hour cold autolyse but my mom defrosted the refrigerator and I don’t want to mix in the yeast without a place for a retarded bulk rise, so I just put it in a cooler for 8 hours until I was sure that the fridge is clean and cold. I then mix in the instant yeast and salt and gave it a bulk rise for 2 hours with 3 sets of stretch and folds before putting it in the fridge. The next morning, I pre-shaped it into a boule, rested it for an hour then shaped it into a tight boule and finally proofed it seam side up on a cloth for an hour.
To cook the bread, I preheated a frying pan during the last minutes of proofing and pour a thin layer of oil; I made sure the pan is hot enough so the dough won’t stick. I slide the dough and fry the bottom until it is brown, about 3-5 minutes then boiling water is poured and I covered the pan to steam for another 15 minutes, I check the water from time to time so the bread won’t burn.
For the second stage, I let the bread cool a bit then put it UP-SIDE DOWN over two oiled llaneras, then baked it in the pot over high heat for 8 minutes, every 2 minutes I check and rotate it so the top gets evenly browned.
The crust was nicely browned and charred, I must admit that I left it a moment longer that's why it was charred on some areas. Yes I like a bold bake but not to this extent (I just said to myself, at least it is not "charcoal" and still edible) so I was surprised that it added a whole new dimension to the flavor profile; the bittersweet caramelized notes of the crust is delicious; now i know why some breads are intentionally charred like pizza napoletana. Also, It looks like it was scored but it wasn't. Those white "spots" are just areas not directly exposed to the radiant heat at the bottom of the pot which came from how I positioned the two llaneras to support the bread. A pretty accident indeed!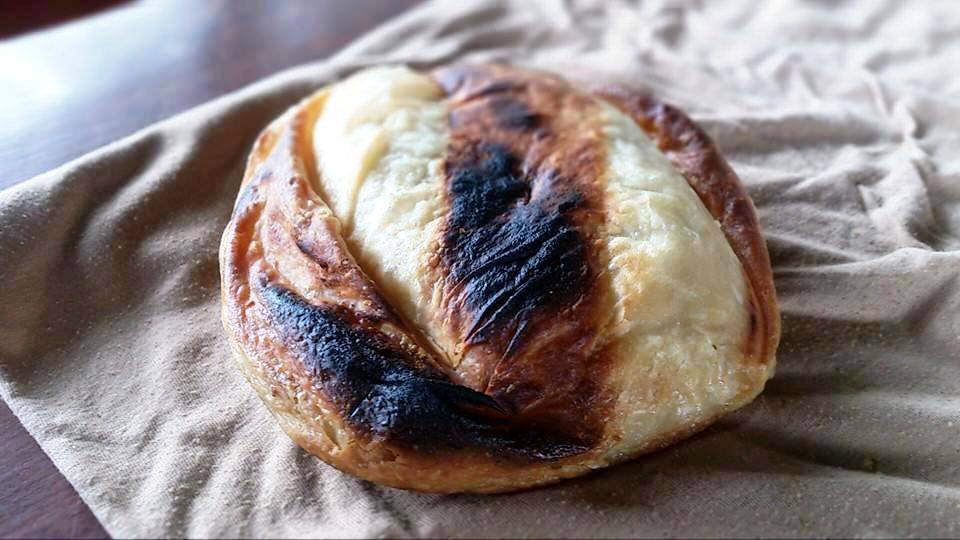
The fried bottom, it is also crisp but in a different way!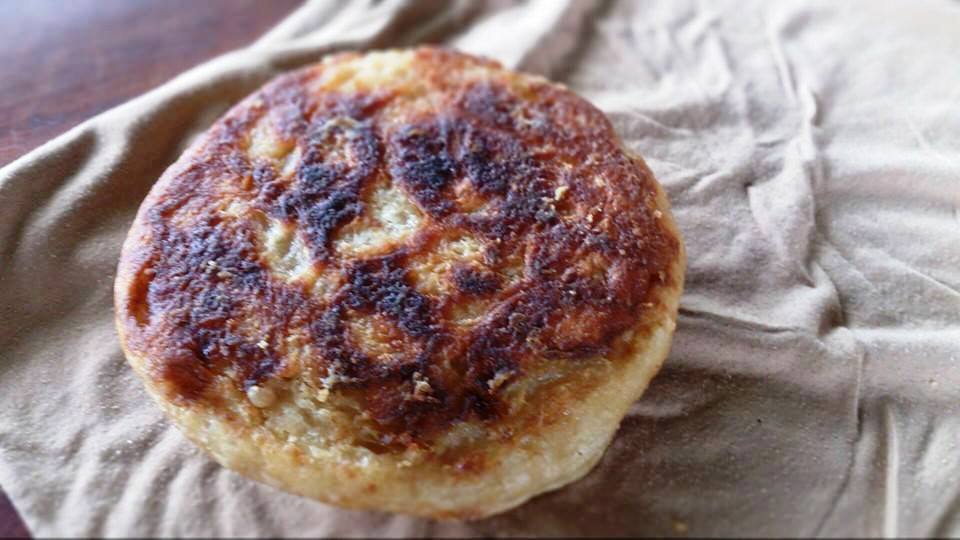
Crumb shots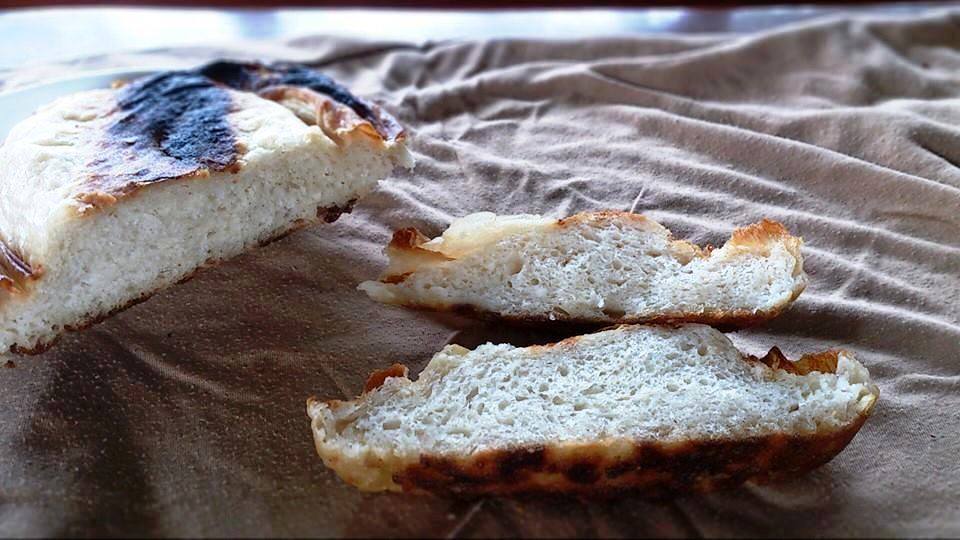
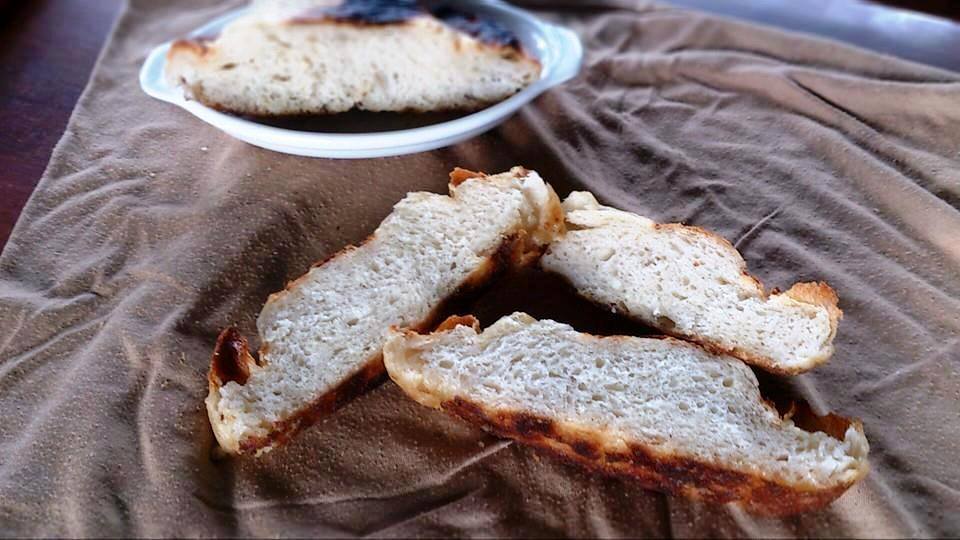
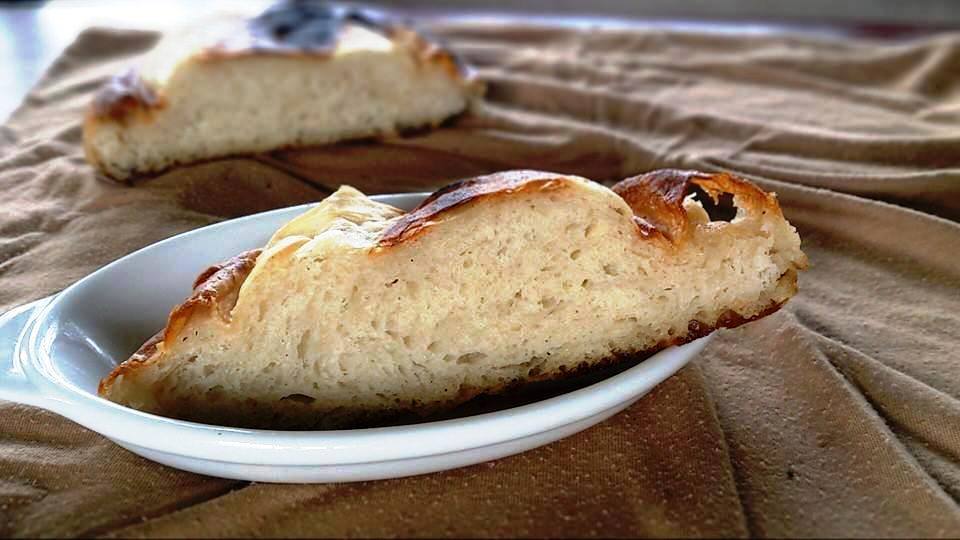
The bread is sweeter and richer than my previous attempt, the crumb is chewy and the thin crust is crisp all over. One problem though is the lack of spring because of the lower cooking temperature so the bread a little flat with a slightly tight crumb but the trade-off is worth it, I will probably try next time with a dryer dough for an already tall loaf and a better support of the structure in that wet environment.
This is what was left 5 minutes after I served the bread...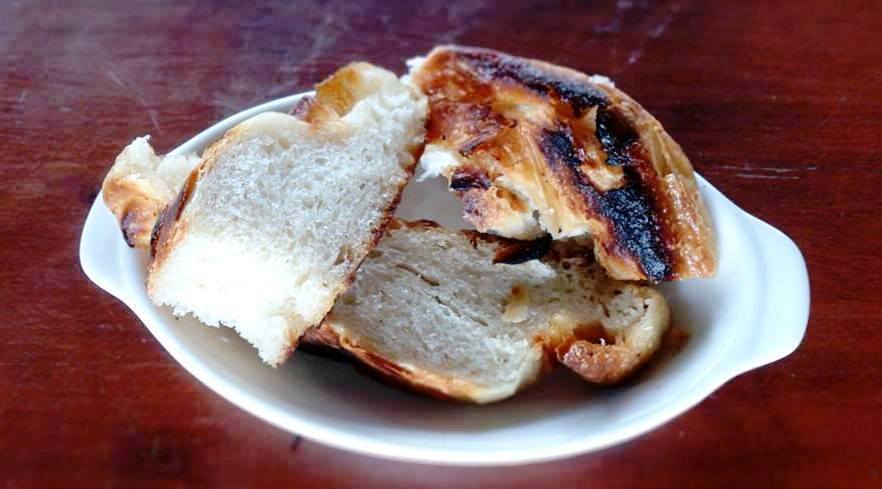
Graduation is near and i will move to my dormitory in the next few days to have my on-the-job training in another town, a 3 hour drive from where I currently live. I will really miss my pot for almost two months that's why I'm baking as much as I can.
This is my hero and my best friend since 2011. I bought it using my savings from my daily allowance without knowing if I will succeed. I'm glad I had the courage to try it, many delicious breads and baked goods that my family ate and loved came from it. Thank you very much!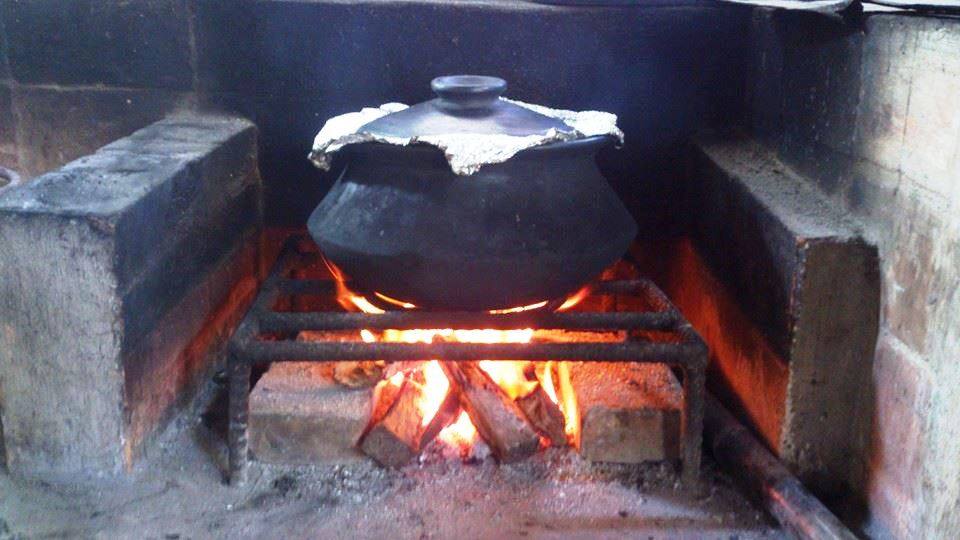


Comments
Heres me having a bit of fun cooking bread in a coal fire and you're cooking like that regularly...
See: http://www.thefreshloaf.com/node/41508/anthracite-special-platform-9%C2%BE
for my recent efforts...
What about loading the lid of your pot with hot embers after (say) 10 minutes of baking? Trying to get more heat to the top to conduct down - maybe briefly take the lid off to let any residual steam escape before putting it back and covering with hot embers?
There is a traditional Croatian cooking way that involves heating up bricks, then moving the embers away, putting the dough on the bricks then covering it with a steel dome - the trick there is that they use a ring on-top of the dome that can hold come hot embers in-place to heat the top and cook downwards - with the hot stones cooking upwards at the same time...
Good fun on an open fire though!
-Gordon
Is it the one called peka? Anyway, it is very similar to the method I've been thinking long ago, but as I've said, I have limited equipment so I didn't do it. Our metal "domes" are still in good condition and in use for other purposes so I don't want to destroy it with my experiments! haha I also don't have a scoop for embers; I will try to get those to finally try this method. I've also seen your bread baked over coals, it's so fun to get out of the box sometimes, good luck to both of us!
Pot Sticker Bread! Wow! You added a whole new dimension to your clay pot bread with fried in oil and steamed addition. I'm all in with Gordon's suggestion. When we were in the Boy Scouts, we made corn bread in a cast iron dutch oven when the coals from the fire were placed on the lid too so that the heat was coning from the top as much as from the bottom. Arizona cowboys used this method for cooking pies, beans and meat stews too.
I can;t wait to get the clay pot in the fire pit this Friday to bake a loaf of some kind of bread. Thanks for posting and for the inspiration,
Happy clay pot baking
Pot stickers or gyoza, the fried siopao is like their yeasted cousins. I'll wait for your clay pot bread sir!
Love how your slices look...thinking your pic is to show method..I'm sure you are aware and these are only my thoughts ...to heat pot high flame good..set lid in front to heat, if humidity not needed. Or pour some water in bottom before starting fire ,other wise pot can warp. Once fire is embers , place bread ,in your bake pan inside, ( a pan with handles works well- think bucket or pail) water about one to two inches deep. Put lid on . Follow your baking times..as Drogon suggested, place embers on top , but only the last ten o r fifteen minutes to brown top, must experiment for look/taste you want.,Also I use one type of wood to produce heat, another to add smoke and flavor..different woods impart different flavor,
Gordon's suggestion was to put embers on top ..my apoligies
Heavy foil also will help. Works better than parchment on wood fires.
If the clay pot is inside the bigger pot, try raising it off the bottom..a rack, or even heavy foil bunched up in a few balls, even wood similar in size will work , but it you must soak the wood,so it does not catch fire. This method also allows for steam and the added aroma of that type of wood. Apple is my choice but most fruit wood, gives nice flavor, as a well as standard mesquite or hickory.
Try raising the clay pot off the surface of the
In this tropical country we have exotic trees like santol, guava, mango, tamarind; each having their unique aroma, problem is they are mixed in our store room. Still, there's always a touch of good smoky aroma in all of my breads. I''ll try your suggestions! I'll insulate the bottom with thick foil to reflect some of the intense heat back at the bottom of the pot.
A thin layer of clean sand, topped with foil or plate to bake on might prevent burning the bottoms.
Or on the outside, a clay disk between the fire and the pot, like for cooking rice.
Excellent suggestion, Mini Oven ...sand; which also can be dampened..would help disperse and conduct the heat to the clay pot.
Pal with no oven...The santol is unfamiliar to me...the other fruit wood, I would be tempted to try and separate the varieties, you would only need small bundles of each twig size..to add on embers for smoke flavor. I also bundle up the stems form my herbs after harvesting. These also make lovely smoke aromas,