
Carrot Coconut Cupcakes
I had a craving for carrot cake the other day. It was one of those cravings you try to ignore, but in the end you submit because, like it or not, you did not try all that hard to avoid it in the first place.
Submitting to my desire also gave me the opportunity to play around with a recipe. I always enjoy that! I did not just want carrot cake, I wanted carrot cupcakes, and I did not just want carrot, I wanted carrot coconut. I do not bake with coconut often because my husband, and main test subject, dislikes the texture of it. Did I say dislikes? I mean loathes.
Regardless of the likes of my husband my mind was set on carrot coconut, so on the way home from work I picked up a few things and set to work.
The original recipe for the carrot cake is my father's. It is an excellent, moist, and very dense carrot cake, but I knew with all the eggs and oil it would make a very poor cupcake. Besides, I hate getting a cupcake with a greasy liner! Yuck!
So, I made some modifications, such as reducing the eggs, replacing some of the oil with applesauce, and adding some buttermilk to thin the batter and to add a slightly tangy note to the cakes. Adding the coconut helped add moisture along with the grated carrots, so in the moistness department I figured I was good.
The original cake calls for 1 teaspoon of baking soda for a 9″x13″ cake which is quite dense. I wanted fluffy cupcakes that would dome proudly inside the liners so I added an additional 1/4 teaspoon of baking powder.
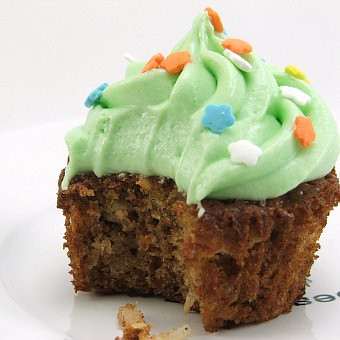
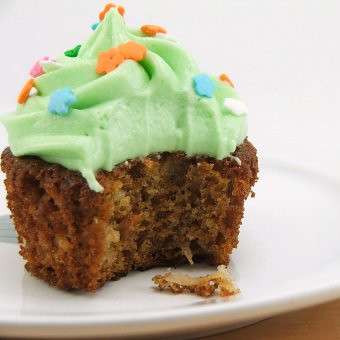
My modifications resulted in tender, moist, flavorful cupcakes with a slightly chewy texture from the shredded coconut. Even my husband, who avoids coconut like the plague, said they were pretty tasty ... coconut aside.
Carrot Coconut Cupcake Yield 24
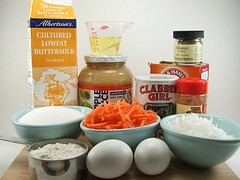
1 cup sugar
2 eggs
3 tablespoons vegetable oil
1/4 cup applesauce
1/4 cup buttermilk
1 teaspoon vanilla
1 teaspoon cinnamon
1/4 teaspoon allspice
1 cup flour
1/4 teaspoon salt
1 teaspoon baking soda
1/4 teaspoon baking powder
1 cup shredded carrots
1 cup shredded coconut
Heat the oven to 350F and line your cupcake pans with paper liners.
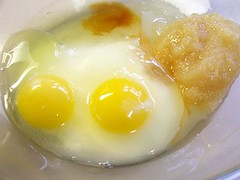
In a large bowl combine the sugar, eggs, oil, applesauce, buttermilk, and vanilla. Blend until smooth and well incorporated.
In a smaller bowl sift the dry ingredients, then pour the dry onto the wet and whisk until the dry ingredients just moisten.
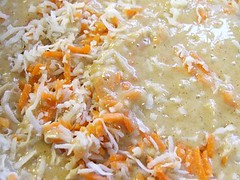
Add the shredded carrots and coconut and fold gently, making sure to scrape the sides and bottom of the bowl.
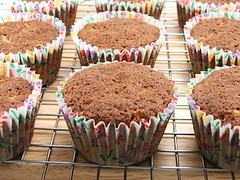
Fill the cupcake liners 1/3 of the way full. Bake for 25 - 30 minutes, or until the center of the cupcake springs back when lightly pressed.
Allow the cupcakes to cool in the pan for three minutes, then turn onto a wire rack to cool the rest of the way.
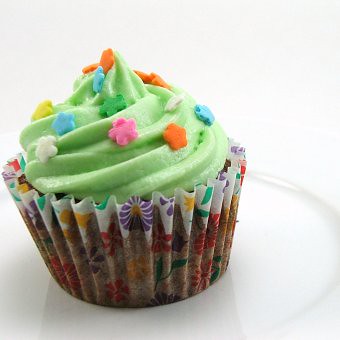
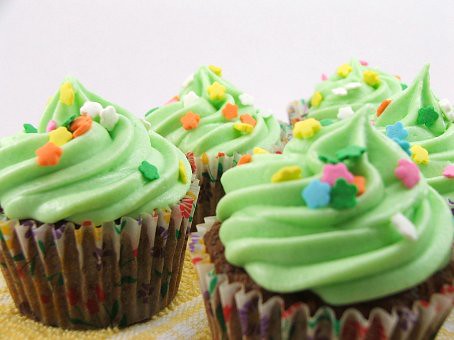
I frosted my cupcakes with a simple cream cheese frosting.
Cream Cheese Frosting Enough to decorate 24 cupcakes
1 stick unsalted butter, softened
1 - 8 oz bar of cream cheese, softened
2 teaspoons vanilla
2 1/2 cups powdered sugar
Blend the butter and cream cheese on medium speed until well mixed, about five minutes. Add the vanilla and blend to combine.
Add the powdered sugar and blend on low until the powdered sugar is moist, then blend on high for thirty seconds to remove any lumps.
Store frosted cupcakes in the refrigerator.
Enjoy!
Posted on www.evilshenanigans.com - 3/17/2009



Comments
I like your work girl! I especially like your photo of the chocolate cupcake for your posts. Do you have instructions on how to make such a delicious looking treat? My kids would love that! I have tried to make good chocolate confections with little success.
Here is a link to my blog post about the Cream Filling for Cupcakes. It has complete instructions for the filling. Just use whatever chocolate cupcakes you like. I use the Hershey's recipe for quick and easy chocolate cupcakes. It is available on their site. So is the fudgy frosting. Both recipes are reliable and simple.
http://www.evilshenanigans.com/2009/02/cream-filling-for-cupcakes/
Enjoy!
and inspiring...that spring has sprung!
great pics. What kind of camera do you use? I'm salivating - both at the cupcakes and the perfect shots.
I use a Fuji FinePix S5100. I have some pretty cheap macro lenses I use and my husband built me a light box since I do most of my shots at night after work. I shoot with a tripod since I can never seem to hold still.
I do not have the best camera and equipment, but it works for what I am doing and I am not prepared, at this time, to get a more expensive camera.
The light box has helped me a lot in getting better shots. That and my macro lens for those up-close 'food porn' type shots.
Could you explain the purpose of a "lightbox"? Is it a device that you use in conjunction with your flash, or is it something to use for post processing? I am familiar with digital photography - but I have not seen anytone describing their use of a lightbox.
It is a light tent ... here is the site we used to make one.
http://digital-photography-school.com/how-to-make-a-inexpensive-light-tent
Great photos and great looking cupcakes! --Pamela
Thank you!!
I very much enjoy your photos, recipes...please keep them coming! Thank you for sharing...you a very talented!
Sylvia
Thank you for the kind compliment!
You've started a chain of reaction here, gothicgirl. I visited that digital photography site you shared. Great tutorial. Now here's a stupid question (my ex-boss used to say "there's no such thing as a stupid question", hope you agree): do you actually put your baked/cooked food inside that lightbox to photograph them?
Don't laugh. I'm new to digital photography. I just want to make sure that the subject of the camera has to be inside that box, not beside, above or behind it. :)
I do put the finished items in the light box ... I also photograph the raw ingredients in the light box as well. The only things I do not photograph in the box are the in between steps ... unless I have an ingredient that strikes my fancy then I take a quick picture of it. For example, today I posted a macaroni and cheese recipe at my blog (not here because it is not baked in any way) and I took a pic of the shredded cheese because I just liked it. Raw ingredients are beautiful! I even have a section in the photos section titled Odds and Ends which has ingredient photos that I just liked.
It is best to get the food in the center of the box that way you get the best lighting with minimal shadows.
And, I agree that there are no dumb questions. :)
Thank you for taking the time to reply gothicgirl. You're a great contributor to this community. If we had to vote for most popular blogger, you'd have my vote! :)
I appreciate it. Really, it was nothing! Good luck!