The Fresh Loaf

A Community of Amateur Bakers and Artisan Bread Enthusiasts.

Most bookmarked

dmsnyder's picture
dmsnyder

Sourdough Italian Rolls

Sourdough Italian Rolls

April 18, 2015

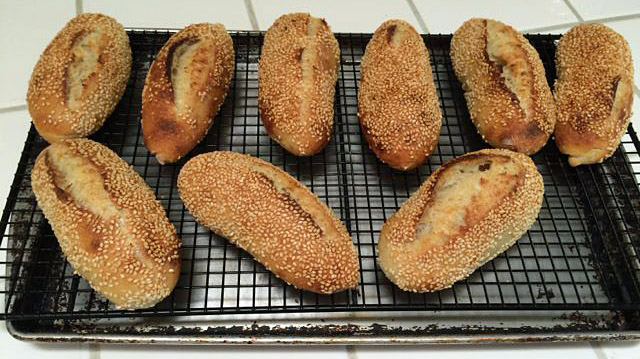
Those familiar with my San Joaquin Sourdough will recognize the rolls I baked today as its Italian cousin. Besides the obvious difference that these are rolls rather than bâtards, they also have around 20% Durum flour, some sugar and olive oil, and they have a sesame seed coating.

I developed this formula in 2011. Originally, it had both diastatic malt and suger. It was pointed out to me that the AP flour is already malted, and, as a sweetener, the malt is redundant. I really didn't need both malt and sugar. So, today's version omits the malt.


Total Dough


Ingredient

Amount (gms)

Bakers' %

AP flour

434

79

Fine Durum flour

100

18

WW flour

11

2

Whole Rye flour

5

1

Water

400

73

Salt

10

1.8

Sugar

14

2.5

EVOO

14

2.5

Total

988

179.8


Liquid Levain


Ingredient

Amount (gms)

Bakers' %

Liquid starter

40

40

Water

100

100

AP flour

70

70

WW flour

20

20

Whole Rye flour

10

10

Total

240

240

  1. Disperse the liquid starter in the water.

  2. Add the flours and mix thoroughly.

  3. Ferment at room temperature until expanded and bubbly (8-12 hours). If necessary, refrigerate overnight and let warm up for an hour before using.


Final Dough


Ingredient

Amount (gms)

AP flour

400

Fine Durum flour

100

Water

350

Salt

10

Sugar

14

Active liquid levain

100

EVOO

14

Total

988

Procedures

  1. In a large bowl, disperse the levain in the water.

  2. Add the flours and sugar to the liquid and mix to a shaggy mass.

  3. Cover the bowl and let it rest for 20-60 minutes.

  4. Add the salt and olive oil and mix thoroughly. (Note: I squish the dough with my hands until it comes back together, then do stretch and folds in the bowl until it forms a smooth ball and the oil appears completely incorporated.)

  5. Transfer the dough to a 2 quart lightly oiled bowl, and cover the bowl tightly.

  6. After 30 minutes, do stretch and folds in the bowl. Repeat 3 more times at 30 minute intervals.

  7. Refrigerate for 12-36 hours. (Today, I retarded for 23 hrs.)

  8. Divide the dough into 8 or 9 equal pieces and pre-shape as rounds or logs. Cover with a clean towel, baker's linen or plasti-crap and let rest for one hour. (Today, I scaled 6 rolls at 4 oz and 3 rolls to 3.65 oz.)

  9. Shape as long rolls and proof en couche or on a baking sheet for about 45 minutes. (Note: Optionally, roll the rolls on damp paper towels, then in a tray of sesame seeds. Alternatively, you can brush the loaves with water and sprinkle with sesame seeds.)

  10. One hour before baking, pre-heat the oven to 480ºF with a baking stone and steaming apparatus in place.

  11. Transfer the rolls to a peel. Score them, if desired. Transfer the rolls to the baking stone. Or, if the rolls were proofed on a baking sheet, score the rolls and place the sheet in the oven. 

  12. Steam the oven, and turn the temperature down to 460ºF.

  13. After 10 minutes, remove the steaming apparatus. (Note: If you have a convection oven, switch to convection bake and turn the oven down to 435ºF for the remainder of the bake.) Continue baking for another 6-8 minutes or until the rolls are nicely browned and the internal temperature is at least 205ºF.

  14. Transfer the rolls to a cooling rack. Cool completely before eating.
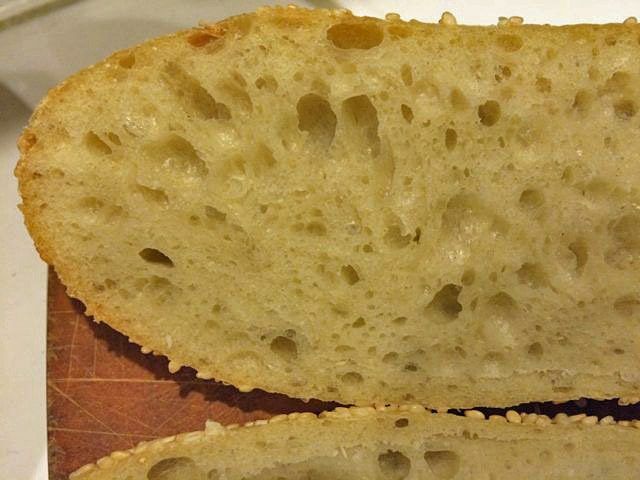
Sourdough Italian Roll crumb

My wife frequently asks me to make “soft” rolls to use for her sandwiches, but I seldom do so for some reason. I baked these while she was out. When she got home and saw them, she asked if she could use them to make sandwiches for the bridge group she is hosting next week. I know I can make more, so I just asked to save one for us to share with dinner. Well, after tasting the dinner roll, she started talking about getting rolls from the bakery for her bridge group and reserving the sourdough Italian rolls for us. I thought they were pretty good too. In fact, the flavor was so good I would hesitate to cover it with sandwich fillings.


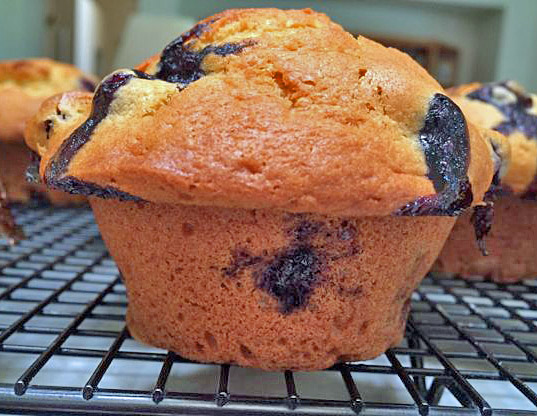
I also made some blueberry muffins. The recipe is from The Best Recipe, by the America's Test Kitchen folks. 
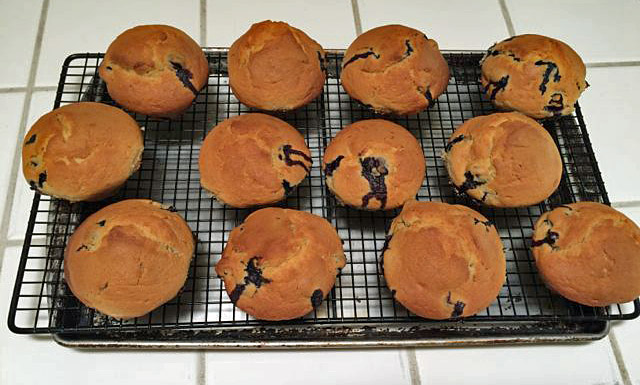

They were delicious as well.
 

Happy baking!

David

Submitted to yeastspotting

quirkey's picture
quirkey

Flaxseed + Raisin Sourdough

First post!

I've mainly been working on my high hydration country loaf (based on Tartine, but with tweaks for our cold kitchen + weather) but this week my wife bought a loaf of Raisin/sunflower seed bread from the co-op and then asked if I could make something like it. A Challenge! I found a recipe for a sunflower/flaxseed loaf in Tartine 3 and thought since I don't have sunflower seeds, but did have raisins, I could soak both and add to the same base dough.
The dough was mostly whole wheat, and unfortunately I cant find high extraction flour (anyone have any tips or good sources in NY?), so I tried the trick of sifting whole wheat through a fine sieve.

The mix ended up being:
200G Levain
500G Sifted KAF Whole Wheat
300G KAF Bread Flour
200G KAF Whole Wheat
70G Wheat Germ
25G Salt
850G Water (100*)

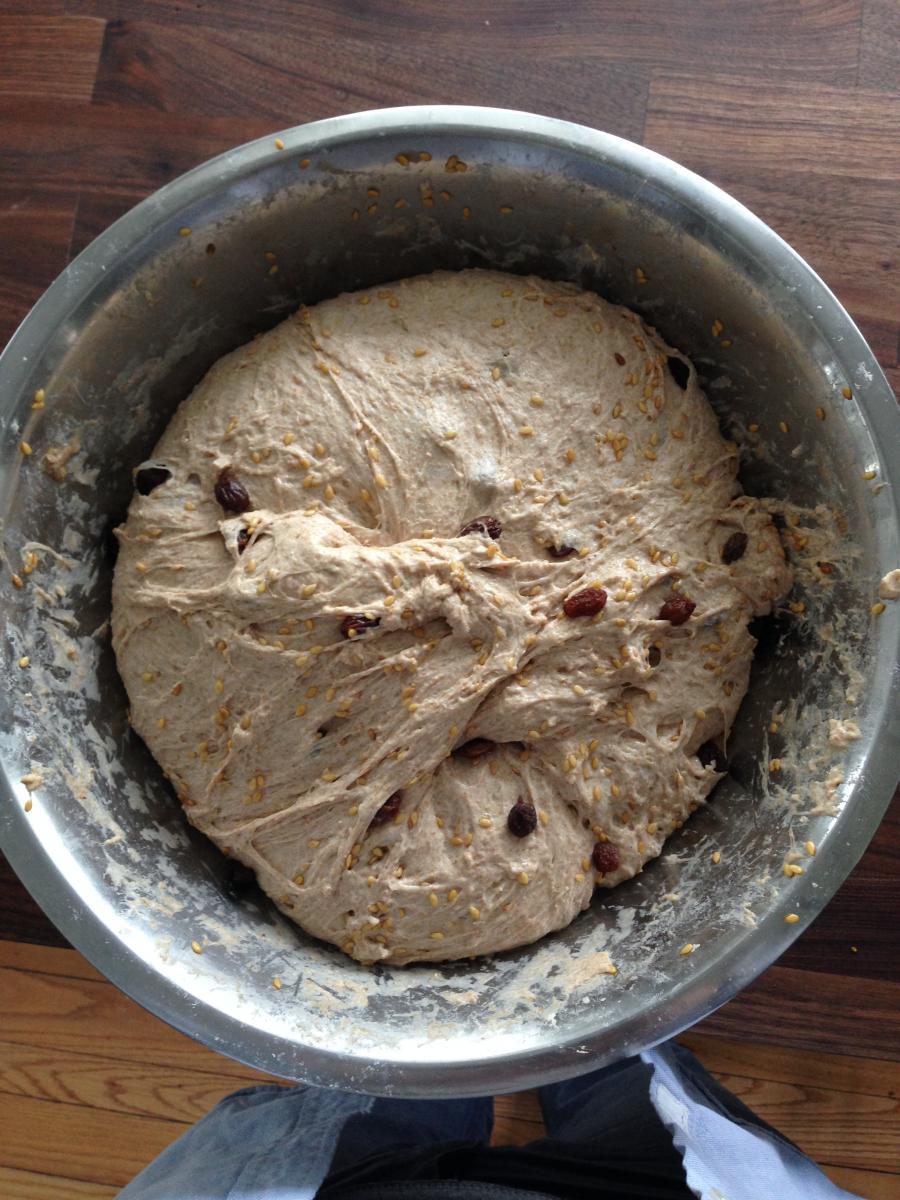
After the first 2 folds I added
110G Flaxseed
140G Raisins
Soaked over night in 220G Warm water (they absorbed all the water).

After mixing in the seeds


Bulk rise for 4.5 hours total, then proofed at warm room temperature for 4 hours before baking in dutch ovens.

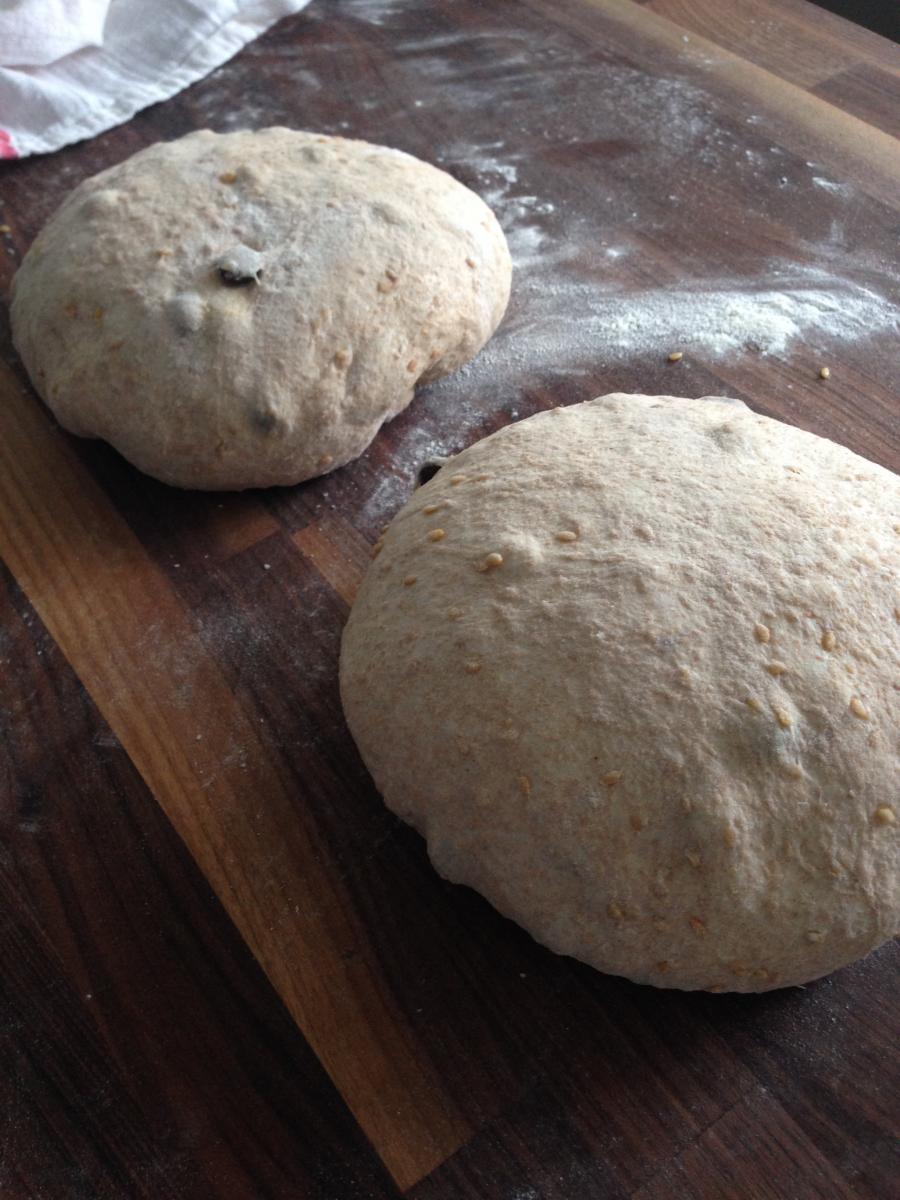
benching/shaping

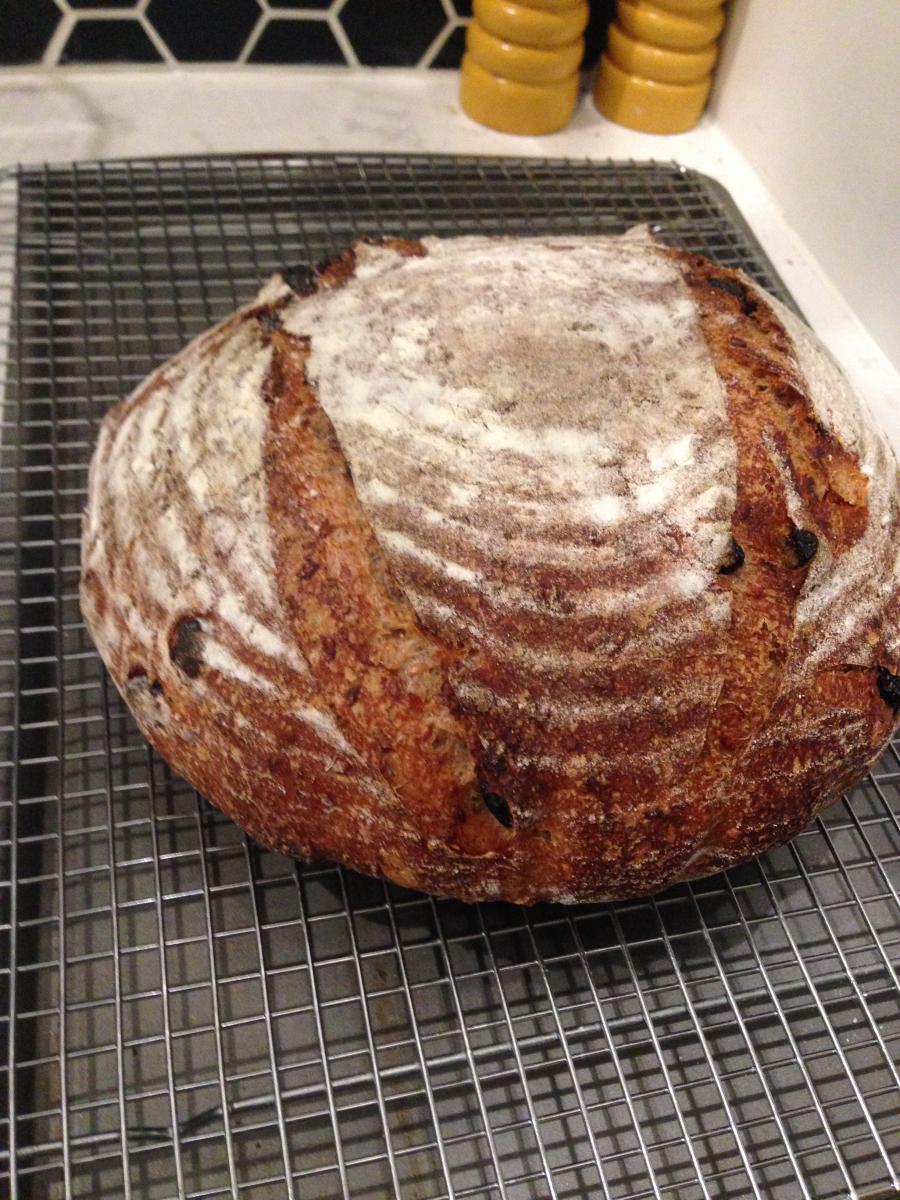
I let them cool over night before cracking into them.

End result: Flavor is great and makes for a really good breakfast bread. Lots of whole wheat flavor and the seeds add a nice textural element. Slight sour flavor, but happy that its actually very mild. The crumb is actually really interesting. The bread is very soft and the crust is great, but the crumb is much less open then I was hoping for - consistent small pockets, but no big openings. A couple ideas:

- I think I didn't score deeply enough, so I'm guessing that that caused not a lot of steam to escape in the dutch oven, which reduced the oven spring (but not sure how much this resulted in the tighter crumb).
- Even though the dough was 85% hydration, I think that was actual low for the amount of whole wheat in the dough. If I do something like this next time, going to try using white whole wheat instead or really seek out the high extraction OR just use a greater ratio of white flour.

Next up, I'm going to go back to working on the basic country loaf. I also finally found some Einkorn flour at a local health food store, so going to try experimenting with that.

dabrownman's picture
dabrownman

100 % Whole Grain Kamut With 14 % Sprouted

More than 2 years ago Lucy and I baked out first 100% Kamut Bread that was at 102% hydration.  Back then we weren't using straight rice flour in out baskets and the dough stuck causing a nasty disfigurement here:


http://www.thefreshloaf.com/node/30081/100-hydration-100-whole-grain-kamut-flat-boule-yw-and-sd-combo-starter

 The bread tasted fine and the crumb was fairly open due to the YW and SD combo levain we used.  We also ground the whole berries in a Krup’s coffee grinder since we didn’t have a grain mill till much later.  We thought we would give it another go to try to fix some of these earlier problems.


Lucy decide to add a small amount of whole grain Kamut sprouted flour to the mix this time and to only use a Kamut SD levain  leaving the YW out which I thought would be a mistake since YW really opens up the crumb of whole grain breads so well.   She didn’t want the YW to cancel at the sour as it does when mixed in the SD levain.


The sprouted Kamut was soaked  for 4 hours then drained and sprouted for 24 hours in a sprouter before being paper towel dried and then air dried in the Arizona sun over 4 hours to make sure the enzymes we released were not harmed by high heat.


We did our usual 3 stage levain build where we used the 15% extracted hard bits of the milled Kamut to get the levain up to speed.  We did not use any sprouted flour hard bits for the levain but we did put the sprouted flour into the autolyse with the 85% extraction of the non sprouted Kamut.


Since the sprouted grain went into the autolyse we limited it to 1/2 hour so it wouldn’t spike the autolyse into enzymatic overload.   Then the levain and the salt were added before a short mix with a spoon and 8 minutes of slap and folds.  During the slap and folds we adjusted the final dough water with small additions to fit the final mix feel as it was slapped around without learning a lesson.


We ended up at around 90% hydration which was 12% lower than the bake 2 years ago.  We think the sprouted flour was the difference plus we wanted a less wet mix since we planned on an 18 hour retard instead of 12 hours. After a 30 minute rest we did 3 sets of stretch and folds from the compass points on 30 minute intervals to finish off the gluten development.  


This got us to the 2 hour mark since mixing and we let the dough rest for 10 minutes before shaping into a squat oval, putting it a basket, bagging it and putting it in the fridge for long cold retard.
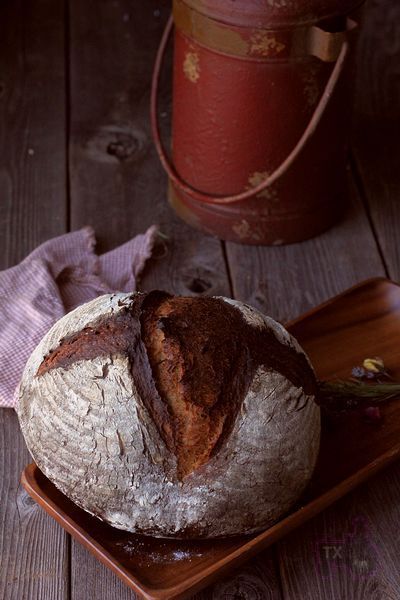
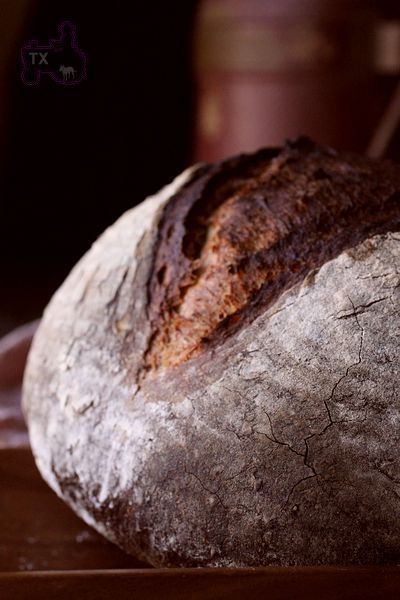
 

18 hours later it had proof sufficiently to warm up on the counter as Big Old Betsy was heated to ramming speed of 550 F when the Mega Steam went in for 15 minutes before the dough was un-molded onto parchment on a peel, slashed and slid onto the bottom stone for 15 minutes of steam.  Once the steam came out the oven was turned down to 425 F or another 10 minutes of baking until the inside hit 210 F – our new standard temperature for sprouted flour bread.
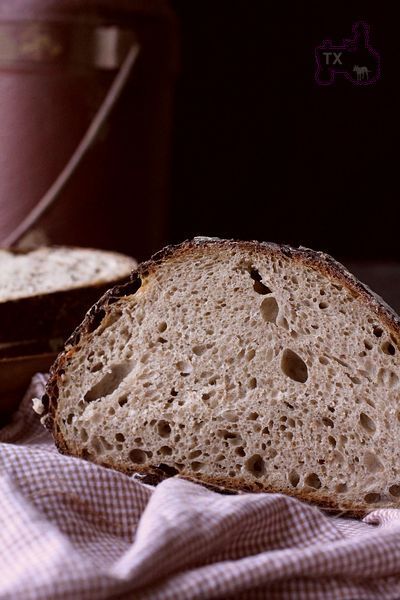
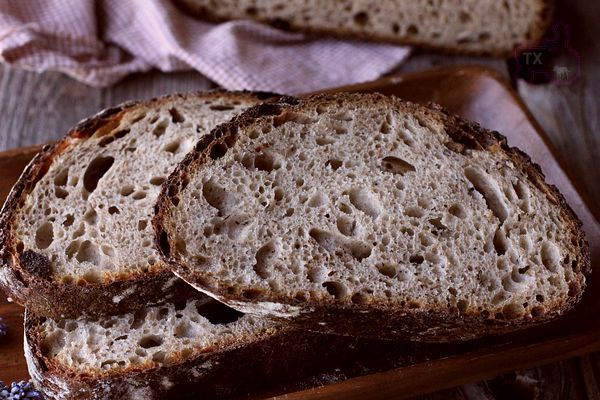
 

The thing to remember about Kamut is that it has a pretty good protein percent but it is very extensible and not very elastic.  The protein gluten isn’t the kind one would normally pick for bread that wasn’t going to be panned up when over 80% hydration like this one at 87.5%.   This dough was slack but it didn’t stick to the basket this time.

 We expected it to spread after it was un-molded due to the grain used and the sprouts too.  but it did try to puff itself up some in the heat of the oven and did bloom a bit.  The crust came out that beautiful orange tinged color that a durum derivative grain is so famous for.  It came out of the oven crispy but it went soft as it cooled.

 The yellow crumb also associated with durum was the other striking feature.  The crumb was open for 100% whole grain bread. It was soft and very moist due to the sprouts.  The best part was the taste though.  Nothing tastes as sweet as Kamut and the sprouts made is taste like it has a bit of sweet cornbread in it – maybe that was the color affecting my tongueJ

 This is one fine bread and if you want it to look like a majestic tall loaf, just pan it up instead but….you will miss the higher percent of tasty crust with a boule.


Whole KamutSD Levain

Build 1

Build 2

 Build 3

Total

%

9 Week Retarded Rye Starter

6

0

0

6

1.39%

85% Extraction Kamut

0

0

24

24

5.57%

15% Extraction Kamut

6

12

0

18

4.18%

Water

6

12

0

18

4.18%

Total

18

24

24

66

15.31%


Levain Totals


%


Flour

45

10.44%


Water

21

4.87%


Levain Hydration

46.67%


Levain % of Total Flour

10.44%


Dough Flour


%


85% Extraction Kamut

326

75.64%


100% Whole Sprouted Kamut

60

13.92%


Total Dough Flour

386

89.56%


Salt

8

1.86%


Water

332

77.03%


Dough Hydration

86.01%


Total Flour w/ Starter

431


Liquid w/ Starter

353


Hydration with Starter

87.47%


Total Weight

816


% Whole Kamut

100.00%


% Whole Sprouted Kamut

13.92%


liv2learn's picture
liv2learn

Heathy and Organic Homemade Flour Tortilla Wrap Recipe

Truly The Best Ever ~ Homemade and Healthy Flour Tortilla and Wrap Recipe 

I am happy to share this recipe with you here at The Fresh Loaf.  It is Nutiva's wonderful product that helped me make these awesome wraps.  I am happy to share them and hope you will give them a go.  Please let me know if you do and share your thoughts.  They are super easy, neat and delicious as well.  Best of all they are free of any unnecessary or harmful ingredients.  I included a video for a step by step tutorial by Chef John, as our method is exactly the same, only I have changed the ingredients.  That should make it easier still.  Simple is the key to everything.  Thank you for looking and here it is:

The Grateful Loaf's ~ Original Homemade and Healthy Flour Tortilla Wrap Recipe

Ingredients:
  • 1 3/4 cup all-purpose flour ( King Arthur - Organic )
  • 1/2 tsp Sea Salt
  • 1/4 tsp baking powder ( Rumford )
  • 1/4 cup Nutiva Organic Virgin Coconut Oil
  • 1/2 - 3/4 c very warm (not boiling) use spring or pure bottled water
The Method:

Mix the Tortilla Dough

Add flour, salt and BP into a bowl.  Then add the Coconut Oil and cut in with a pastry cutter - Work that shortening in until you can’t see any large lumps. After the shortening is worked in a little bit, add 1/2 cup and no more than 3/4 of a cup of very warm water, not boiling.

With a spatula going to mix that together until it comes together as a loose dough, then I'm going to switch to my fingers, and transfer it to my cutting board. I'm going to knead it for about 3 to 5 minutes, and it's going to form a fairly stiff, yet easy to work with dough. Just like that.

Allow the Tortillas to Rise

Put it back in the mixing bowl, cover, and let it rest for 15 minutes. When we are ready to make tortillas, pull off little pieces of dough - this batch will make about 8, so I divided my dough into 8 little balls.

Roll Out Each Tortilla

You want to shape it into a nice smooth ball. I like to push it through my hand like this, and then pinch the bottom. On to the cutting board it goes. We're going to roll it out to about 6-7 inches wide, and nice and thin - well, not too thin. You should not need much flour since the shortening in the dough will keep it from sticking to the work surface. It really is a delightful dough to work with.

Heat the Tortillas

You want a hot, dry pan (over med-high heat). Non-stick, regular pan, or even a cast iron pan which is actually the best. Throw it in the preheated pan for one minute on the first side. You'll see little bubbles form. Flip it over and cook another minute - you'll see it puff up a little bit probably. Use tong's.  Flip it over one last time for about another minute - you're going to see those little brown blisters, which are the signature of homemade tortillas.

There's where you can adjust the pan, if those are getting too dark, turn down the heat a little, and if they are too light, turn it up. There's where is can really start to inflate, which is very cool. So after about a minute on the last side they are done, and throw it on a plate.

Serve the Tortillas

That batch will make about 8 to 10 amazingly delicious tortillas. Soft, supple, delicious - they are just waiting to be wrapped around whatever great ingredients you want or just butter and enjoy :) I really hope you give these a try. They are a lot of fun. Enjoy!

The recipe has been a dream come true for us and I hope for you too.    

Enjoy!  And thank you for giving them a try.  I am looking forward to your feedback.

+++++

I give Chef John's kudos' for the video tutorial.  He make it easy as well and fun.  I have not made my own video as yet.  
I can not tell you how much research I have done on lards, shortenings and many hundreds of recipes.  I am confident this recipe makes the best and more importantly, the healthiest flour tortilla warp there is. 

Chef John's video:  Homemade Flour Tortillas

http://video.about.com/mexicanfood/Homemade-Flour-Tortillas.htm#vdTrn

:) The Grateful Loaf Homemade Flour Tortilla Wraps :)


Wheat Rules's picture
Wheat Rules

100% Whole Wheat loaves with Tangzhong method

Crumb shot


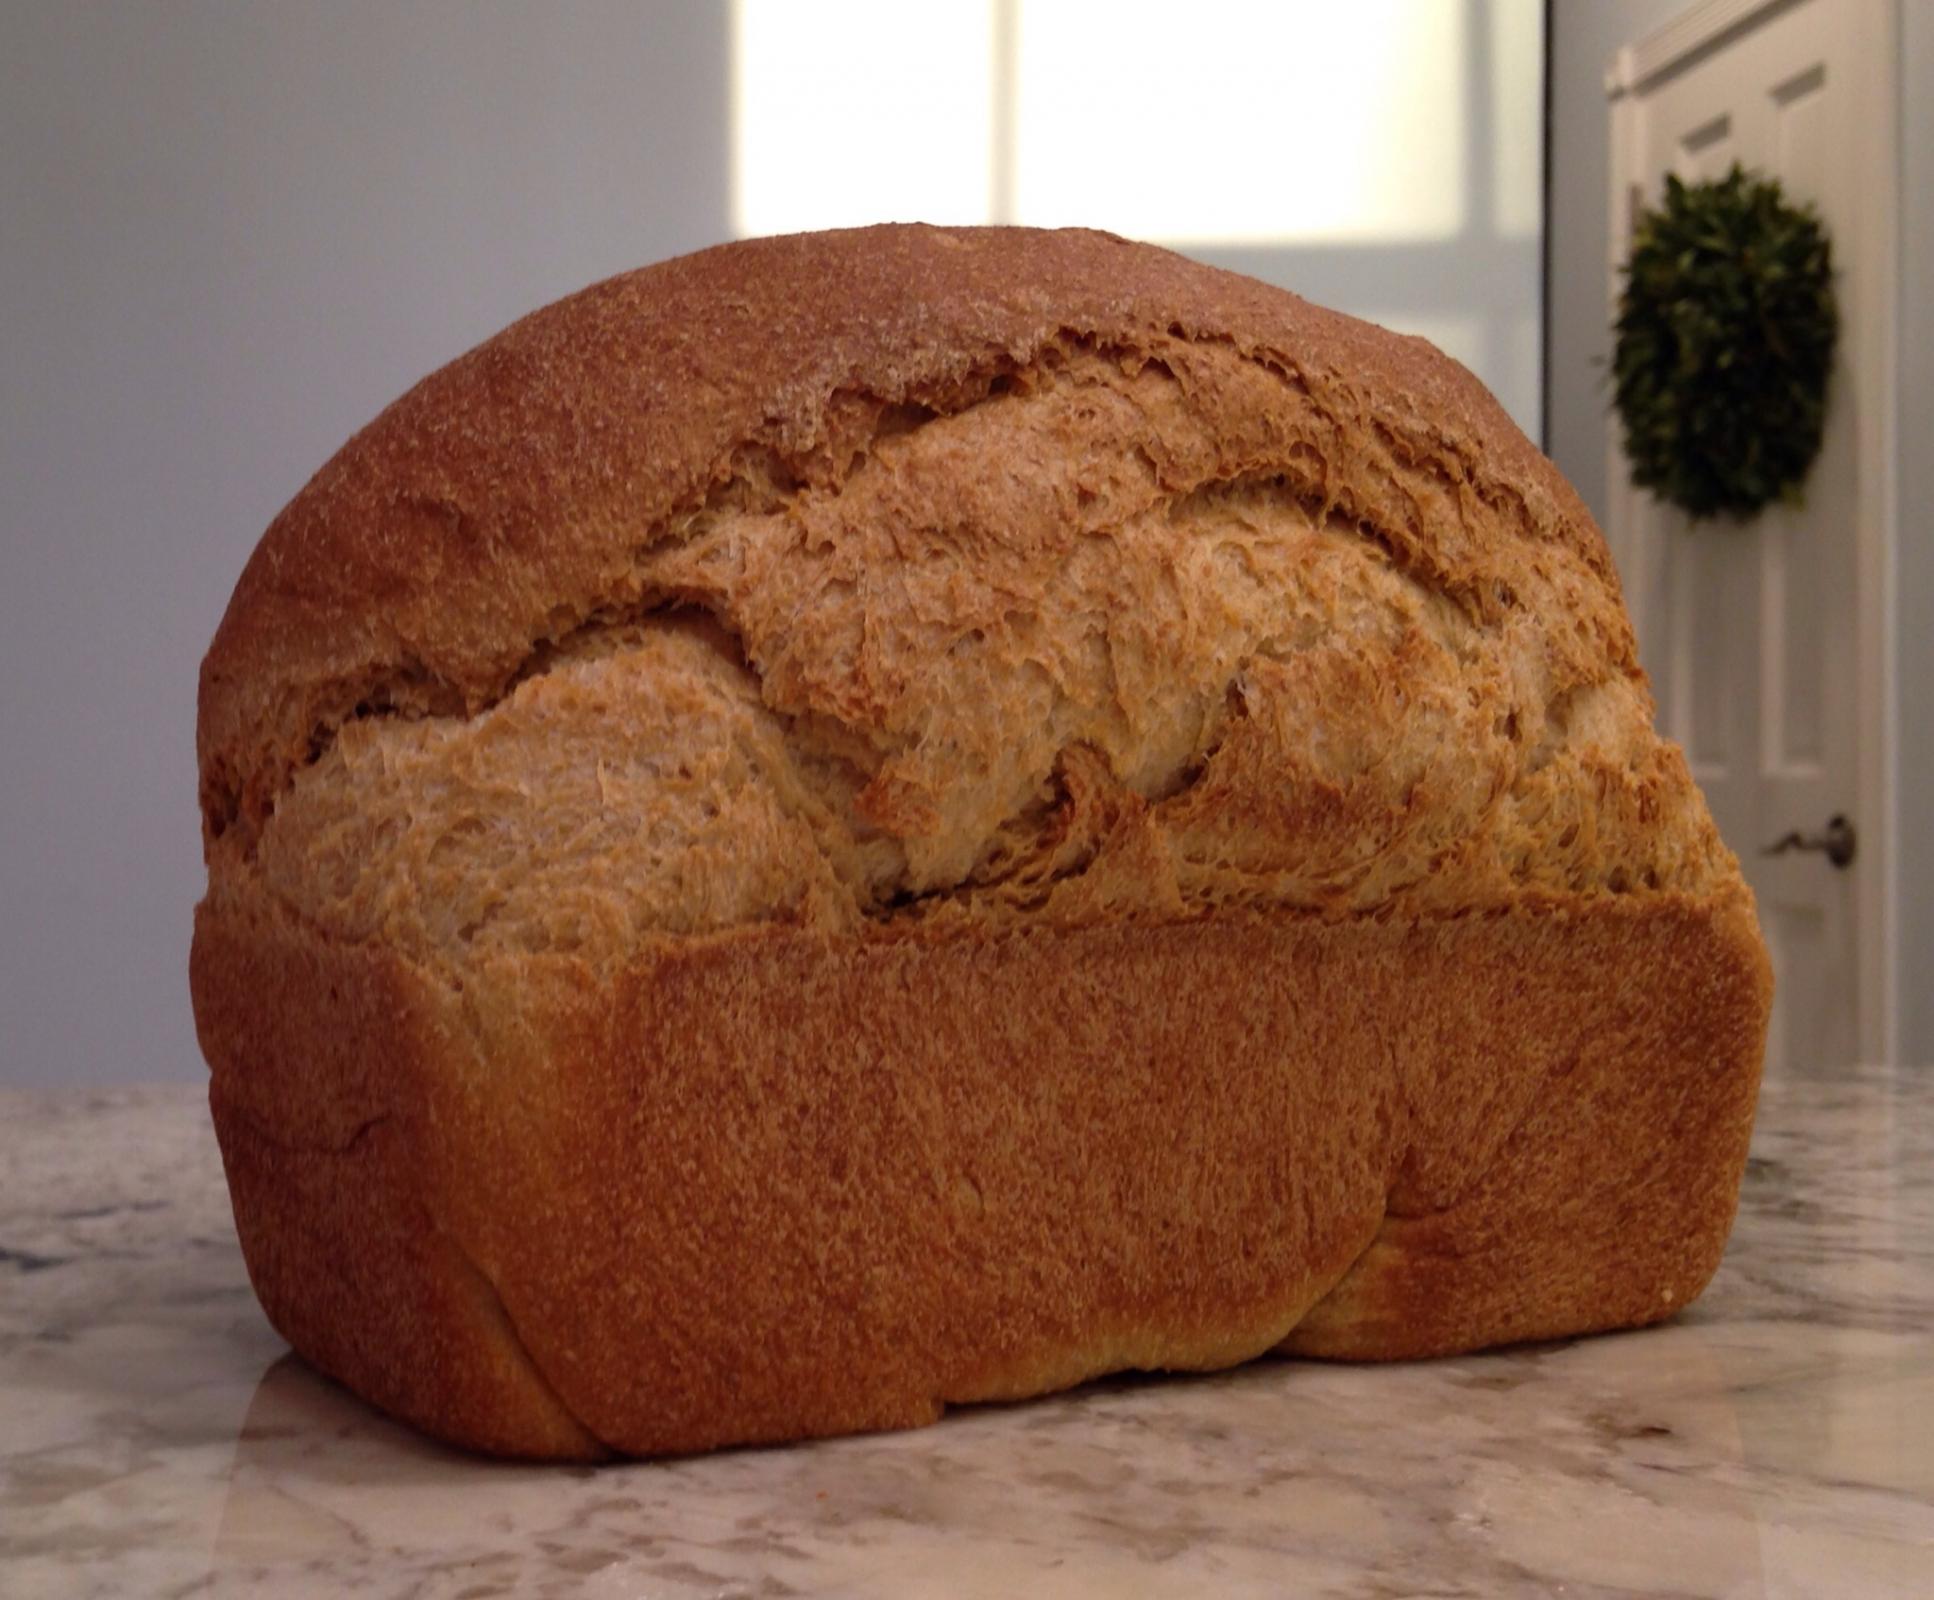
Long time lurker...first time poster here.  After reading about the Tanzghong method here on Fresh Loaf I decided to try it with the whole wheat bread that I have been making for 18 years. I mill Prairie Gold and use a Bosch Universal to knead the bread, and the results were incredible! The tangzhong produces the softest crumb  ever, and the bread remains moist for at least 3 days. Great oven spring as well. 


aguats's picture
aguats

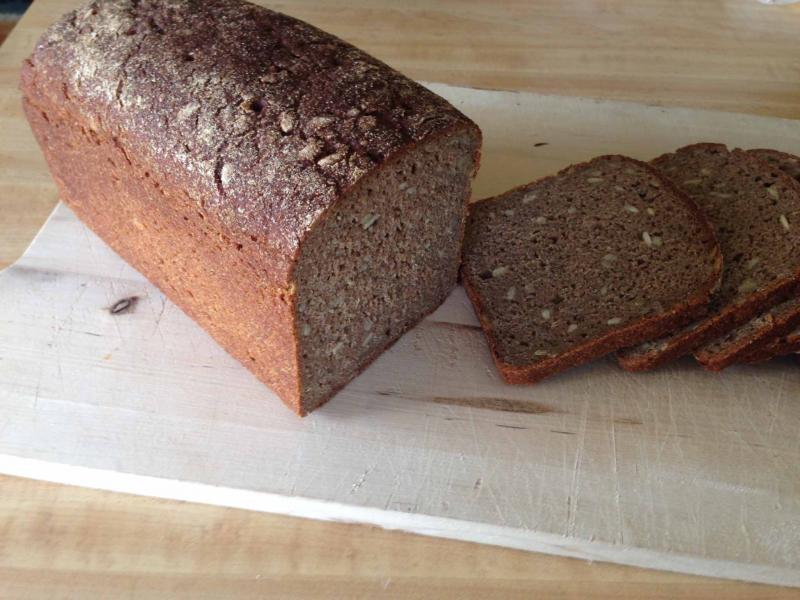
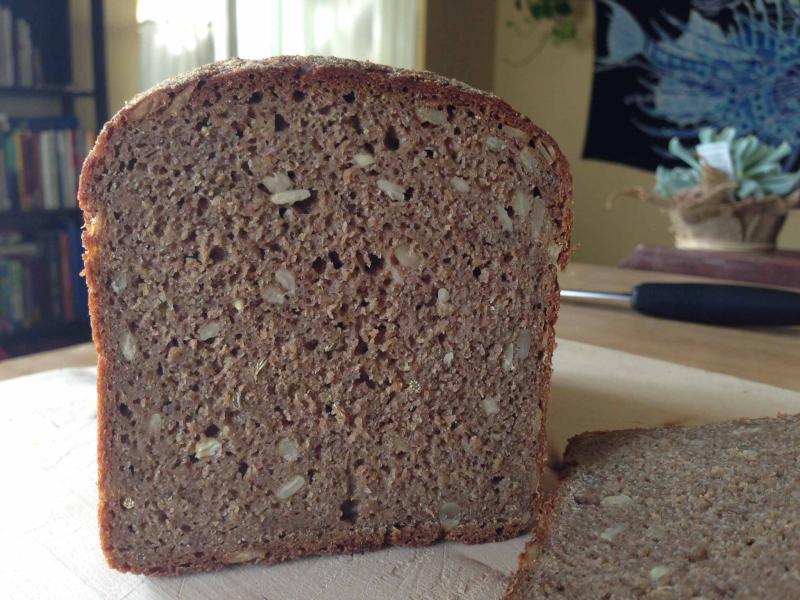
Roggensauerteigbrot: 100% Rye Sourdough

We tend to eat a lot of rye in my household, and this is just about our daily bread: a 100% rye sourdough with bread spices.

First, a note on spices. I know American bakers tend not to use bread spices, and when they do, it's often in the form of a caraway-laden rye bread. I prefer my rye with a mix of fennel, caraway, anise, and maybe coriander, and it's usually ground with a coffee grinder so as to blend subtly and not overpower the delicious rye flavor. In this particular loaf, I didn't grind the spices but incorporated them whole. I especially love the taste of the whole fennel seeds. I typically leave other seeds out of my 100% ryes, but in this loaf I added some soaked sunflower seeds.

This loaf is made at 85% hydration with freshly milled whole rye flour. I find the result to be just what we want most days--a filling, moist rye bread that's just perfect with butter alone, or with meats, cheeses, or honey.

Franko's picture
Franko

Local Flours

Currently on vacation for two weeks and not travelling anywhere too far from home, I have the luxury to bake and post the results sooner than I've managed to over the last 6 months. The Czech type Rye bread that was shown in my last post was the most recent loaf made and it disappeared, ahem, rather quickly. It was such a nice bread I almost made a second loaf of it but decided to conserve the remaining bit of the Czech rye flour for other projects. It's been an interesting, and very satisfying experience over the last two bread bakes using the Gilchester's flour from the UK that Andy shared with me and the Czech rye I found in Prague, but now it was time to use some of the flours from my own country. 

The formula I put together uses organic whole grain Red Fife milled at True Grain Bakery here on Vancouver Island, along with One Degree Organics Sprouted Spelt Flour and Anita's Organic AP flour. The whole grain RF and the spelt account for just slightly over 51% of total flour in the formula giving the finished loaf a wonderfully robust and complex flavour profile highlighted by the slightly spicy character of the Red Fife and the toasty, nut-like contribution of the spelt, all complimented by the tang of a 16 hour sour leaven. The crust has a good crunch to it, offering notes of caramel to the overall flavour of the bread as well. The flours were given a three hour autolyse before the final mix which resulted in a remarkably soft, moist, and open crumb compared to similar type mixes I've made in the past. Somehow I don't think this loaf will have the opportunity to go stale and more likely it will disappear as quickly as the previous loaf did.

 Formula and procedure below.

Cheers,

Franko

51% Whole Wheat & Spelt Sourdough%Kilos/Grams
Ingredients  
   
Leaven  
Bread Flour65.00%60
Whole Wheat Flour-Red Fife35.00%32
Mature Rye Starter- 100%8.00%7
Water110.00%101
Total weight218.00%200
ripen for 15-18 hours at 74-76F  
   
Final Dough 1000
Organic AP Flour45.0%214
Whole Wheat Flour-Red Fife31.0%148
Sprouted Whole Spelt Flour24.0%114
Leaven42.0%200
Barley Syrup-non diastatic1.6%8
Sea Salt2.5%12
Water64.0%305
Total weight210.1%1000
DDT-76-78F Bulk Ferment-1.5-2.0 hours  
   
Overall Formula Kilos/Grams
Total Flour100.00%571
AP Flour- Anita's Organics47.92%274
Sprouted Whole Spelt Flour-One Degree Organics19.99%114
Whole Wheat Flour-Red Fife- True Grain31.44%180
Dark rye Flour0.64%4
Barley Syrup-non diastatic1.33%8
Sea Salt2.08%12
Water71.61%409
Total weight/yield175.03%1000
Total Pre-fermented Flour16.69%95


  • Mix leaven ingredients and ripen for 15 to 18 hours at 76-78F

  • Add all of the water indicated in the final mix to all of the flours and autolyse for 3 hours. Add more water if needed to ensure there are no dry parts in the dough.

  • Final Mix: Add the barley syrup and leaven to the dough and mix till thoroughly combined then add the salt and continue mixing until the dough is smooth and cohesive. Five minutes on 2nd or 3rd speed depending on your mixer, or by hand for 8-9 minutes. Using the slap and fold technique is recommended. Test for a windowpane to ensure sufficient development before putting the dough into bulk ferment.

  • Bulk ferment for 90- 120 minutes at 78F giving the dough two stretch and folds at 30 and 60 minutes. Give the dough a third S&F if needed at 90 minutes.

  • When bulk ferment is complete, round the dough lightly and rest it for 15 minutes before final shaping.

  • Shape as desired and put the dough for a final rise of 60 -90 minutes. The spelt content makes this dough a fast riser and it should be monitored closely after 45 minutes.

  • Preheat oven and stone to 485F for 45-60 minutes.

  • Proof the dough to 10% less than double the original size. Have your steam system in place in the oven. Slash as desired and slide the dough on to the baking stone.

  • Reduce the oven temperature to 465F and bake for 10 minutes, then remove the steam system and allow the oven to vent. Continue baking for 25-30 minutes, rotating the loaf for even colouring and reducing the oven temperature if necessary for a well coloured loaf. Bake to an internal temperature of 210 F.

  • Remove the loaf to a rack to cool for an hour before wrapping it in cloth. Allow to cool completely before slicing, 5 hours or more.

evonlim's picture
evonlim

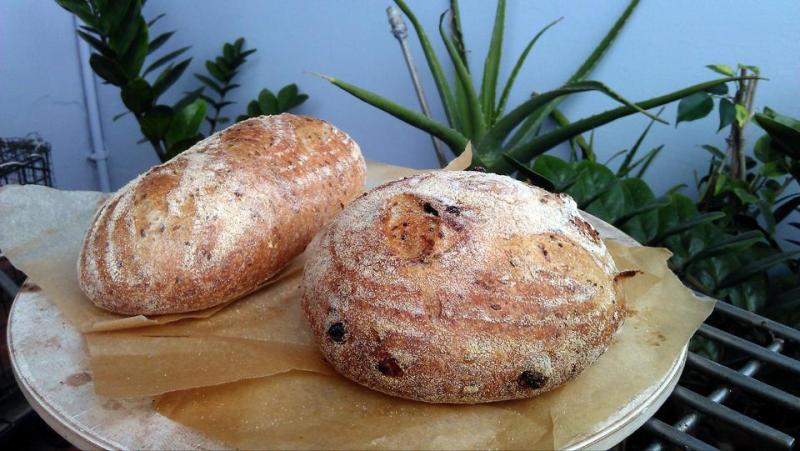
Sprouted Rye sourdough with toasted flax seeds

sprouting has been a routine now, since i don't have a flour miller. this is a good thing. been eating rye sprouts as rice with seared salmon and mushrooms even in my 5 eggs pecorino omelette. blend it in my protein drinks!! 

this is another way i used up the rye sprouts. baking SD bread.

a very simple formula.. 

300g starter

700g water (hold back 50g)

850g AP flour

200g sprouted rye flour (wet)

15g salt

add in

50g toasted flaxseed soaked in 50g water

basic SD bread method used. retarded overnight.

the number 10 ! 

made one with raisin and one without

this time i baked only till golden brown not dark brown.


crumb shot with raisin


enjoy... simple but satisfying :)

evon

txfarmer's picture
txfarmer

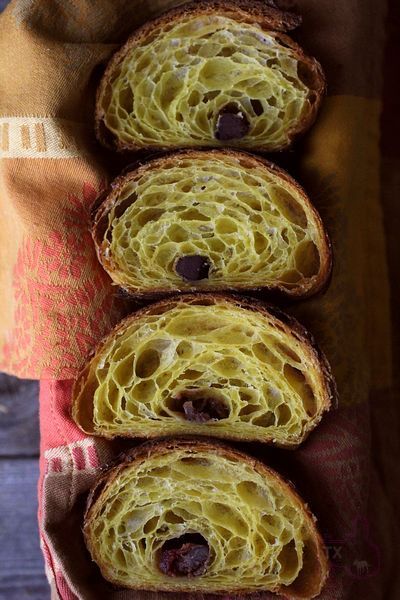
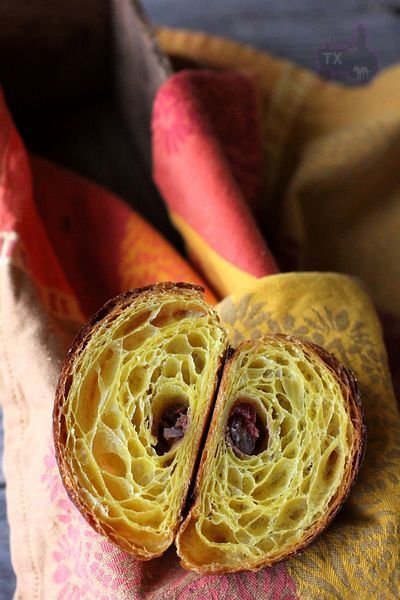
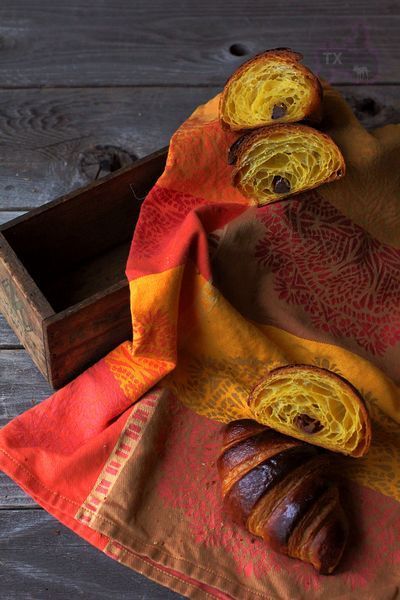
Pumpkin Croissant - with two kinds of fillings

Sending this toYeastspotting.
Click here for my blog index.

Holiday season is pumpkin season. Pumpkin in dishes, in pies, in cakes, in breads, and in croissants!

Pumpkin Croissant with Sourdough Starter
Note: for details and tips on making croissants, please see this post & this post.
Note: this recipe makes about 12 large danishes.

-levain
starter (100%), 35g
water, 59g
bread flour, 105g

1. mix and leave at room temp for 12 hours.

-final dough
bread flour, 422g
sugar, 68g
salt, 10g
instant yeast, 7g
butter, 21g, softened
pumpkin puree, 200g
water, 120g
levain, all
roll-in butter, 287g

1. Mix everything but the rolling butter, knead until medium gluten developement. Then follow the steps here.

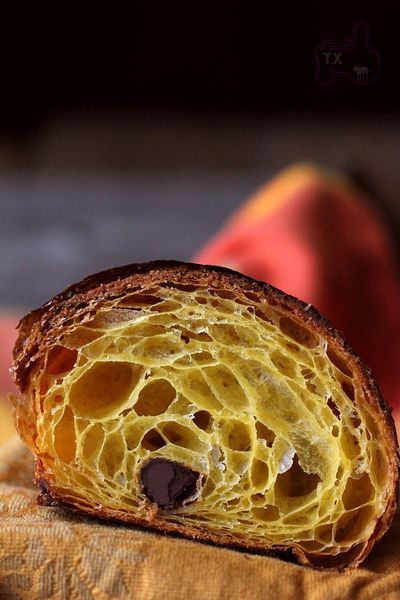
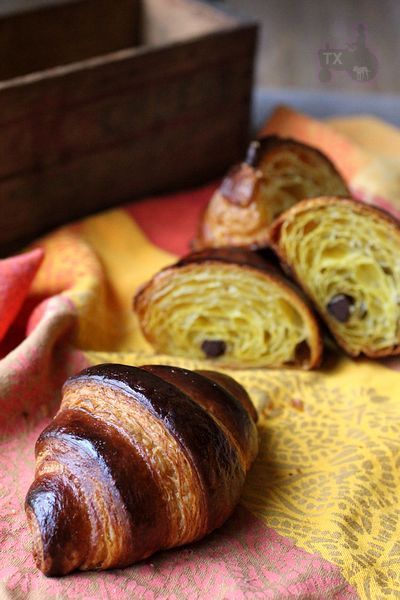
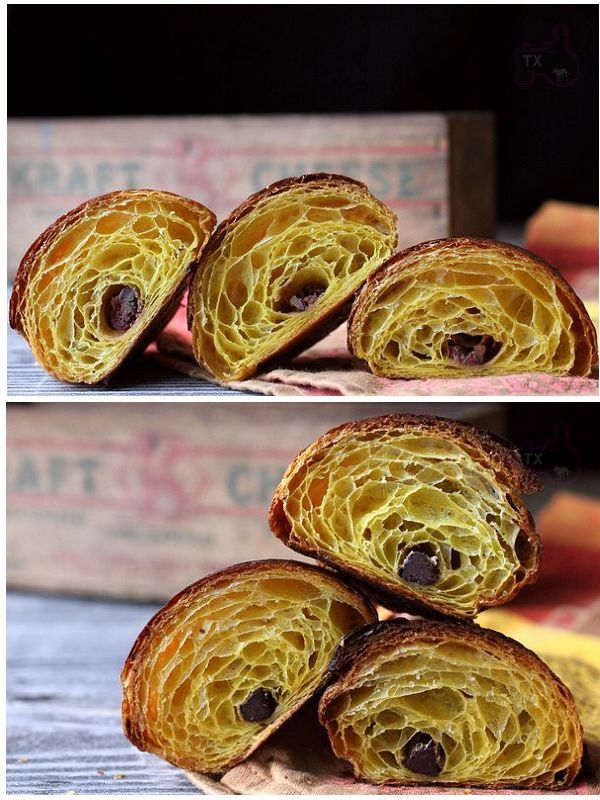
Tried out two fillings. The ones at bottom were filled with dark chocolate, a safe bet that never disappoints; the top ones had a caramelized cranberry walnut filling, how very seasonal! Chocolate ones were easier to roll than the soft/mushy cranberry filling, that's why the bottom ones had more turns and appeared to be fuller/taller.

Both had pretty open crumb though. Love the golden hue.

Makes great holiday gifts

txfarmer's picture
txfarmer

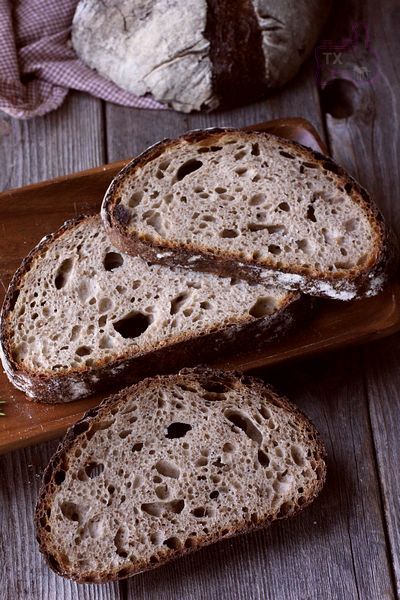
Rye Spelt Sourdough - with rye flakes

Sending this toYeastspotting.
Click here for my blog index.

This formula was inspired from a bread in "Bread", however, it's been modified a lot. It's a whole grain heavy loaf with 25% rye flour (all in levain), 25% spelt flour, and 14% rye flakes. The rye flakes were recently "re-discovered" from bottom of the bin, after being soaked in hot water overnight, they added significant moisture to the crumb. Since the levain ratio was much higher than I usually do (25% of flour in levain, comparing to my usual ~15%) and my rye starter is ultra active to start with, bulk rise and proofing were much faster than I expected. I made it a couple times to arrive at the optimal hydration level and fermentation schedule. 

- Levain
rye starter (100% hydration), 6g
water, 94g
rye flour, 113g

mix and rise at room temp for 12 hours.

- Soaker
rye flakes, 65g
boiling water, 130g

mix and soak with cover for 12 hours

- Dough
bread flour, 227g
spelt flour, 113g
water, 170g
salt, 8g
levain, all
soaker, all

2. Mix everything together, autolyse for 20 to 30min,mix @ medium speed for 3-4 min until gluten starts to develope.
3. Bulk rise at room temp (~75F) for about 2.5hrs. S&F at 30, 60, 90, 120min.
4. Shape, put in basketes smooth side down, proof for about 1 hour at room temp (the kitchen got pretty warm, about 80F). Score.
5. Bake @ 450F for 15 min with steam, then @430F for 35min. Turn off oven and leave loaf inside for 10-20min with the oven door cracked open.

I tend to like a very bold bake, with cracking crust and nice ears

It's fairly tricky to adjust hydration for whole grain heavy loaves. Too much, the relatively weak dough won't hold shape, and crumb would be too wet and sticky; too little it would be dry and crumbly. Took a few tries, but worked out great for this one. Crumb is fairly open for such formulas.

Rye and spelt make a great flavor combo.

Pages