The Fresh Loaf

A Community of Amateur Bakers and Artisan Bread Enthusiasts.

trailrunner's blog

trailrunner's picture
trailrunner

I have been making Susan's, Wild Yeast Blog,  100% sourdough bagels for a couple months now...every 2 weeks. They have been perfect every batch. That is not something I can usually say about formulas . I have been stressing my KA and doubling the batch...the motor juuuust manages to do what needs to be done. I give a minute or so by hand on the counter top. The lovely thing about the 100% sourdough is that you needn't do the float test and there is never a worry about the " wrinkled " finish to which many yeast raised bagels succumb. There are pics from the fridge retard to finished crumb.  I also make her " Norwich - more sourdough" and have had a perfect result each week.

I keep my starters in the fridge. I refresh them with feedings  every 1-2 weeks depending, at q4 h x 3 and then use them. They are about 3 yrs old. I don't know what hydration I just keep them at a consistency that is very sticky  to stir. I feed my white starter with rye periodically as they grow more strongly. I feed the rye with white to lighten it occasionally. Very laissez-faire . 

I bake only in cast iron pots. The loaves are each  1000g pre bake. I spritz lightly with water as I place the loaves in the pots. I bake covered 15 min and then uncovered for 20 min. The crust sings and stays crisp . When thawed uncovered on the counter the crust is as crisp as it was post bake. 

You will note  the parchment paper has been torn after I turn the loaves out onto it. I make a " sling" out of the parchment and it makes it very easy to lower the loaves into the hot pots. Have had no problems at all in the years I have been doing this. Having the paper torn prebake allows perfect browning. Enough details...here are the pics. c

bagels going into fridge to retard after 4 hr room temp rise: ready to boil after overnight retard: boiling: boiled: baked: closeup baked: lovely chewy crumb: bread after retard ( I do not rise at room temp at all...all rise takes place in fridge) turned out on parchment and paper torn to shape: slashed and ready for hot pot: 15 min into bake and notice slashes have opened:


a finished loaf: cooled and ready to cut and serve with local Lexington VA wild flower honey from our last visit to the town : crumb: Lovely slightly sour flavor , chewy crumb and very crusty exterior. Remains crusty even with freezing. Sour develops for days and the loaf evolves nicely. c

trailrunner's picture
trailrunner

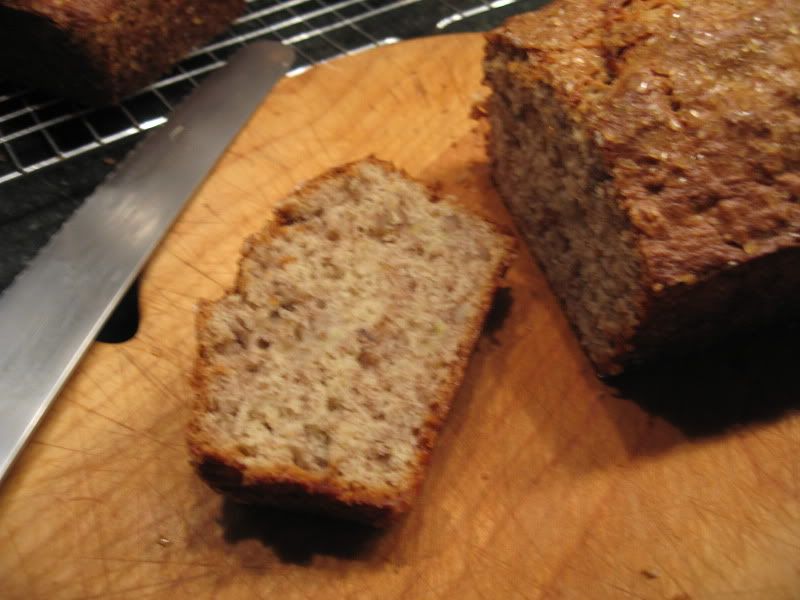
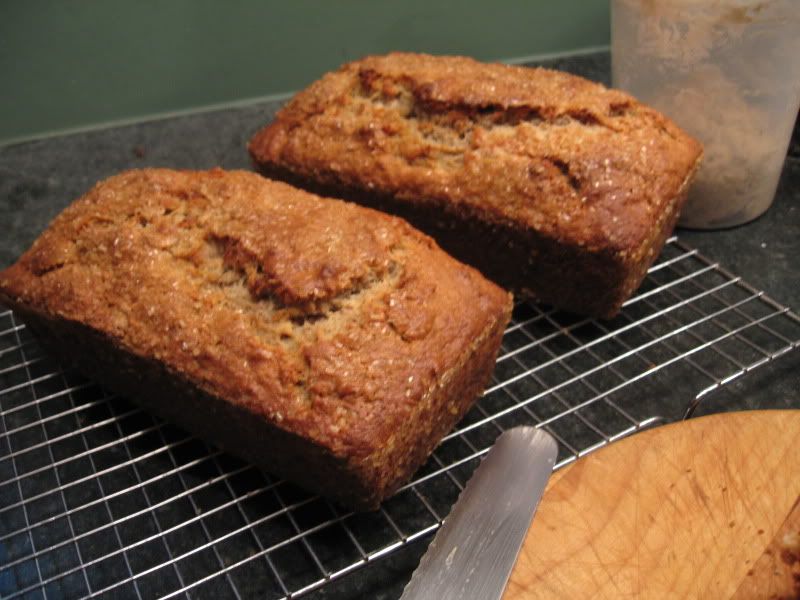
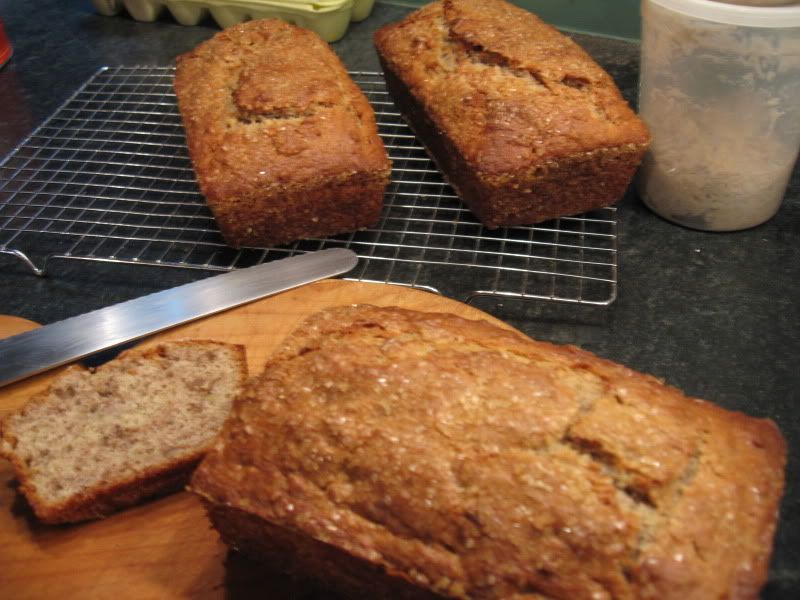
Alto and sax , my white and rye starters, were outgrowing their containers since I have been feeding and not discarding . I did this on purpose as I need the discard for lots of other goodies. Here is the best yet. I have made this particular banana bread several times but this time I did a couple different things and it paid off.

First I fed both starters 2 x to get them really going...I store them in the fridge so they needed perking up. I also coated the 8" x 4" bread pans with PAM and then a heavy coating of raw sugar, also dusted the tops before baking. Wow...the loaves are so light and tasty and the coating just simply makes them melt in your mouth.  I also converted the recipe to grams so that consistency could be achieved for those of you that are not used to cup measures. I am recording the doubled amounts that I used...you can halve it if you need to. This makes 3 loaves of 8x4 bread pans. 

2/3 c. butter softened ( 150 g)

2 c white sugar ( 400 g)

2 lrg eggs ( approx 100g)

4 c unsifted AP flour ( 500 g) 

2 tsp baking powder ( 10 g ) 

1 tsp baking soda ( 5 g)

2 tsp salt ( 10 g)

2 c mashed very ripe bananas ( 450 g) I keep them in the freezer till I have enough

2 c sourdough starter freshly fed ( 450 g) I have mine at 75%-100 % hydration and I used 1 cup each rye and white starters . 

1 1 /2  c chopped pecans or your favorite nut ( 200g) 

1 tsp vanilla ( 5 g)

finely zested peel from one orange 

Cream butter and sugar until light and creamy, I use my KA on 1 and then up to 3 to get it very light. Add eggs and cont. till well mixed and light. Add vanilla and orange zest and mix lightly. 

Combine the bananas and starter(s) and beat lightly. Add to above on "1" just till mixed. Combine all dry ingredients and fold into above batter by hand. Fold in chopped nuts. Have your oven set at 350. Coat pans as described above and divide batter in 3 pans. Press extra sugar on top of loaves. Place in center of oven and bake for 55 min. till knife comes clean when inserted in center of loaf. 

Let loaves cool in pans for 10 min and then finish cooling on racks...that is if you can wait...we couldn't ! The bread is so tender and light and flavorful. The riper the bananas are the better. Also store them in the freezer in their skins for full flavor and then thaw and squeeze them into the measuring cup. 
Photobucket Photobucket Photobucket

trailrunner's picture
trailrunner

I have never made this before. I looked up a number of different recipes and then made up my own. I used my old standby of a buttermilk crust. I doubled the crust recipe .  I sauteed 7 sliced Gala apples till tender and added cinnamon and sugar and flour and a pinch of salt. I rolled out the crust and piled on the apples and baked till golden and juicy. I was wonderful with vanilla Blue Bell ice cream. We have it here in the South I don't think everyone can get it ...it is still sold in real half gallons. 


 Single Crust recipe:

1 c AP flour and cut in 5 TB chilled unsalted butter and 1/4 tsp kosher salt till large crumbs. I use my Cusinart.  Place in freezer till ready to use. Remove from freezer and toss with chilled buttermilk till holds together. Roll out on floured counter w/ floured pin. Brush crust with beaten egg white and pile on apples leaving a 2 inch border. Turn up and pleat edges of crust. Brush w/ remaining egg white and sprinkle with Turbinado sugar. Bake at 375 till brown and juicy...about 40 minutes. I used a piece of parchment paper on a cookie sheet and it worked great . 

Photobucket

trailrunner's picture
trailrunner

We are having an early Thanksgiving due to one of our son's being in town this weekend . He can't get back from San Diego for the :" real deal" so we are doing our celebration early. Our daughter is delivering him from the Atlanta airport tonight. Our family has been enjoying this Challah since the mid 70's. We have it almost every week. The positive and negative of all the wild yeast baking is that I have not baked " my Challah" as often as in the past decades. Well this weekend it was a special request...Momma you HAVE to bake it. So here it is. 

In the background is my hometown...New Orleans. I have pics all over my kitchen to inspire my cooking and baking mojo.  

Photobucket Photobucket Here is the revised recipe. I have added the auto lyse the past few months and like the way it helps the flour relax and absorb. As to cups/spoons...bear with an old dog...this works just fine...feel the dough and go with it. c

This is a double recipe. So you can halve it if you like; 13 c unbleached bread flour 3 1/2 c warm water 1/2 c sugar 1/2 c softened butter or margarine 6 large eggs ( have a 7th yolk only for glazing set aside) 3 tsp Kosher salt or 4 tsp table salt 9 tsp instant dry yeast ( not rapid rise...you can also sub active dry yeast) this = 4 pkgs./ envelopes Place 13 c of flour into a large bowl . I have 13 qt metal bowls for this purpose. In a large cup measure or bowl place warm 100 degree water and add all of yeast and a large pinch of the sugar. When yeast foams add the rest of sugar, salt, soft butter/margarine, eggs. Beat with a whisk. Pour over all the flour and gently fold all the flour and liquids together just till barely moist. Cover with a towel and leave to autolyse for 30 min. Lightly dust counter top with flour and place dough on top. Knead till soft and pliable ...about 10-12 minutes. May add very light sprinkles of flour to prevent sticking. The dough should hold together and not be dry or wet . Place back in large clean and oiled bowl. Cover with towel or plastic and let rise till double...about 1 or 1 1/2 hrs. Remove from bowl and using a scale divide into 4 large loaves or 6 med. Then make 3 more balls from each of these for braiding. Place shapes loaves on Pam sprayed baking sheets and cover and let rise 1 hr. Do not let it over proof. Preheat oven on convection bake at 350. Take reserved yolk and blend in a Tbsp or so of 1/2 and 1/2. Brush generously over the loaves and then dust with sesame seeds or poppy seeds. Even if you don't use seeds make sure and glaze the loaves. The keeping quality as well as the fragrance and crust are worth the extra effort. Bake for 30 minutes. Internal temp with digital thermometer is approx 190-200. Cool and enjoy. c

trailrunner's picture
trailrunner

I have posted my cast iron bakes quite a few times over the past years . Seeing the new-found interest in Tartine and the cast iron bake I thought I would post my bake today to illustrate how well the "usual" sourdough responds.


This formula yields a very full flavored bread with a finish aroma that is rich and full of grain. The crumb is very tender and the crust is quite crisp. I love the caramel taste that a bold bake yields and this formula gives it back 100 fold. The bread has great keeping qualities...that is if no one is home  ! It goes very well with an aged cheese and a ripe pear, I just tried that combo a minute ago. It also makes wonderful toast. It has become my every week bake for a month or so. This particular batch retarded for 2 days , due to life intervening. It didn't make a huge difference in the sour but did increase the fullness of the flavor I think . Don't hesitate to retard an extra day or so. 

I use the word usual but David's breads are anything but as you know if you have tried his formulas. I have a very old cast iron covered pot that was my mother-in-law's and I have a Le Creuset . The pots are different sizes but the dough doesn't mind at all. The pots are preheated at 500 degrees for 30 minutes. They are sitting on my stone as they preheat. I remove them from the oven and uncover them, lower the risen loaves into the pots using parchment paper . I mist lightly with water and then place the lids back on the pots. I  place both pots back into the oven and lower the temp to 460. I bake for 20 min. covered and then remove the lids and bake 15 more minutes. I like a bold bake , you will note the caramelization. I have never had the bread burn or had any variation in the finish temp. I bake to 213 degrees or so and both pots give me identical loaves as far as shape/color/flavor/finish temp. etc. Here are some pics to illustrate. 

rising: Photobucket slashed: Photobucket in the cast iron pot: Photobucket Le Creuset pot: Photobucket finished product: Photobucket crumb: Photobucket

trailrunner's picture
trailrunner

I am sorry for being so slow.  All  posted in the original thread on the SJ bread. I tried to answer all the great comments and questions. If there is something else please do ask. I love sharing and receiving on this board. c

trailrunner's picture
trailrunner

David had posted a new improved version of his famous SJ. sourdough. I had told him I would give it a try and post the results...it is amazing. That is the only word for it. I used my rye starter as a substitute for the levain build. It was so lively and I wanted to see how it would work. WOW is all I can say. I doubled the formula for 2 loaves. It filled the 5qt bucket overnight in the fridge. I then removed it and shaped in lined baskets for one hour. I preheated my cast iron for 30 min at 500. I then turned out the loaves and slashed and soaked them with my spray bottle...there were puddles in the slashes. In the oven covered at 460, lowered the temp, for 20 min. and then 18 min w/o lids. Here are the pics. Crumb to follow when it cools. 

formula: 150 gm levain--used my starter that was fed in the AM dough: 450g AP flour 50 g rye 360 g water 10 g salt 150g - all of levain mix- autolyse 60 min. 30 s and f's in the bowl x 3 and then 2 s and f's on the bench at 45 min intervals. retard 21 hr. Remove and shape and rise 1 hr. Preheat oven 500. Preheat pots for 30 min. Follow procedure listed above. 5qt bucket of dough after 21 hr retard: Photobucket 1hr rise: Photobucket slashed: Photobucket finished loaves: Photobucket another view: Photobucket

crumb shots: ( I love the texture ! ) Photobucket Photobucket Photobucket Photobucket

trailrunner's picture
trailrunner

I had to get rid of starters and Larry's post the other day was the inspiration I KNOW he meant it to be :) I had enough bubbly weekold starter and I added that to his measurements. I added a couple more splashes of water as my KA mixed since it seemed dry and I wanted it to really slap the bowl. All went perfectly. I used my Grandmother's old blue granite roaster to bake. I have another really large one also. I have not tried this but saw the post by another TFL member and decided to give it a shot. Perfect. HUGE oven spring. I preheated my stone at 500 and then placed the covered pot on the hot stone  for a few minutes . It gets hot quickly. I sprayed the loaf heavily with water and placed it in the pot and covered. Baked at 460...lowered temp ...for 25 min and uncovered for 15. internal temp 208. 

Photobucket We should all have such great accidents. Pics of crumb tomorrow after it cools.c

Here is the "other side of the story" LOL. My scoring failed to take into consideration the huge oven spring I would get. Photobucket Lovely fine even crumb : Photobucket closer: Photobucket

trailrunner's picture
trailrunner

What an easy wonderful bread. I went to your blog for your "original " version as I didn't have time to do the soaker. I have been impressed by breads but this one is WAY at the top. Sweet and tender and oh the crust ...it sang and sang. 

Changes I made...I am sorry but time was of the essence. I used my starter which is going " great guns" for the whole levain build . I followed everything else to the letter, well almost. I baked it in a 500 degree cast iron  pot for 30 min, with top on and then 15 min top off. Oh my...it is so pretty. I had to cut it...I'm sorry again. My dear husband had his meatballs ready and my sauce was begging for your bread. more pics of crumb to follow tomorrow. I We sat by the pool with a light rain falling...picture the candles and the sound of the rain  drops on the pool  and the fountain...and the scent of this bread. 

Photobucket Photobucket Photobucket

another crumb pic: Photobucket

trailrunner's picture
trailrunner

The request for a good Challah recipe that was not sourdough had me posting my recipe that I have used since the 70's. I haven't been making it weekly as I did for decades since I have been working with wild yeast and have been exploring artisinal breads and formulas. It felt wonderful to have my hands in the dough and to knead and develop with only 10 min. of effort. None of the 3 days that I have been spending lately with a minute or 2 here and there. Different but nice in its own way also.  Crumb later when it cools. c 

Photobucket

Pages

Subscribe to RSS - trailrunner's blog