The Fresh Loaf

A Community of Amateur Bakers and Artisan Bread Enthusiasts.

maojn's blog

maojn's picture
maojn

Steam buns are very popular breakfast in Taiwan. This can be used as 'sandwich bread' to make sandwich with scrambled egg, cucumber, mayo, ham, dried pork crisp。


There are three kinds of steam buns here: 50% freshly milled whole wheat buns, basic white buns, and black sugar buns.

- The dough was first knead until it passes windowpane test

- rest for 5 min

- knead to long rectangular shape

- fold to 1/3

- knead to long rectangular shape again

- spray some water and roll tightly into a long cylinder shape

- cut to portions, lay a piece of paper below and let ferment until 1.5x in volume

- steam for 18-20 minutes.


This mini cylinder comes handy when estimating volume change.  

maojn's picture
maojn

This is my other version of ciabatta. A very holy version.
I find it very speical and different in texture. 


Poolish KA organic bread flour 33%
water 33%
SAF GOLD instant yeast (I am out of the red one) 0.1%

Main Dough
KA organic bread flour 67%
Himalaya pink salt 2%
ice water 40%
olive oli 5.8%
SAF GOLD instant yeast 0.2%

Steps:﹕
1. poolish mix until no dry flour, about 30 second, Room Temp until full of bubbles but not collapse back yet, about 6 hours
2. Refrigerated > 12 hours
3. Mix in 80% of water and flour, yeast using mixer. Add olive oil, salt and left 20% water when a ball forms. Keep kneading until the dough show very very thin membrane when doing the windowpane test, like below. The temperature of the dough should not exceed 22C at the end of mixing. So ice water was used. The dough should not show wetness on surface now.
 

4. Room Temp rise until 2.5-3 times in volume﹐ Transfer to refrigerator for > 12 hours. The 2 containers I used are like this below, I would avoid using large area, shallow containers.
http://www.webstaurantstore.com/cambro-34cw135-clear-camwear-4-deep-one-third-size-food-pan/21434CWCL.html

5. Take dough out of refrigerator, The dough is about to the top of the container. Leave it at room temperature for 5 hours

6. Now the dough is over the edge of the container and the lids are being pushed open. Pour the dough very careful not to degas it onto a well floured surface. Try to shape the dough from under it into a rectangular shape. Each container dough I divid to 6 parts (about 10cm x 10cm each). flour them well and transfer to couche.

7. Room temp 5 hours again. (My room temp is about 20C)

8. Preheat oven to 260C for over an hour to make sure the stone temp is up enough.

9. Flip the dough right before bake, I made steam using lava stones in cast iron griddle. Drop temp to 230C, turn convection bake off. Take stones/griddle out after 10 minutes, turn convection back on, and continue bake for 12 minutes.

I tried to think of as much details as possible here. question welcomed! ^^ 

maojn's picture
maojn

This is the result of my weeks of practice making baguettes. I posted a question in the forum and thanks to everyone who provided help. I have finally nailed down the problem and have made 3 consistant good batches. Turned out my problem is not only at scoring, but also the fermentation time, my oven temp,  and steaming duing baking.

The story started at my first post and here is the quesiton I posted. 

To summarize:

- The bulk fermentation should be much longer so the volume at least 3x

- The final fermentation takes 1 hour, instead of 30 min

- My scoring was indeed too deep, should be shallower like trying to make a flip. With the combination of enough fermentation, right scoring and right temp/steam, the ears will stand up themselves!!!

- put my stone at the bottom near the heat source which is 290C, preheat at least 1 hour, lava stones in cast iron tray under it preheat together. Once the dough in, add two cups of boiling water over the lava stone and keep the temp at 290 for 5 min, then drop to 240C. Take the lava stone out after 10 min and continue 240C for 10min

I am very happy with my current baguettes. I did modified my previous recipe a little bit and use only SD without instant yeast, also did autolyse during bulk fermentation.


maojn's picture
maojn

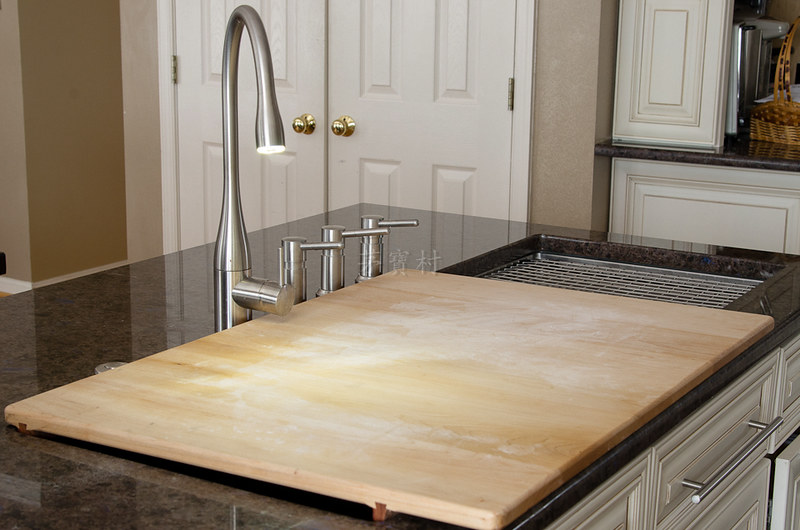
I enjoy reading here at TFL. So much information, like all experts around the world is here. I finally decide to post today because I am so excited about my new customized kneading board and have to share my happiness!  My kitchen has two commercial grade huge sinks installed. Usually I bake at the island area which has one of the sinks. However, I often feel that the space is not enough on the island b/c the sink has taken up so much. So I figured that the only thing I can do is to cover the sink area (which is >50 inches wide and 20 inches long) with a kneading board while baking and put it away when I am done. However, there is no prebuilt kneading board that can fit my needs on the market. I tried several customizing sites and their price is sky high for me. Finally, I found a site and got a great deal! The guy did a wonderful job! The material is not too heavy but super sturdy. Two lips under the board stabilized it right on top of my sink. He chose a different color for the lips which adds elegancy to the board. I can slide it to right if I need to use the faucet. The surface of the board is just right for kneading dough. Not like my granite countertop, too slippery after I dust with flour. Once I am done baking, simply scrape everything into the sink and put the board away! Heaven! This is the island area. It's double sinks with a draining area on the right which has a slight angle so water will run into sink.
Because of the bases of faucet, soap dispensers, and the button for disposer, there is only 1" of space left for the kneading board to rest.   Since someone asked about the sinks, it's this1 and this2.

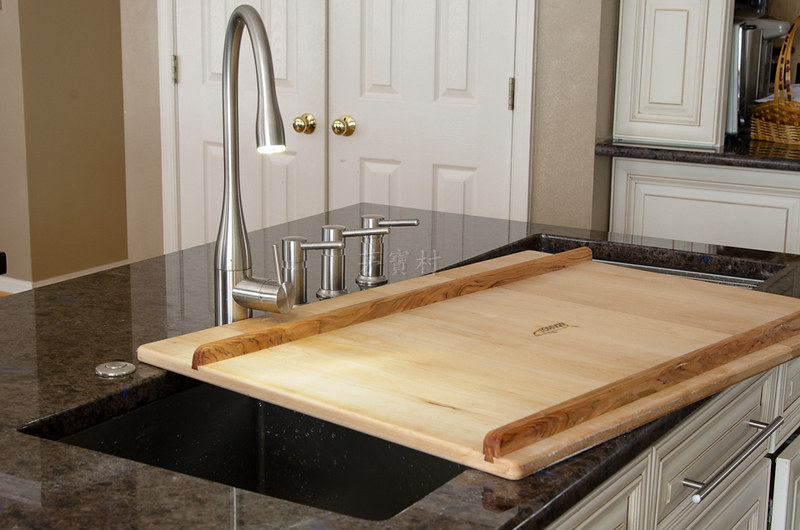
The lips of the board uses a different kind of wood which adds 'spices' to it.


I can put the board on the left of the sink.

Or to the right if I need to use the faucet.


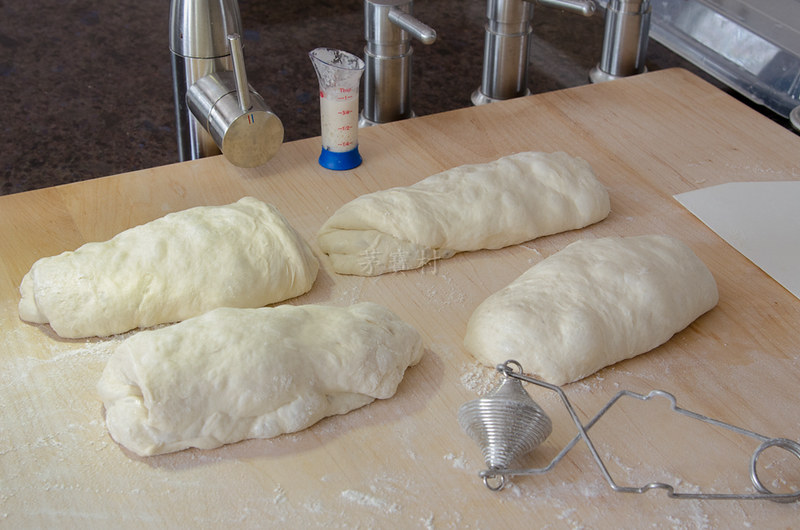
Tones of space for my baguettes dough

 See the height of the board is close to the handle of the faucet.
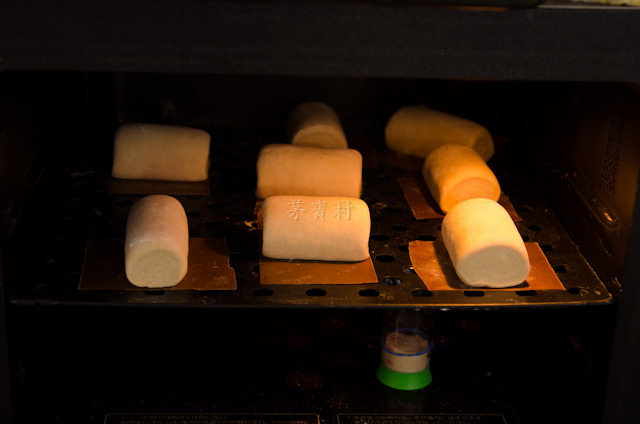
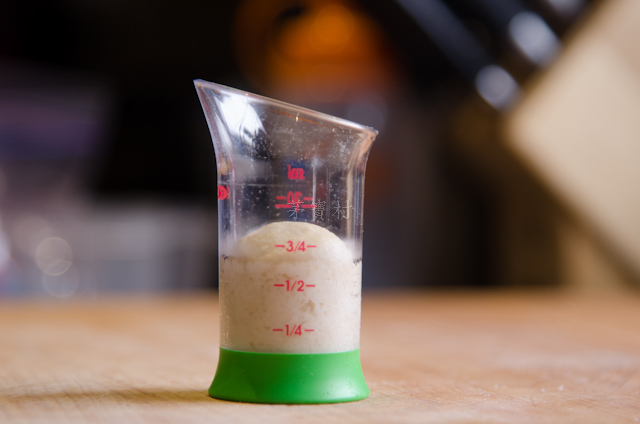
In case you are curious, that little 'cylinder' is used to estimate how much the dough has risen. I put a tiny piece
of dough from the baguette dough into it and ferment at the same condition. Works like a charm!That flour wand is also very helpful. Never too much flour again! 

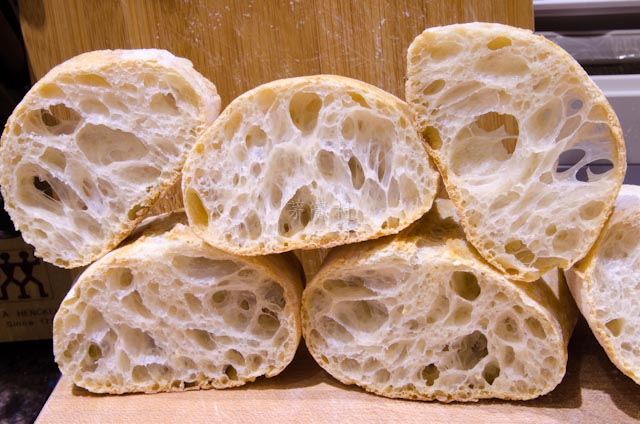
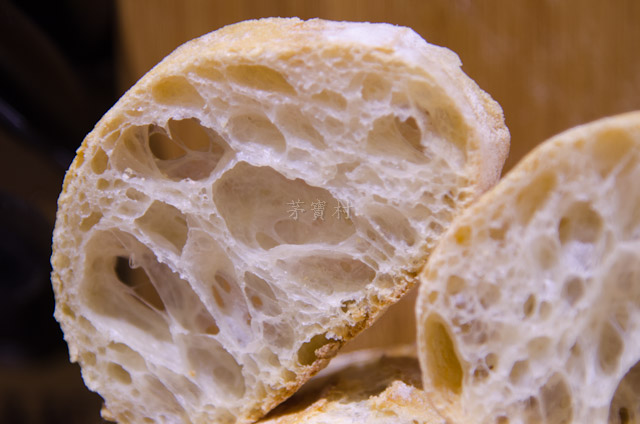
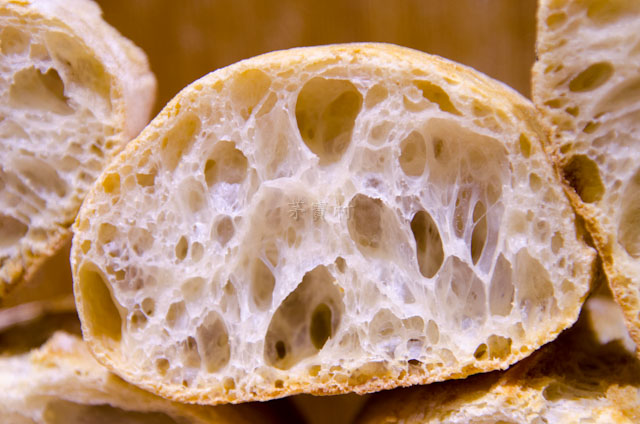
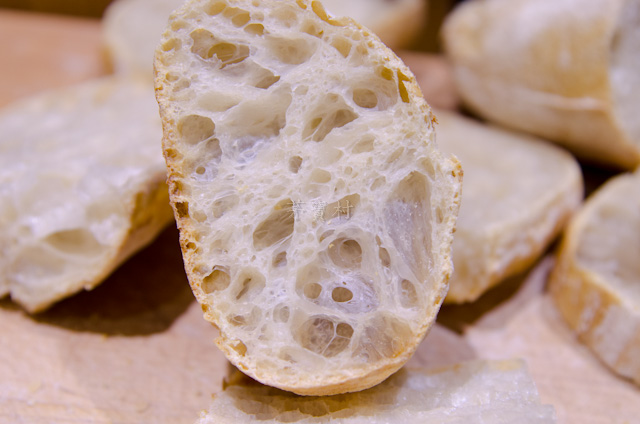
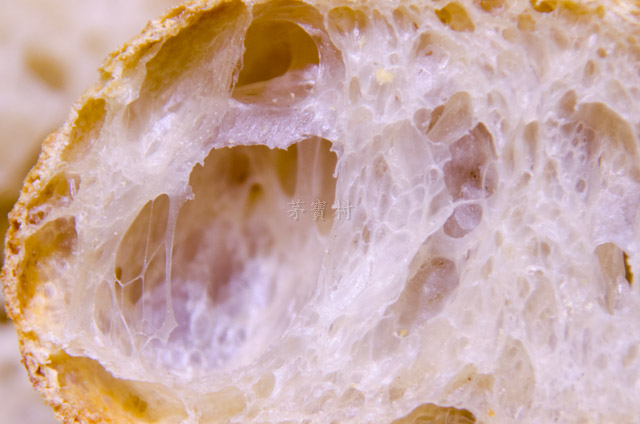
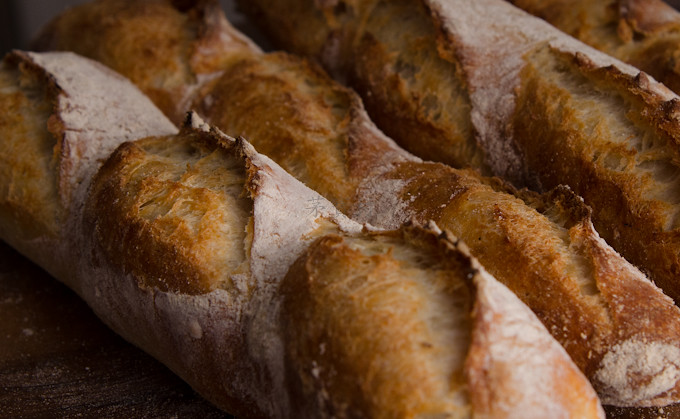
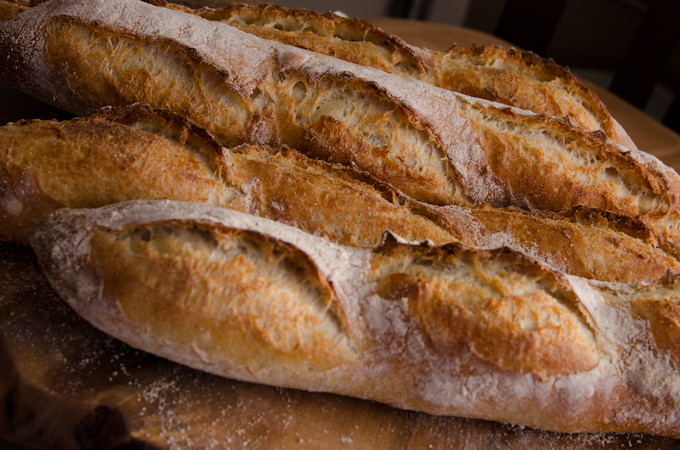
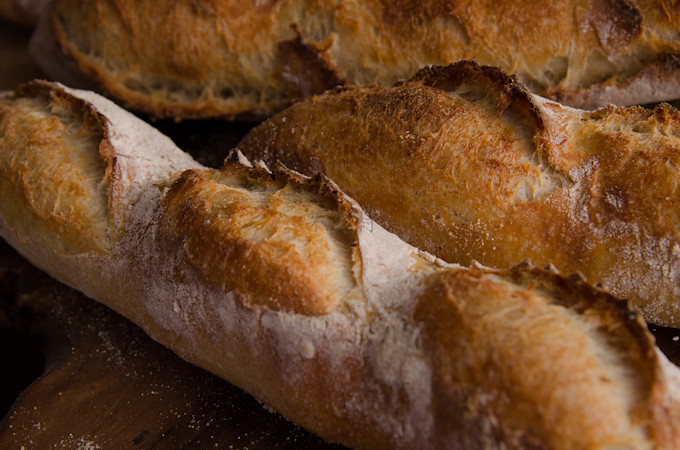
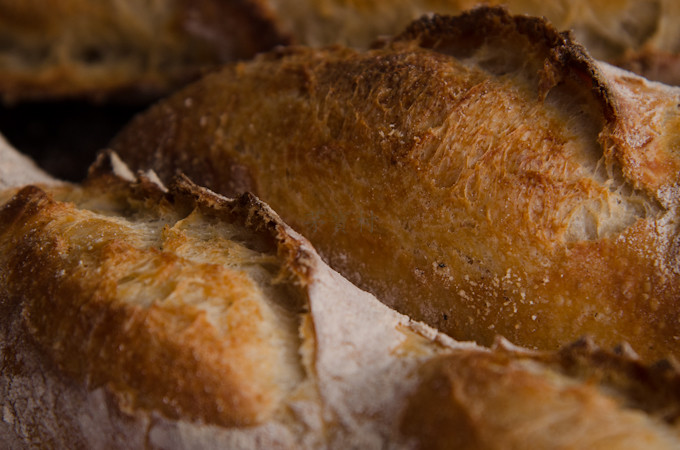
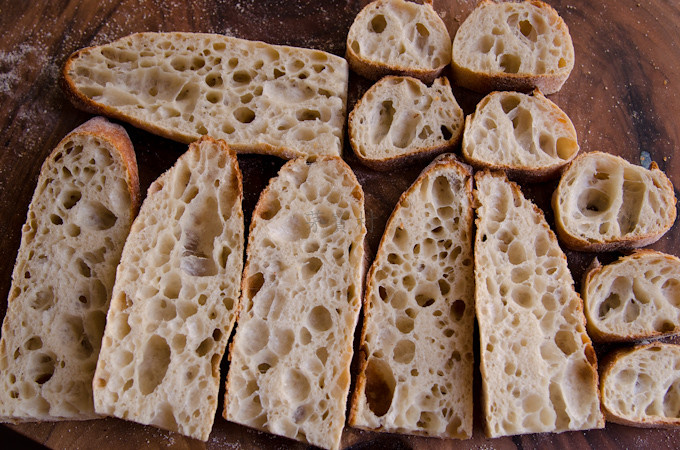
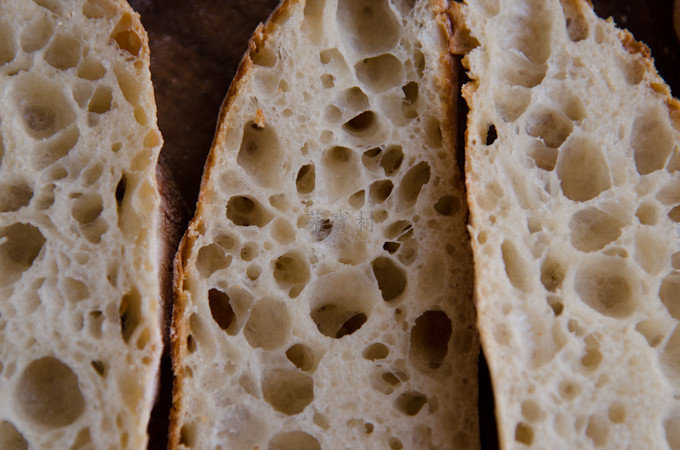
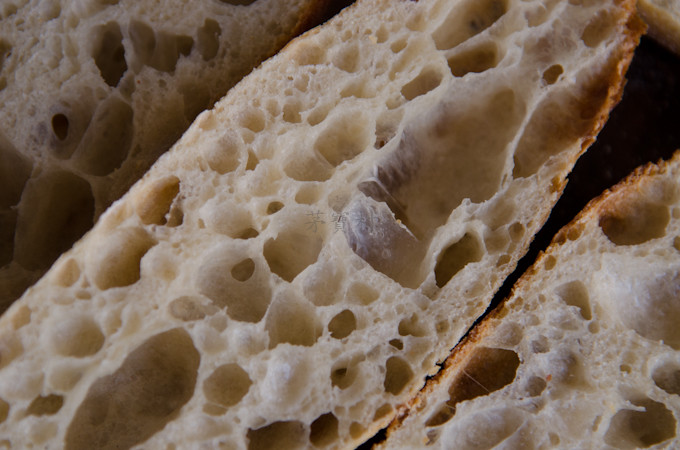
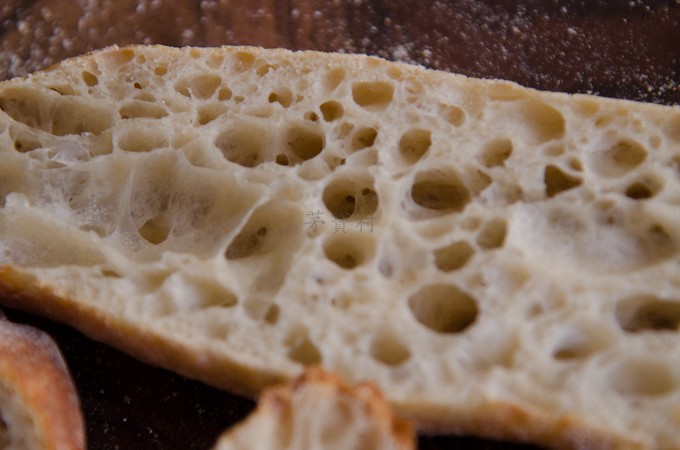
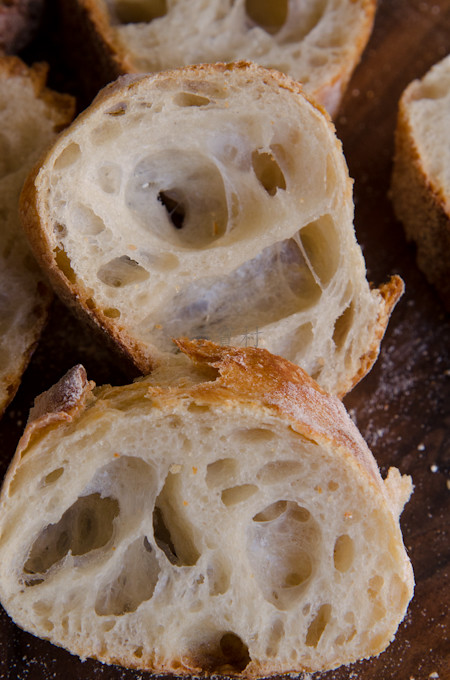
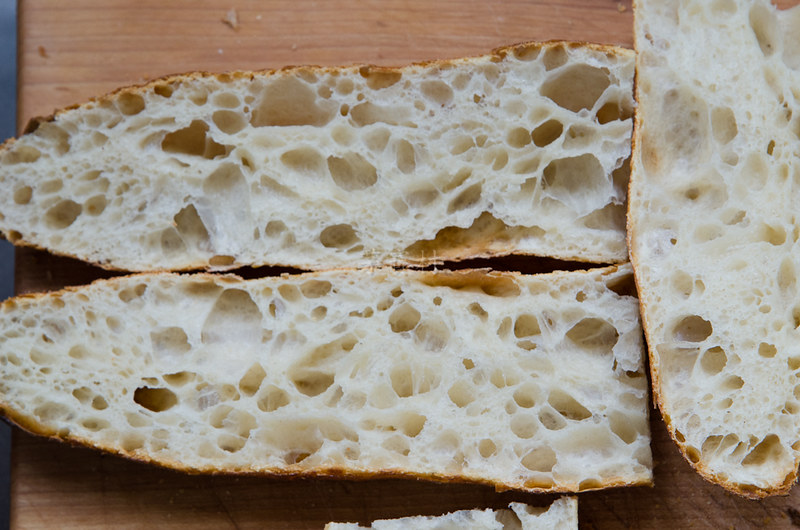
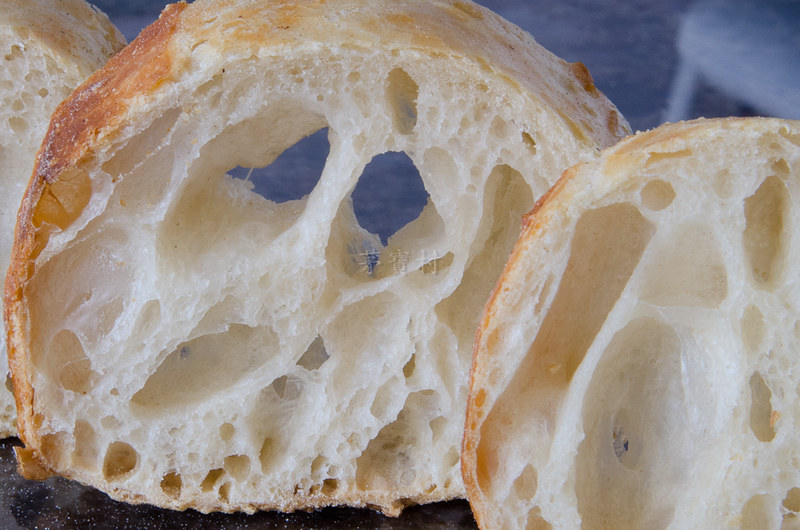
Ok, back to my baguettes. I am picky about baguettes that have thin crust, chewy but still soft and moist crumb, beautiful ears (from scoring the dough), and a little sourness. Who doesn't? Unfortunately, I don't have a steam oven. So I use lava stones to create steam. So far so good. Very good steam! The crust is pretty thin. But I need to work on my scoring.

Poolish (or I use my SD starter 600g):
French Flour 300g
water 300g
insant yeast 1g
Ferment at R.T until bubbling. Usually takes 6-8 hours for me. Then refrigerated overnight.

Final dough:
All poolish
French Flour 700g
Water 450g
instant yeast 1 tsp
salt 21g
diastatic malt powder 1tsp
I use mixer gentally mixed everything into a wet ball. lowest speed maybe for a minute or so. Then ferment at R.T. (about 65F here).
30min S/F 2x
30min S/F/2x
30min S/F/1x
1hour S/F/1x
.....
.....
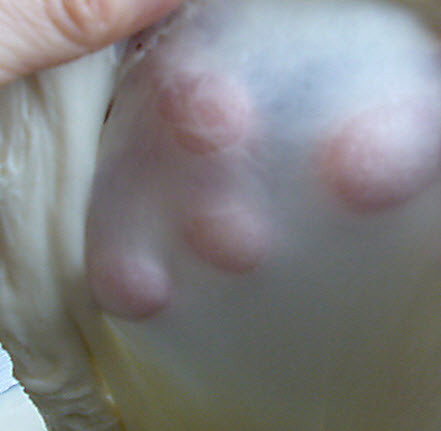
continue to S/F every 1 hour until my small cylender (see picture below) becomes 3 fold (grow from 10 to 30)
sometimes when it's 2 fold, I put it into refrigerator until next evening then continue below.
split to 4 equal dough, preshape, relax for 30min
shape into baguettes, rise for 1 hour
preheat oven with stone and lava rock to 290C (500F)
bake for 20min at 240C, 10 min with steam.
I have used several kinds of flour from King Arthur. But as you can guess, the best texture comes using their
'French style' flour. But that flour is SOOOOOO expensive!

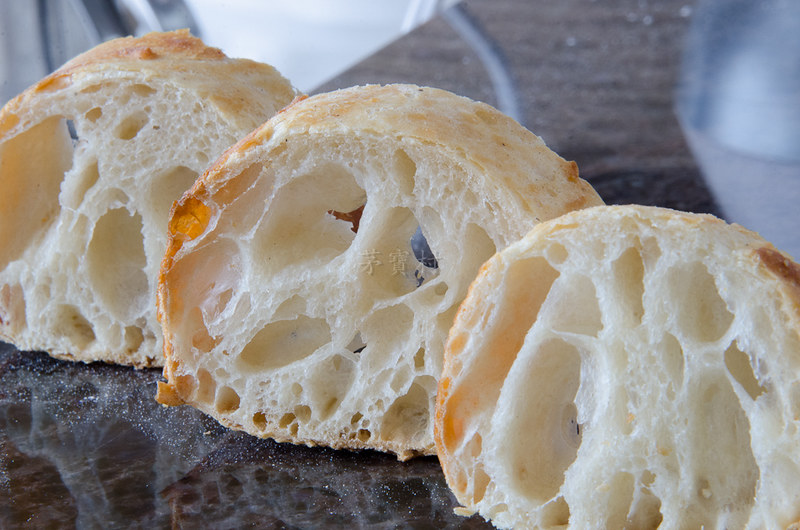
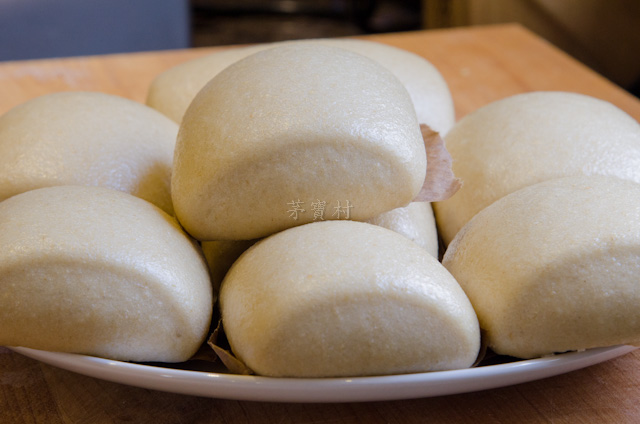
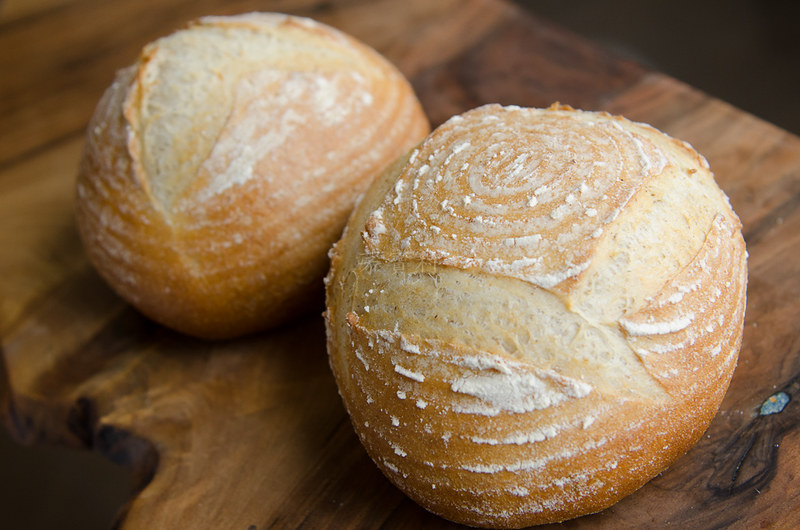
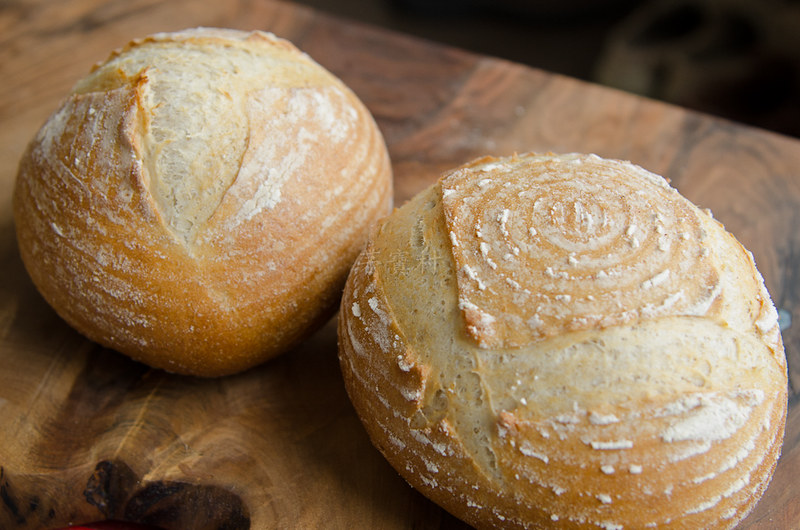
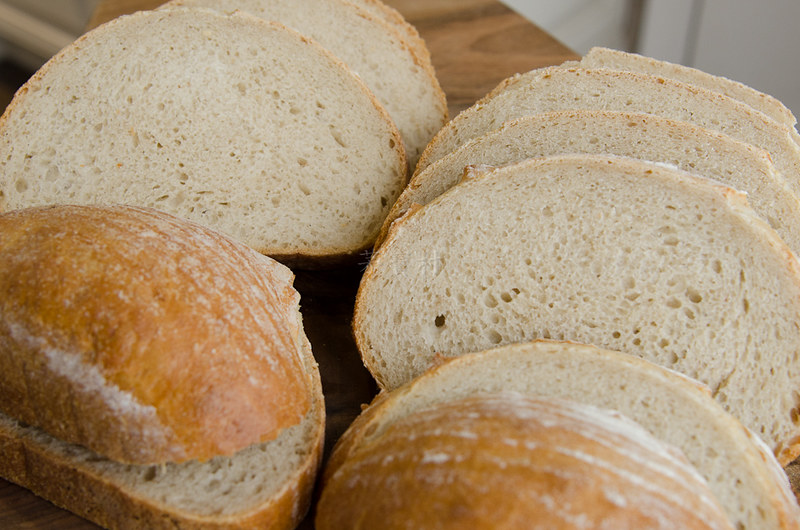
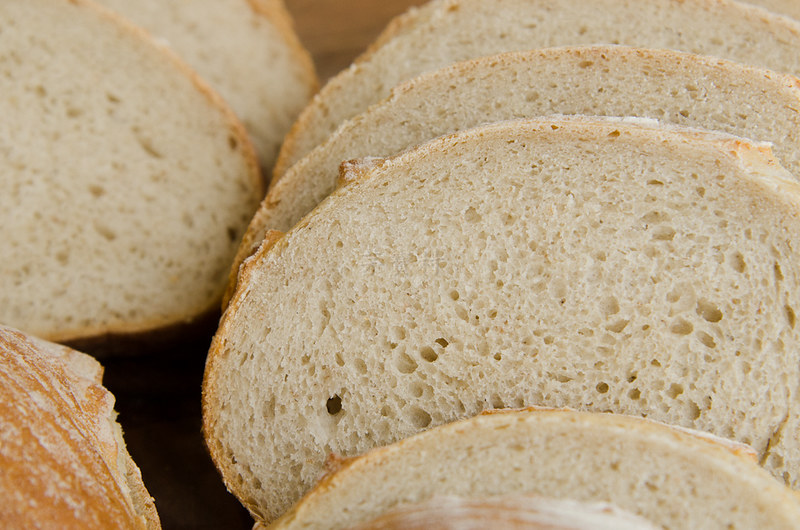
This is BBA's Pain de Campagne. I mixed in some pumpernickel flour so it's color gets tiny dark.


Hope you like my first post on TFL !!!


Pages

Subscribe to RSS - maojn's blog